12
USING THE ELECTRIC OVEN WITH FAN
When using the oven for the first time, leave it on for maximum 30 minutes at a temperature of 250°, to eliminate smell
from the internal seals.
Before cooking foods, make sure the oven reaches the selected temperature and the orange light is off. This type of
oven has a round heating element inside, where the fan for forced air circulation in a horizontal direction is positioned.
Based on this operating principle, a fan oven can be used for different kinds of cooking at the same time, without
changing the taste of the food. A few models are fitted at the rear with a removable metal filter that retains grease when
cooking roasts. This filter should be cleaned regularly with soapy water to remove the grease and rinsed thoroughly. To
remove the metal filter, apply gentle pressure upwards on the tab, indicated by the arrow. The circulation of hot air
ensures that heat is evenly distributed. It is not necessary to preheat the oven, however in the case of delicate baking,
the oven should be preheated before putting in baking trays. The convection fan cooking system changes to some extent
concepts about traditional cooking. Meat does not have to be turned during cooking and a spit does not have to be used
for rotisserie roasting. The meat can be simply put on the rack.
TABLE 9
COOKING TIMES FOR ELECTRIC FAN OVENS
TEMP °C
HEIGHT
MINUTES
MEAT
ROAST PORK
160-170
2
70-100
ROAST STEER
170-180
2
65-90
ROAST OX
170-190
2
40-60
ROAST VEAL
160-180
2
65-90
ROAST LAMB
140-160
2
100-130
ROAST BEEF
180-190
2
40-45
ROAST HARE
170-180
2
30-50
ROAST RABBIT
160-170
3
80-100
ROAST TURKEY
160-170
3
160-240
ROAST GOOSE
160-180
3
120-160
ROAST DUCK
170-180
2
100-160
ROAST CHICKEN
180
2
70-90
FISH
160-180
2-3
CAKES AND PASTRIES
FRUIT CAKE
180-200
2
40-50
SANDWICH CAKE
200-220
2
40-45
BRIOCHES 170-180
2
40-60
SPONGE CAKE
200-230
2
25-35
DOUGHNUTS 160-180
2
35-45
PUFF PASTRY
180-200
2
20-30
GRAPE TART
230-250
2
30-40
STRUDEL 160
2
25-35
SAVOYARD BISCUITS
150-180
2
50-60
APPLE FRITTERS
180-200
2
18-25
PUDDING WITH SAVOYARD
BISCUITS 170-180
2
30-40
TOASTED SANDWICH
230-250
3
7
BREAD 200-220
3
40
PIZZA 200-220
2
20
POSITIONING THE OVEN TRAYS & SHELVES
The Grill Tray or Oven Shelf can be located in any of the four height positions in the oven (See Fig. 31a).
Refer to the ‘Oven Cooking Tables’ for the recommended shelf position. When fitting the trays or shelves, ensure they
are fitted between the two wires that are closest together (See Fig. 31b).
Oven Shelves have a stop so that they are not fully withdrawn by accident. To fully remove the Oven Shelves, lift the
front of the shelf slightly and withdraw fully from the oven. (See Fig. 31d) Note that the Grill Tray does not have a stop
position and can be fully withdrawn without interruption, so be careful not to accidentally fully withdraw the tray.
To remove the Oven Shelf Support, remove the top and bottom screws shown in Fig 31c and then pull the support from
the holes in the rear oven wall. Repeat for opposite side. Replace in reverse procedure.
Summary of Contents for AM64C61BX
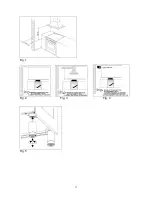
Page 17: ...17 Fig 1 Fig 2 Fig 3 Fig 4 Fig 5 ...
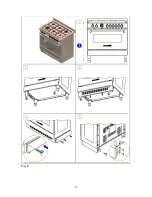
Page 18: ...18 Fig 6 ...
Page 19: ...19 Fig 7 ...
Page 20: ...20 Fig 8 ...
Page 21: ...21 Fig 9 ...
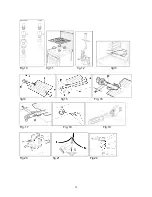
Page 22: ...22 Fig 10 fig 11 fig 12 fig13 fig14 fig15 Fig 16 Fig 17 Fig 18 Fig 19 T Fig 20 fig 21 Fig 22 ...
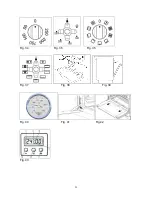
Page 23: ...23 Fig 23 Fig 24 fig 25 fig 26 fig 27 fig 28 fig 29 fig 30 ...
Page 24: ...24 fig 31a Fig 31b Fig 31c Fig 31d Fig 32 Fig 33 ...
Page 25: ...25 Fig 34 Fig 35 Fig 36 Fig 37 Fig 38 Fig 39 Fig 40 Fig 41 Fig 42 Fig 43 ...
Page 28: ...28 Cod 310793 ...


