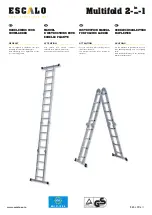
After tightening, measure the front and back of the ladder to insure it is 17-1/16"
wide. Insure all ladder rods nuts are tight at this time. (Note: Do not force the slide
bars of either the panel bracket or guide frame over the edge of the ladder
into the grooves as this may spread the bars, damage the brackets, or damage
the ladder).
STEP 5. INSTALLING CABLE HOLDERS. Install stringer cable holders (#13) to the
side of the stringers approximately the third step from the bottom. Use a 1/4-20 x
1-1/4” slotted machine screw and machine screw nut to attach bracket. The back
of the fork should be facing towards the top of the ladder while the hook part of the
fork is facing towards the bottom of the ladder.
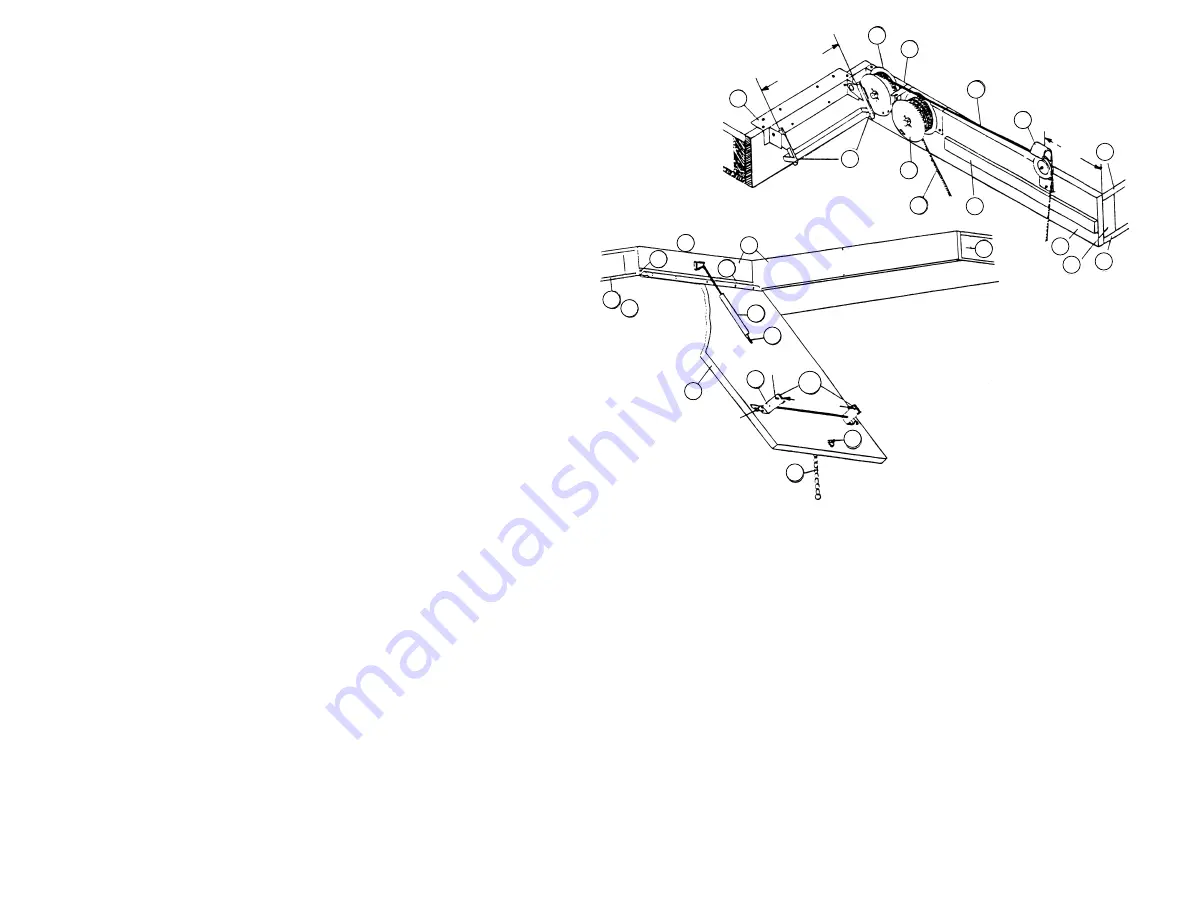
STEP 6. INSTALLING STRINGER CABLES. Slide ladder down to its lowest point
at this time. Remove-one of the stringer cables (#l 2) from the shipping fork taking
care that you don't let the cable slip from your hand. Caution should be taken when
handling the cable as the stringer spring drum was shipped from the factory with
approximately the proper spring tension already pre-wound. Bring the cable down
to the cable holder on the side of the ladder about the third step from the bottom.
Insert the cable into the fork of the cable holder (#13). Repeat this procedure for
attaching the other side. IMPORTANT: Insure the ladder doesn't creep upward from
the down position at this point. Add or remove turns of tension as needed. (see step
8).
STEP 7. INSTALLING THE HANDRAIL. Using the handrail (#3) is optional but
recommended. The handrail can be mounted on either the left hand or right hand
side. While the stairway is in its down position, the handrail posts (#4) are mounted
vertically starting inside at the bottom of the ladder with the end of the post sitting
on the bottom step resting against the edge of next step (See Figure 1.) The next
post should be mounted half way up the ladder, and the third should be mounted
towards the top of the ladder. Use #10 x 1-1/4” Pan Hd Phillips Sheet Metal Screws
provided. Next mount the handrail (#3) to the top outside posts (#4) flush with the
angle of the posts (See Figure 1.) Use #10 x 1-1/4” Pan Hd Phillips Sheet Metal
Screws provided to attach handrail to the posts.
STEP 8. ADJUSTING SPRING TENSION. Note: The spring drums come from the
factory with approximately the recommended amount of spring tension. For adding
spring tension to the stringer drums, detach the cable (#12) from the cable
holder (#13). Allow the cable to wind up slowly on to the drum (#8). Caution: do
not let the cable slip from your hand or free-wheel back on to the drum as
this will backwind or break the spring. Take the end of the cable in one hand
and pull off enough cable to cause the spring drum to rotate one turn. Firmly grasp
the drum with your other hand and re-wrap the cable onto the drum one wrap.
Reattach the end of the cable to the corresponding cable holder. To reduce spring
tension, follow the above instruction with the exception that you remove a wrap of
cable from around the drum.
STEP 9. ADJUSTING SPEED OF THE DOOR CLOSURE. To adjust the dampener
(#29) you turn the barrel of the dampener. Turn it right or clockwise to slow down
the closing of the door. Turn it left or counterclockwise to speed up the closing of
the door. Do not allow the door to travel so fast as to allow slamming, as this
will damage the stairway. Proper dampening will allow door to glide closed without
bumping or slamming.
OPERATION: To open stairway, pull down on the chain until the ladder can be
reached. Insure the catch lock (#14) has released and pull the ladder all the way
down until it stops. Allow the feet of the ladder to rest firmly on the floor and insure
the top tread is even with the attic floor.
DO NOT ASCEND THE STAIRWAY IF IT CREEPS UPWARD UNDER ITS OWN
POWER. Refer to STEP 8 for adjusting tension. Treads should be level and parallel
to the floor. TO CLOSE STAIRWAY, push ladder upward until the catch lock (#14)
engages shoulder pin on panel bracket (#10). Allow the spring drums to close the
door panel. Do not force the door panel closed.
BESSLER STAIRWAY CO. • 3807 LAMAR AVE. • MEMPHIS, TN 38118
CAUTION:
Special instructions for the Header
When installing the door and frame assembly on a model 26 or 26T, it is recommended that
shimming behind the header will give added support to the door closer bracket and piano
hinge.
The added support of shimming behind the header will help prevent the header from splitting
due to improper adjustment of the closer or forced operation by the user.
MAINTENANCE: It is necessary to add lubrication to the grooves in the side to the ladder
from time to time. The grooves can be lubricated with a light grease, paraffin, bees wax or
petroleum jelly.
TROUBLE SHOOTING MODEL 26: If the ladder section is hard to move up and down along
its length, check the following:
Make sure the slide bars are operating in the grooves over the entire length of travel.
Make sure the ladder is lubricated (See Maintenance).
If the ladder seems to be binding, check the grooves for gouge marks, then check width
of ladder which should measure about 17-1/16” across the back.
Insure the tracks are sealed in the bottom of the gains and all of the ladder rods and
fasteners are tight.
The spring inside the spring drum is broken when the drum rotates without placing
tension on the cable. Never open up the spring drum as the spring may exit the drum
in a sudden and abrupt manner risking personal injury. Return drum to factory for repairs.
Insure the cables are riding straight and true on the drums. Also insure the drums are
not leaning to one side or wobbling. This may indicate that the bushings have come out of
the drums. (New bushings may be obtained from the factory).
5
5A
7
6
8
12
25
11
9
24
20
21
22
23
22
21
28
26
23
24
15
10
29
30
16
10A
17
27
PIN
HOOK
D=16
5
/
8
WIDTH
D=16
5
/
8
FIG. 4.
FIG. 5.


