Servicing Exit Hardware Trim Escutcheon Parts
B.A.S.I.S. V Service Manual
10–7
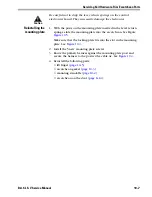
Caution
Be careful not to drop the lever return springs on the control
electronics board. They can easily damage the electronics.
Reinstalling the
mounting plate
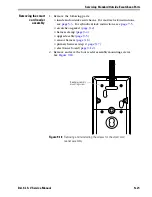
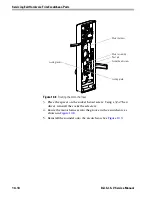
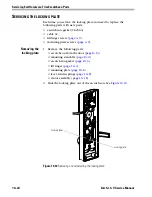
1. With the posts on the mounting plate inserted in the lever return
springs, slide the mounting plate into the escutcheon. See Figure
Figure 10.5
.
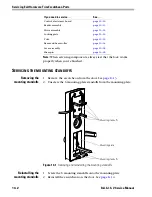
Make sure that the locking plate fits into the slot in the mounting
plate. See
Figure 10.4
.
2. Install the 5 new mounting plate screws.
3. Route the primary harness against the mounting plate post and
secure the harness to the post with a cable tie. See
Figure 10.4
.
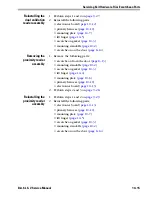
4. Reinstall the following parts:
■
lift finger (
page 10–5
)
■
escutcheon gasket (
page 10–3
)
■
mounting standoffs (
page 10–2
)
■
escutcheon on the door (
page 8–14
).
Summary of Contents for B.A.S.I.S. V
Page 1: ...SERVICE MANUAL SERVICE MANUAL ...
Page 16: ...Figures xvi B A S I S V Service Manual ...
Page 48: ...Standard Functions and Parts 2 24 B A S I S V Service Manual ...
Page 66: ...Exit Hardware Trim Functions and Parts 3 18 B A S I S V Service Manual ...
Page 78: ...Shared Standard and Exit Hardware Trim Parts 4 12 B A S I S V Service Manual ...
Page 114: ...Servicing Standard Mortise Case Parts 6 20 B A S I S V Service Manual ...
Page 206: ...Servicing Exit Hardware Trim Escutcheon Parts 10 32 B A S I S V Service Manual ...
Page 238: ...Troubleshooting 12 12 B A S I S V Service Manual ...
Page 242: ...Lock History Event Types A 4 B A S I S V Service Manual ...
Page 244: ...Installation Instructions B 2 B A S I S V Service Manual ...

