30
cOnsOle OperatiOn
user MOde
To access
User Mode
, see the
Training Mode Programs
section.
User Mode
allows the
user access to create a workout program to tailor fit their exercise requirements. The
user can adjust up to 20 workout intervals within the program as well as set custom-
ized count-down workout goals.
When
User Mode
is selected, the display will flash the first of twenty customizable
workout intervals within the program as well as flash the currently active ‘Load
Level’. ‘Load Level’ in each step is adjustable from 1 to 16 using the UP/DOWN
buttons. Press the MODE button to advance to the next workout interval to be set.
NOTE:
T
he
U
ser
M
ode
workouT
level
parameTers
are
sTored
inTo
The
console
’
s
ram
memory
and
remain
sTored
in
memory
afTer
a
‘T
oTal
r
eseT
’
or
afTer
power
To
The
sysTem
has
been
losT
.
Once the 20 workout levels have been set, press and hold the MODE button for 2
seconds to confirm the selection. Function values may be preset for TIME, DISTANCE,
CALORIES, and PULSE by using the UP/DOWN buttons. After choosing the desired
function value, press the MODE button to confirm the setting.
Press the START/STOP button to start training. During exercise, the user selected pre-
set values will count down. If no preset values were selected, the display values will
count up. ‘LOAD LEvEL can be adjusted at any time during the workout.
9
20
STEP 7 – Handlebar Assembly
Slide Left and Right Handlebar
Assembly over the top of the Swing
Arm Assembly and insert 3 Allen
Bolts per side.
Hand tighten first
to begin all Allen Bolts.
Then,
tighten Allen Bolts with the 5mm
Allen Wrench provided.
7
right
handlebar
assembly
REAR
FRONT
right swing arm
assembly
left swing arm
assembly
upright
frame
assembly
left
handlebar
assembly
6 - M8 x 20mm
allen bolts
STEP 6 – Swing Arm Covers
Attach the Swing Arm Covers
on the front of the Swing Arms
with Phillips Bolts. Tighten with
the Phillips Screwdriver provided.
6
swing arm
covers
2 - M6 x 12mm
phillips bolts
NOTE:
If you find it difficult to get
the Bolt started, first thread the
Bolt into the hole on the Swing
Arm without the Cover. Then,
remove the Bolt and repeat
Step 6 above.
HEART RATE
Training in H.R.C. Mode:
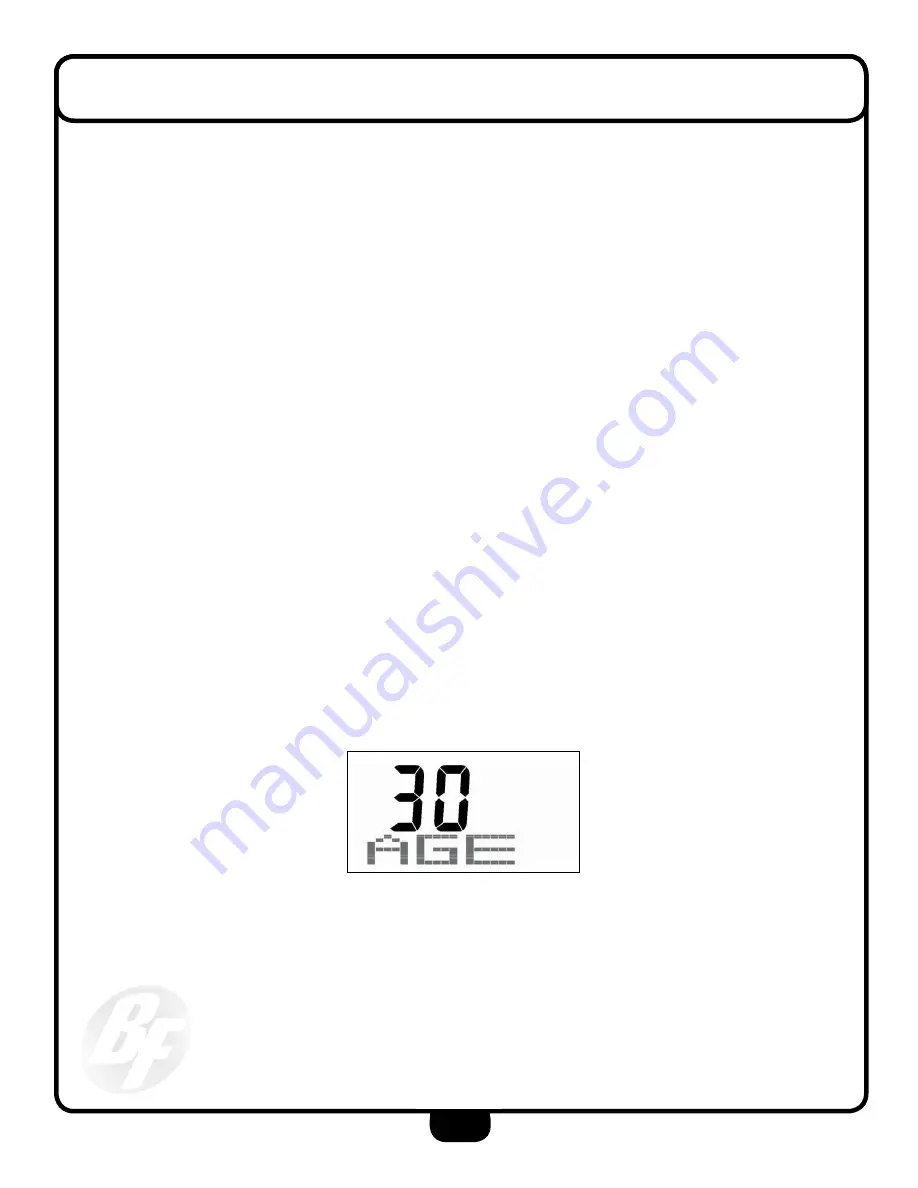
AGE 30 will be blinking after you enter H.R.C. Mode.
You may set your age by pressing the UP or DOWN
and MODE button to set. The Monitor will calculate
preset Heart Rate value automatically according
to your age setting. (Preset at Age 30). Screen will
show Heart Rate percentage 55%, 75%, 90% and
TARGET. You may select Heart Rate percentage
by pressing the UP or DOWN button and MODE
button for training.
Note:
1.
If there is no signal for over 4 minutes, the screen
will turn off and display room temperature, clock,
and calendar.
2.
When Monitor displays abnormally, please
unplug the adapter and plug-in again.
NB 8000 Program Profiles
User’s Age Display
Summary of Contents for BFE2
Page 1: ...BFE2 O w n e r s M a n u a l V BFE2 112718...
Page 9: ...9 S T E P 1 M8 Washer M8 Arc Washer...
Page 11: ...11 S T E P 2 M10 Washer M10 Spring Washer...
Page 13: ...13 S T E P 3...
Page 15: ...15 S T E P 4...
Page 17: ...17 S T E P 5...
Page 19: ...19 S T E P 6 M5x12 Phillips Bolt M5x12 Phillips Bolt M5x12 Phillips Bolt...
Page 21: ...21 S T E P 7 M8x16 Allen Bolt M8 Arc Washer...
Page 23: ...23 S T E P 8 Insert Power Supply here...
Page 37: ...37 Note...


