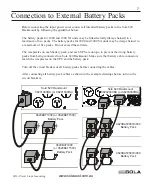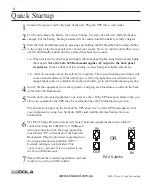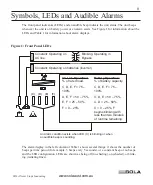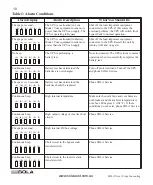
6
SOLA Never Stops Innovating
www.solaaust.com.au
Wall Installation
The Sola 620 Rackmount is shipped with screws and brackets to mount it to a wall surface. You
must attach one bracket to each side of the UPS, and then mount the UPS to the wall. Install the
UPS by following the instructions below. NOTE: The procedure requires two people.
1
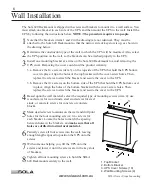
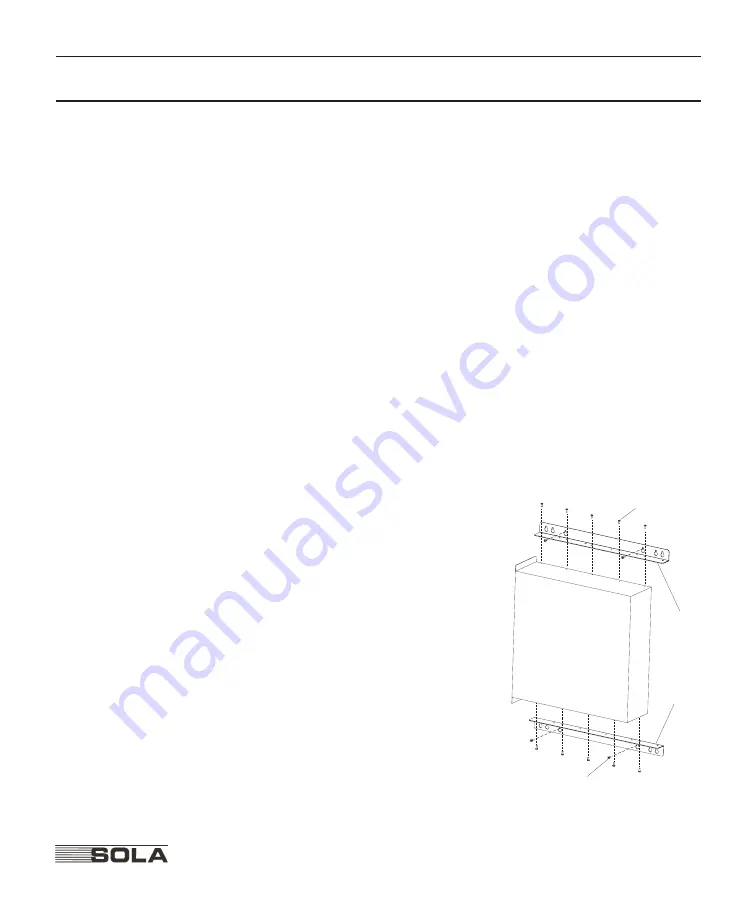
Note that the brackets (items 1 and 2 in the drawing) are not identical. They must be
attached to the Sola 620 Rackmount so that the narrow side of key slots is up, as shown in
the drawing below.
2
Determine the construction type of the wall to which the UPS will be mounted. Also, select
the UPS position on the wall, so the brackets can be attached properly to the UPS.
3
Install one mounting bracket at a time on the Sola 620 Rackmount to avoid removing the
UPS cover. Removing the cover could void the product warranty.
3.a. Remove the five screws (item 3) on the top side of the UPS that hold the UPS bottom
cover in place. Align the holes of the top bracket with the cover-screw holes. Then,
replace the screws to attach the bracket and secure the cover to the UPS.
3.b. Remove the five screws on the bottom side of the UPS that hold the UPS bottom cover
in place. Align the holes of the bottom bracket with the cover-screw holes. Then,
replace the screws to attach the bracket and secure the cover to the UPS.
4
Based upon the wall material, select the required type of mounting screws (item 4): use
wood screws for wood studs, steel stud screws for steel
studs, or concrete screws for concrete or concrete
blocks.
5
Mark desired screw locations on the wall and drill pilot
holes for the four mounting screws: two screws for
each bracket. Locate the holes to match the spacing
between holes in the brackets, and make sure that all
holes are drilled into structural material.
6
Partially screw all four screws into the wall, leaving
enough length exposed to position the UPS onto the
screws.
7
With someone helping you, lift the UPS onto the
screws and lower it until the screws are in the key slots
of brackets.
8
Tighten all four mounting screws to hold the SOLA
620 Rackmount securely to the wall.
3
4
2
1
1. Top Bracket
2. Bottom Bracket
3. UPS Cover Screws (10)
4. Wall Mounting Screws (4)


