20
Watch Input AC Power Range
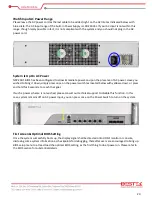
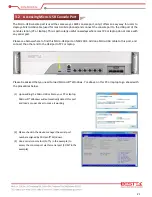
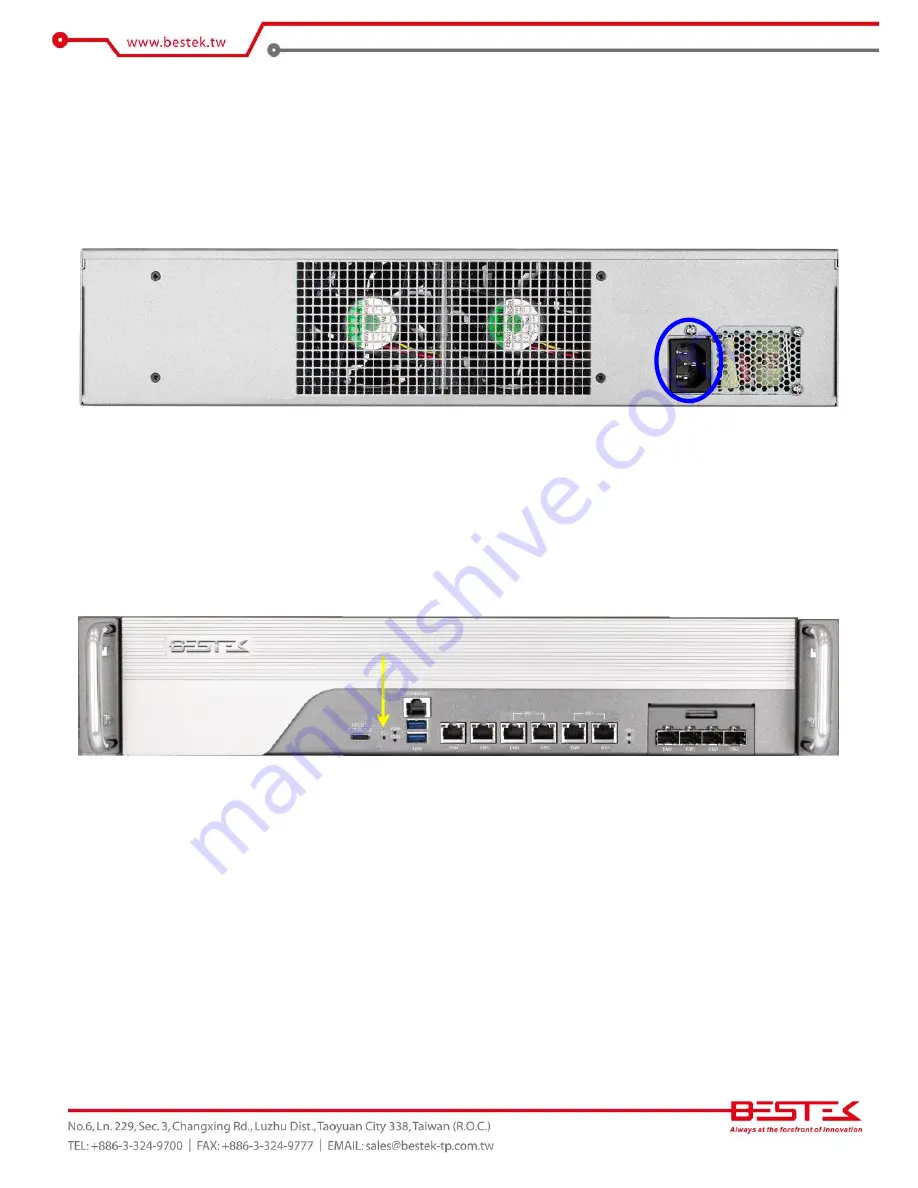
Please leave the AC power cord as the last cable to be added, right on the AC Inlet as indicated below with
blue circle. The AC input range of the built-in Power Supply is 100-240Vac. If your AC input is not within this
range, though rarely possible in fact, it is not compliant with the system and you should not plug in the AC
power cord.
System Is Up On AC Power
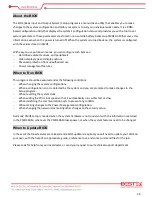
NSP-20H1 BIOS has been configured to allow immediate power-on upon the presence of AC power. Have you
wished to bring it down, simply press once on the power switch (as located below with yellow arrow), or press
and hold for 4 seconds, to reach that goal.
If such a power scheme is not wished, please consult our technical support to disable this function. In this
case, system remains off on AC power input, you can press once on the Power Switch to turn on the system.
First screen & Optimal BIOS Setting
Once the system successfully boots up, the display signal shall be directed onto HDMI monitor or console,
disclosing some system information as checkpoints for debugging, thereafter users are encouraged to bring up
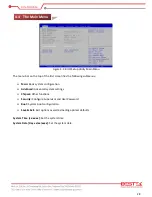
BIOS setup menu to at least load the optimal BIOS setting, as the first thing to do at power on. Please refer to
the BIOS section for substantial details.
Summary of Contents for NSP-20H1
Page 1: ...1 Network Security System NSP 20H1 Always at the forefront of innovation User Manual...
Page 6: ...6 Chapter 1 General Information...
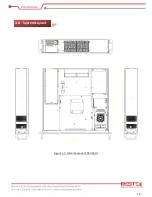
Page 10: ...10 Figure 1 1 System Layout of NSP 20H1 1 4 System Layout...
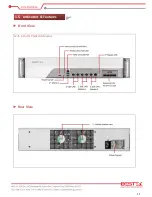
Page 11: ...11 Front View With 4 Port SFP GbE LAN Module Rear View 1 5 Indicators Features...
Page 12: ...12 Chapter 2 Preparation...
Page 18: ...18 Chapter 3 Operation...
Page 25: ...25 Chapter 4 BIOS Setup...
Page 31: ...31 CPU Configuration Display CPU Information 4 6 The Chipset Menu...
Page 36: ...36 Chapter 5 Software Configuration...
Page 45: ...45 Chapter 6 Q A...


