12
19. ASSEMBLING THE SQUEEGEE
• For packaging reasons, the squeegee is supplied disassembled from the
machine and must be installed prior to use.
• Make sure the parking brake is engaged and that the key switch is turned to
OFF.
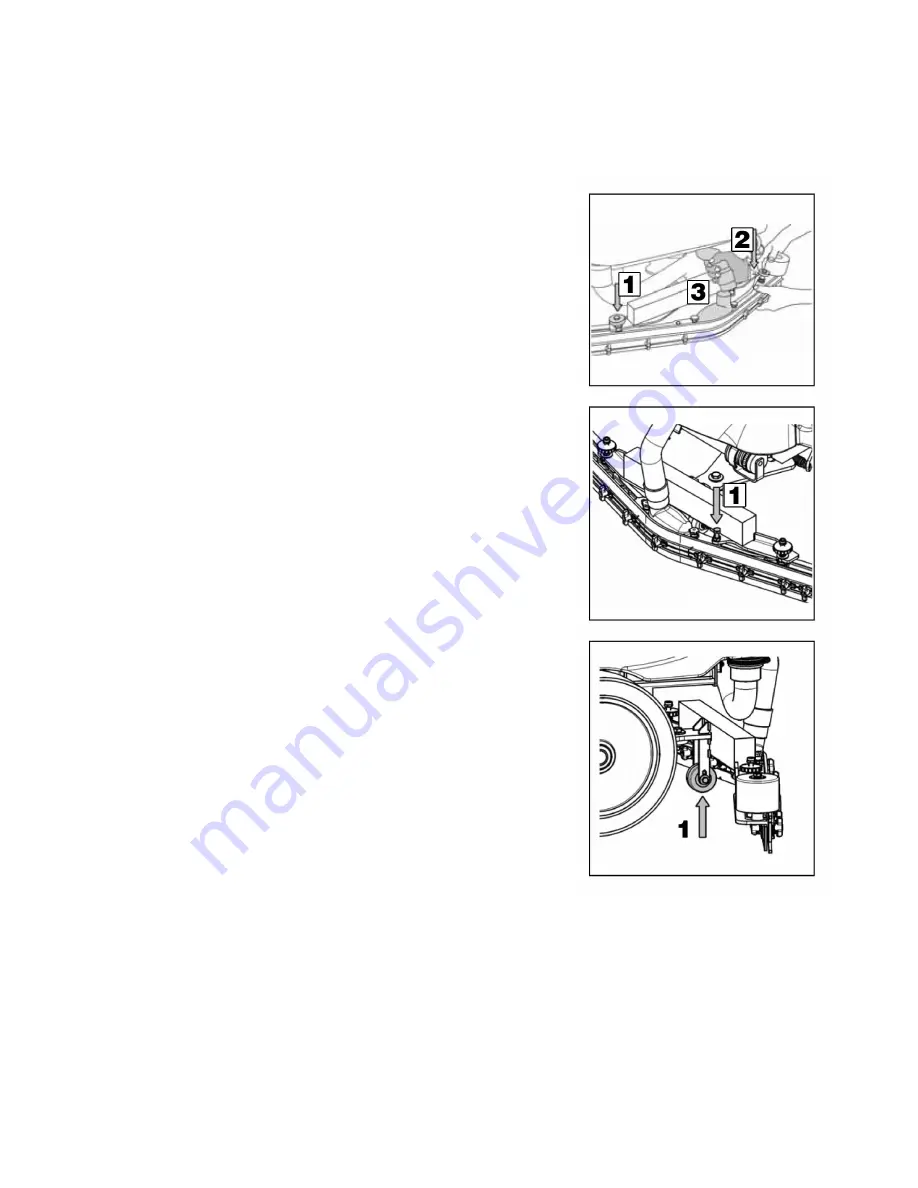
• Insert the left pin (
1
) of the squeegee into the left slot of the mount and then
insert the right pin (
2
) of the squeegee into the right slot of the mount. Be
sure to keep the spring and washer on the top side of the squeegee mount.
It may be necessary to loosen the finger wheels (
1
and
2
) in order to keep
the spring and washer on top of the squeegee mount.
• Once the pins are in place, tighten the finger wheels (
1
and
2
) to lock the
squeegee in place.
• Connect the vacuum hose to the squeegee shoe (
3
).
20. SQUEEGEE ANGLE
• During operation, the squeegee assembly should be tilted slightly backward
in a uniform manner across the entire length.
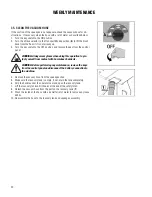
• If it is necessary to increase the incline of the squeegee in the center por-
tion, the adjuster screw (
1
) will need to be rotated clockwise to increase the
incline of the squeegee assembly.
21. ADJUSTING THE SQUEEGEE HEIGHT
The height of the squeegee may need to be adjusted based on the wear of the
squeegee blade.
1. Unscrew the locking nut
2. Raise or lower the wheel (
1
) by sliding it in the slot of the support
3. Secure the wheel height by tightening the lock nut with the wheel at the
required height.
MACHINE PREPARATION


