background image

1


Version


1.0.2


Nov/2013


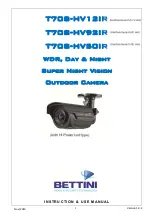
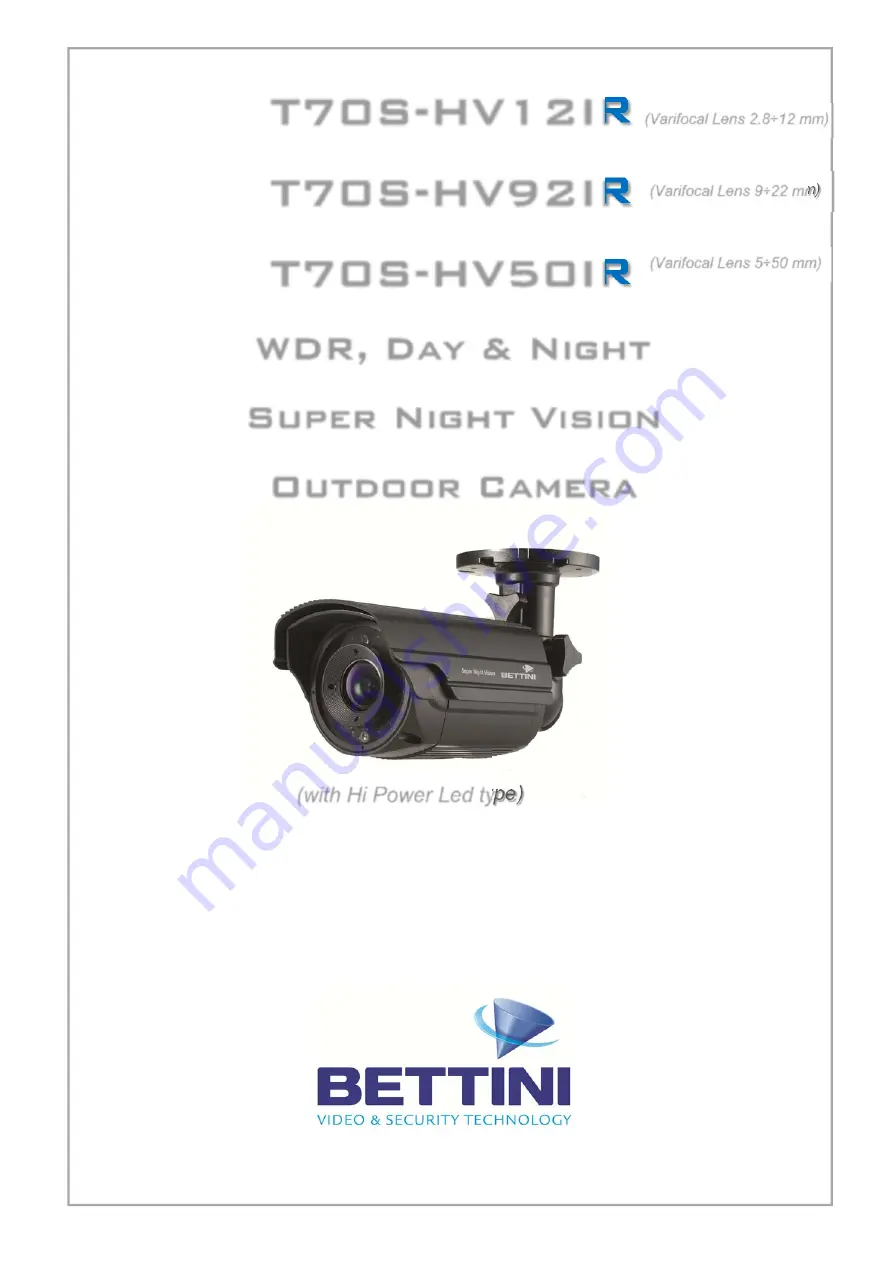
T70S-HV12IR


T70S-HV92IR


T70S-HV50IR


WDR, Day & Night  

Super Night Vision  

Outdoor Camera 

I N S T R U C T I O N   &   U S E   M A N U A L  


(Varifocal Lens 2.8÷12 mm)

(Varifocal Lens 9÷22 mm)

(Varifocal Lens 5÷50 mm)


(with Hi Power Led type)


Summary of Contents for T70S-HV12IR

Page 1: ...013 T70S HV12IR T70S HV92IR T70S HV50IR WDR Day Night Super Night Vision Outdoor Camera I N S T R U C T I O N U S E M A N U A L Varifocal Lens 2 8 12 mm Varifocal Lens 9 22 mm Varifocal Lens 5 50 mm w...

Page 2: ...its for a Class A digital device pursuant to part 15 of the FCC Rules These limits are designed to provide reasonable protection against harmful interference when the equipment is operated in a commer...

Page 3: ...tion Manual 1 Precaution 4 2 Limitation of liability 5 3 Disclaimer of warranty 5 4 Package 6 5 Special features of the model 7 6 Installation 8 11 7 Trouble shooting guide 12 13 8 Dimension mm 13 9 S...

Page 4: ...ou are not a qualified person never try to dismantle the camera To avoid electric shock never remove the screws or covers There are no parts inside that need maintenance by the user All maintenance sh...

Page 5: ...ot limited to below 1 Any damage and loss including without limitation direct or indirect special consequential or exemplary arising out of or relating to the product 2 Personal injury or any damage c...

Page 6: ...6 Version 1 0 2 Nov 2013 4 Package Camera x 1 Instruction Manual x1 Ext Video Cable x1 Tapping screws Plastic anchor x 3 Power Video Cable x 1...

Page 7: ...cial technology it provides remarkable low light sensitivity of 0 1Lux F2 0 0 0001Lux w Sens up 512x which is at least 3 times better than any other conventional WDR cameras 4 2D 3D Noise Reduction 2D...

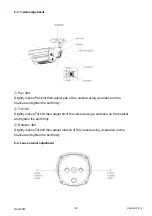
Page 8: ...ix the plastic anchors in the holes Position the mounting bracket on the screw points Fix the mounting bracket by tightening the screws Slightly loosen bolt A then adjust TILT 180 and rotation 360 of...

Page 9: ...e plastic anchors in the holes Position the mounting bracket on the screw points Fix the mounting bracket by tightening the screws Slightly loosen bolt A then adjust tilt 180 and rotation 360 of the c...

Page 10: ...the bracket and tighten the bolt firmly Tilt 180 Slightly loosen Tilt bolt then adjust tilt of the camera using a serration on the bracket and tighten the bolt firmly Rotation 360 Slightly loosen Til...

Page 11: ...o use a butyl tape Do not use a sealing material on those parts It is useful to connect the cable ends from camera to the extension cable for waterproof Connect and tape the power cables Power Power G...

Page 12: ...k Adjust the contrast feature of the monitor If you have an intermediate device set the 75 Hi Z properly Please check the impedance The camera is not working properly and the surface of the camera is...

Page 13: ...setup matches between camera and OSD Controller or DVR RS 485 Communication establishment initial value We recommend that you make ground connection between camera and controller for safe communicatio...

Page 14: ...al 0 Lux IR On 0 001 Lux IR On WDR SUPER NIGHT VISION CAMAERA 1 3 Sony Super HAD NTSC 768 H x 494 V PAL 752 H x 582 V 600TVL Day 650TVL Night NTSC 15 743KHz H 59 94KHz V PAL 15 625KHz H 50KHz V Intern...

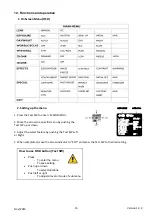
Page 15: ...ic menu by pushing the Tact SW up or down 3 Adjust the select feature by pushing the Tact SW Left or Right 4 When completed move the arrow indicator to EXIT and press the Tact SW to finish all setting...

Page 16: ...on appears on a selected sub menu press the SET to get into a following menu If indication appears on any sub menu it means the function with this mark is deactivated Ex When SENS UP is OFF 3 DNR beco...

Page 17: ...XED The shutter speed is controlled manually You can select the speed from 1 60 to 1 90 000 sec NTSC 1 50 to 1 90 000 sec PAL You can select Digital Slow Shutter between x2 x512 DSS Please use FIXED m...

Page 18: ...m Color at 3 lux D N LEVEL LOW MIDDLE HIGH FILTER DLY Select the duration time about changing the Day Night mode 1 SEC 3 SEC 5 SEC 10 SEC 15 SEC 30 SEC 60 SEC NIGHT BURST Burst ON OFF selectable INITI...

Page 19: ...area where a standard white balance condition is not suitable ATW Auto Tracking White Balance This mode can be used within the color temperature range of 1 500 K 11 000 K Default COL ROLL Anti color...

Page 20: ...where illumination change dramatically the White Balance operation may become unstable 8 2D DNR 2D Noise Reduction LOW MIDDLE HIGH DISABLED Deactivates 2DNR Noise is not reduced OFF Activates 2DNR Lev...

Page 21: ...flip the picture horizontally on the screen ROTATE You can flip the picture rotatively on the screen CONTRAST 0 100 SHARPNESS 0 100 COLOR ADJUST COLOR ON OFF COLOR LEVEL 0 200 COLOR HUE 180 180 RED GA...

Page 22: ...AL MENU CAM NAME Please position the arrow to point to CAM NAME by using the UP or DOWN selection Please select ON by using the LEFT and RIGHT selection Please press the button to complete ON Note If...

Page 23: ...me to display Please move the cursor onto POS and then press the button The name will appear at the top left hand corner Please find the position you wish to display the name by using the 4 directiona...

Page 24: ...ct GRAY WHITE RED GREEN BLUE YELLOW BLACK WIDTH Determines the coordinate of the horizontal size HEIGHT Determines the coordinate of the vertical size MOVE X Determines the coordinate of the horizonta...

Page 25: ...n face becomes unrecognizable This mode is suited for this particular situation FR BRIGHTNESS 0 40 FR CONTRAST 0 40 COLOR SAT 0 200 CONTRAST 0 100 OUTPUT LEVEL 64 64 SHARPNESS 0 100 COMM SET Communica...

Page 26: ...r or any other problems a message ERROR RS 485 Connection Please Reconnect and Reboot is displayed Please reset the power or OSD FACTORY RESET Resets the camera setting to the factory defaults But COM...

Page 27: ...2013 BETTINI reserves the right to change products or specifications without notice BETTINI S r l Via Magenta 20017 Rho MI Tel 39 0289651000 Fax 39 0293182042 E mail info bettinivideo com http www bet...

Reviews: