14
Beurer GL44
4 i
nitial
use
and
basic
settinGs
4.1 Removing the battery insulation strip, replacing the batteries
Note
• Two batteries are included in delivery of the
blood glucose monitor. These have already
been inserted into the battery compartment.
• Remove the insulation strip before initial
use.
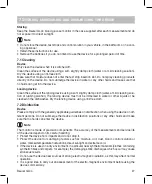
1
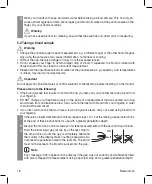
Remove the battery compartment lid on the underside of the device.
2
When replacing the batteries, remove all batteries. The device retains the date and time as
long as one battery is still inserted. If necessary, reset the date and time (see “Making and
changing basic settings”, page 14).
3
Insert two new
CR 2032 3 V
batteries. Make sure that the batteries are inserted the correct
way round in accordance with the markings. Observe the graphic in the battery compartment.
4
Close the battery compartment lid again carefully.
Note
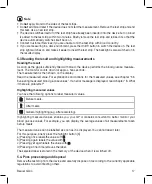
• The batteries are almost empty if the battery replacement symbol
appears. Replace both
batteries as soon as possible.
• If “ ” appears on the display, the battery power level is so low that no more measurements are
possible.
4.2 Making and changing basic settings
1
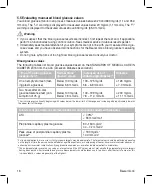
Remove the batteries and reinsert them. Alternatively, press the “+” button
and the On/Off button for a minimum of 5 seconds.
An acoustic signal sounds.
The year display flashes.
2
Setting the date and time
Note
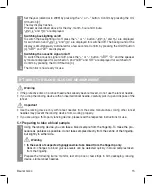
• You must set the date and time. Otherwise, you will not be able to save your measured values
correctly with a date and time and access them again later.
• The time is displayed in the 24-hour format.
rese
t
CR
20
32
CR
20
32


