Beurer GL44
15
2
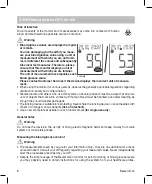
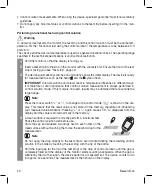
Set the year (calendar to 2099) by pressing the “+” or “–” button. Confirm by pressing the On/
Off button [4].
The day display flashes.
Proceed as described above for the day, month, hour and minute.
“
” and “
” are displayed.
3
Switching backlighting on/off
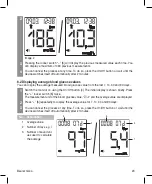
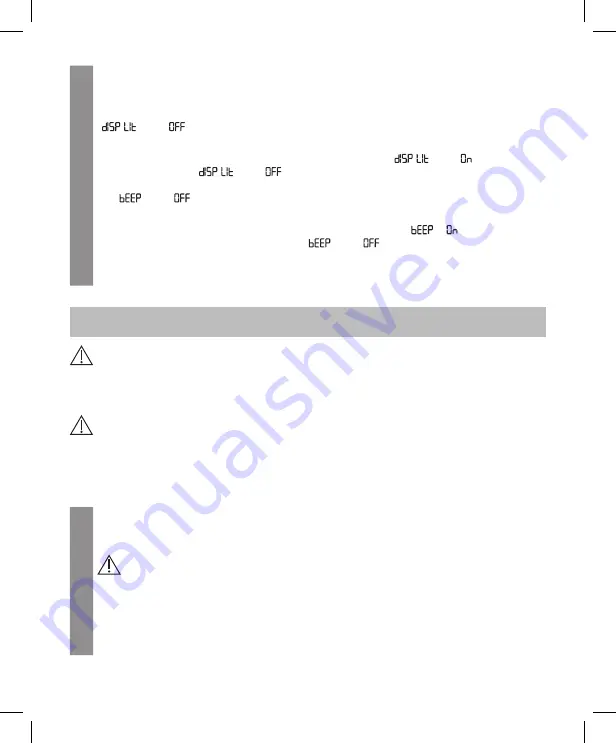
To switch the backlighting on/off, press the “+” or “−” button. “
” and “ ” are displayed
for switched on and “
” and “
” are displayed for switched off. The background of the
display is simultaneously illuminated for a few seconds. Confirm by pressing the On/Off button
[4]. “
” and “
” are displayed.
4
Switching the acoustic signal on/off
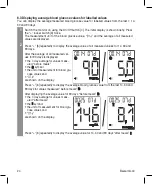
To switch the acoustic signal on/off, press the “+” or “–” button. “
”, “ ” and the speaker
symbol are displayed for switched on, and “
” and “
” are displayed for switched off.
Confirm by pressing the On/Off button [4].
5
The monitor is now ready for use.
5 t
akinG
the
blood
Glucose
measurement
Warning
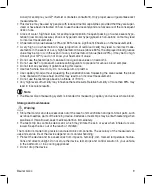
• If the protective disc on a lancet needle has already been removed, do not use the lancet needle.
• If you drop the lancing device with an inserted lancet needle, carefully pick it up and dispose of the
lancet.
Important
• Use the lancing device only with lancet needles from the same manufacturer. Using other lancet
needles may prevent the lancing device from working properly.
• If you are using a third-party lancing device, please read the respective instructions for use.
5.1 Preparing to take a blood sample
1
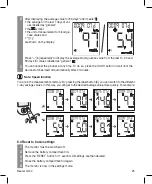
Using the lancing device, you can take a blood sample from the fingertip. To make the pro-
cedure as painless as possible, do not take samples directly from the centre of the fingertip,
but slightly to either side.
Warning
•
In the event of suspected hypoglycaemia: take blood from the fingertip only.
Reason: changes to blood glucose levels can be detected quickly in blood samples taken
from the fingertip.
2
Prepare the following items: monitor, test strip box or test strips in film packaging, lancing
device, sterile lancet needles.


