Operations (Cont.)
Recording
1. Insert an SD card or USB drive to be recorded to.
2. Press the USB/SD button to select the device.
3. Connect your source device to the IN jacks on the rear
panel.
4. Set the recording level (see Adjusting the Recording
Level)
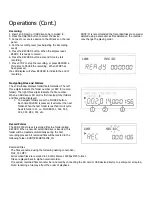
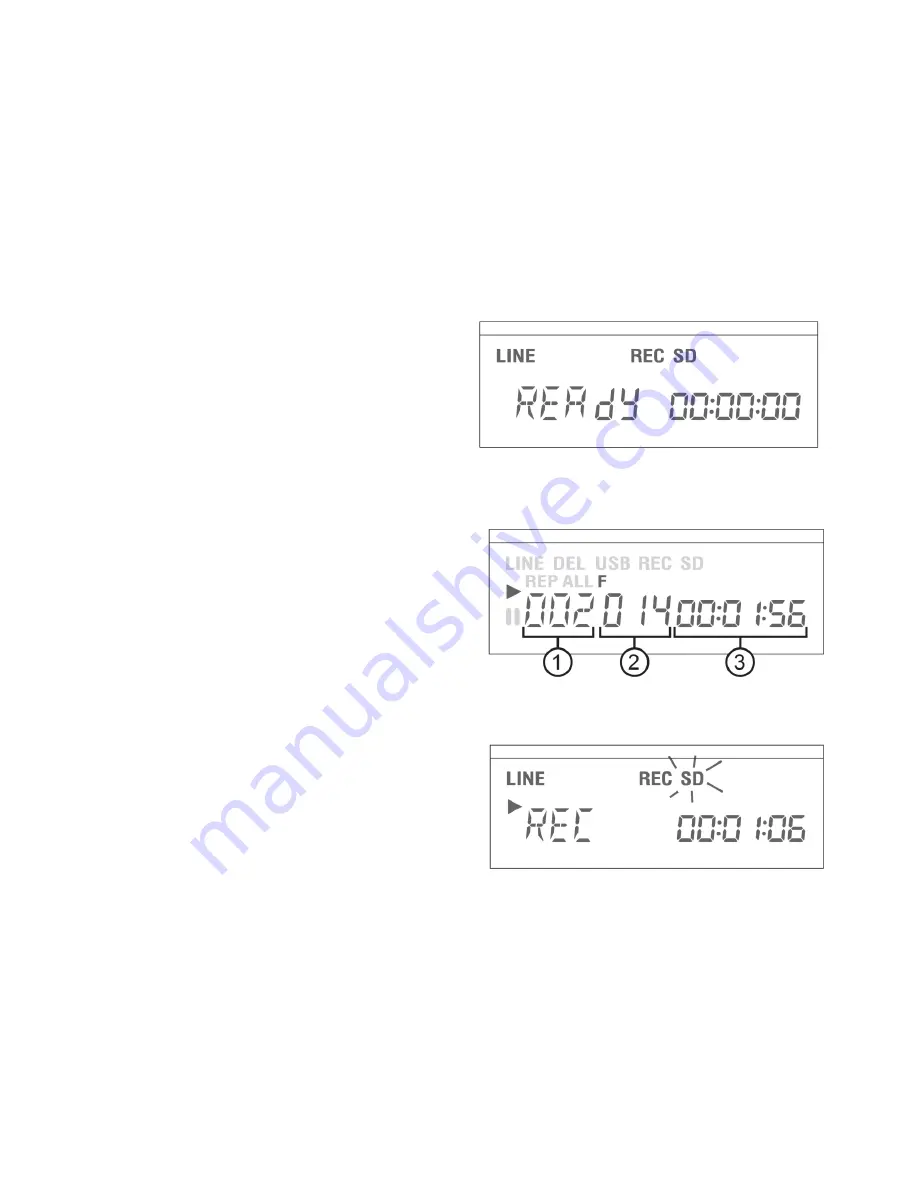
5. Press the RECORD button. When the display reads
READY, it is ready to record.
6. Press the RECORD button a second time to start
recording.
7. Press STOP to stop the recording, or press RECORD a
third time to PAUSE the recording. When STOP has
been pressed,
the LCD display will show RECEND to indicate the end of
recording.
NOTE: It is recommended that recorded files are copied or
deleted using a computer as files deleted on the recorder
may change the playing order.
Navigating Files and Folders
The LCD window displays folder/file information. The left
three digits indicate the folder number (or REC for record
folder). The right three digits indicate the file number.
When a USB drive or SD card is first inserted, total folders
and files will be displayed.
1.
To navigate folders press the FOLDER button.
Each time FOLDER is pressed, it will enter the next
folder. When the last folder is reached it will cycle
back to folder 001. i.e. FOLDER 001, 002, 003,
004, 005, REC, 001, etc.
Record Folder
The SDR-4000 stores all recorded files in a folder called
RECORD. When a new SD card/USB drive is inserted, this
folder will be created automatically during the first
recording process. All recorded files will be located in the
following folder: ROOT/RECORD/LINE_IN
Recorded Files
The files are named using the following naming convention:
FILE_001.MP3
All recorded files are recorded in 44.1KHz Stereo 192Kbps MP3 format.
Files are played back in alpha-numerical order.
If required, recorded files can later be re-named by connecting the SD card or USB device directly to a computer or laptop.
Note: renaming a file may affect the order of playback.

