2. On the
Locate Folder
page, browse to the USB key provided by BeyondTrust. Find the folder containing the image, and select
the name.
3. Click the
Select Folder
button at the bottom.
Note:
The folder you want to select should be the one containing three other folders (Virtual Machine, Virtual Hard Drive,
Snapshots). Do not import the VHD directly.
4. On the
Select Virtual Machine
page, verify that the machine appears in the list and click
Next
.
5. On the
Choose Import Type
page, make sure you retain the existing unique ID.
6.
Restore the Virtual Machine
(use the existing unique ID) and click
Next
.
7. If you already copied the contents of the USB to your server, you can optionally use the
Register
selection in the list. Do not
copy and create a new ID, or you will break the Windows and SQL Server Licensing in place on the virtual machine.
8. On the
Choose Destination
page, select where you want to store your virtual machine files.
9. The default behavior is to import the files to the default Hyper-V folders set by your server configuration. If you want to override
this, select the
Store the Virtual Machine
in a different location check box and browse to your locations.
10. Select where you want to store the imported VHD and click
Next
.
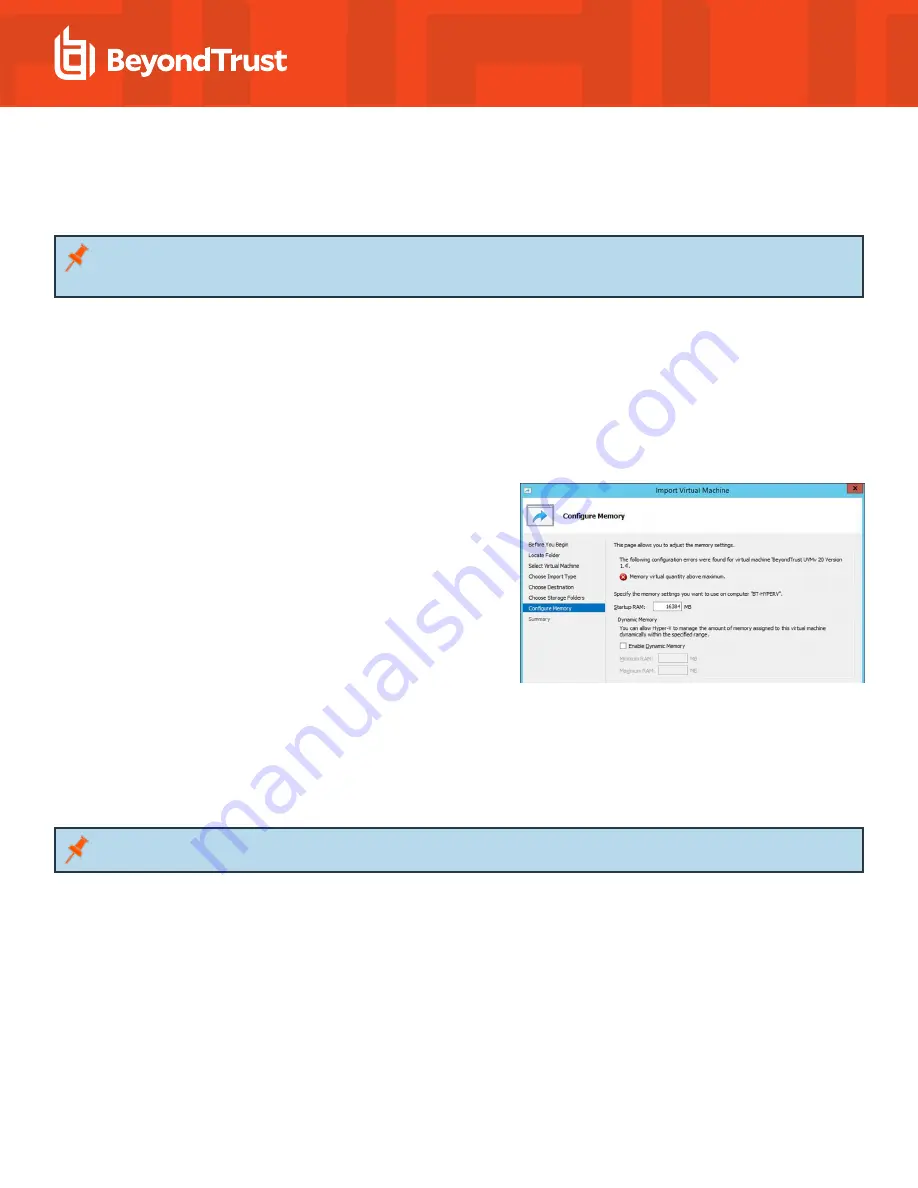
If there are any issues with the import, additional steps will
appear.
For example, a Virtual UVM is configured to use a minimum of 32
GB of RAM. If your server does not support this much RAM or
have enough RAM available, you will see the message
Memory
virtual quantity above maximum
.
11. Review the import settings.
12. Click
Finish
to import the UVM.
Configure the IP Address
You can use the following account to set your IP address.
Account Name:
btadmin
Password:
ch@ngeM3now#!#!
Note:
If you completed the configuration wizard, you have already changed the password.
1. Log on to the VM using the
btadmin
account.
2. Double-click the
Local Area Connection
on the desktop.
3. Click the
Properties
button.
4. From the list, select
Internet Protocol Version 4
.
5. Click the
Properties
button.
6. Enter the IP address and DNS server fields, as needed.
SALES:
www.beyondtrust.com/contact
SUPPORT:
www.beyondtrust.com/support
DOCUMENTATION:
www.beyondtrust.com/docs
14
©2003-2019 BeyondTrust Corporation. All Rights Reserved. Other trademarks identified on this page are owned by their respective owners. BeyondTrust Corporation is not a chartered bank or trust company,
or depository institution. It is not authorized to accept deposits or trust accounts and is not licensed or regulated by any state or federal banking authority.
TC: 6/19/2019
UNIFIED VULNERABILITY MANAGEMENT APPLIANCE
INSTALLATION GUIDE


