background image

A

B

C

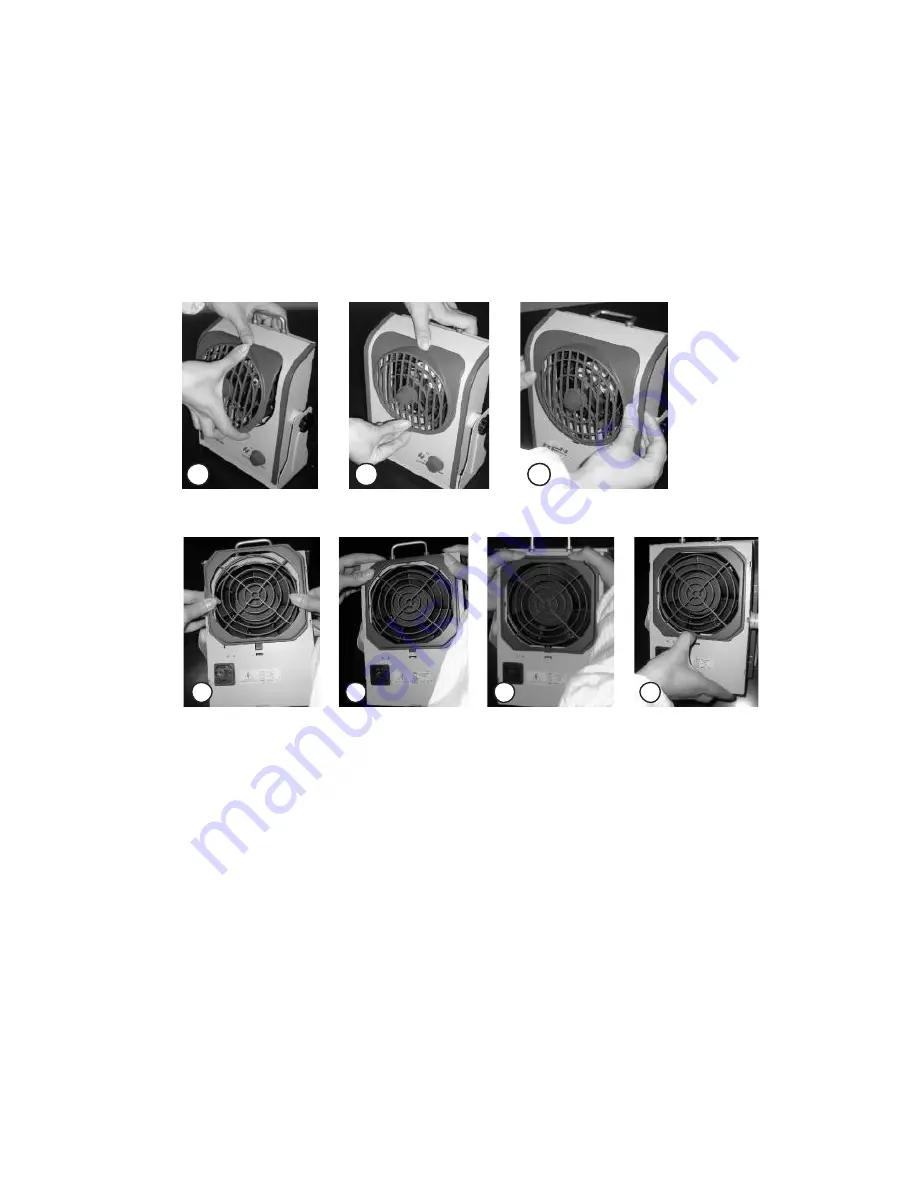
Air Outlet Assembly 

 
A.  Slide the slot on the upper back side of the front fan 

guard onto the metal case. 

B.  Push upward from the bottom of the front fan and gen-

tly press into the metal casing, until attached. 

C.  Press the sides of the cover in to make sure cover is 

securely attached. 

A

B

C

D

Air Inlet Assembly 


A.  Line up the clips on the rear fan guard with the slots on 

the BFN fan housing. 

B.  Push the rear fan guard into the corresponding slots. 
C.  Slide the two sides of the rear fan guard down. 
D.  Lightly pull the very bottom of the rear fan guard down-

ward with your thumb to lock it securely.  

Caution:  BFN series products have safety relay 
switches where the front and rear fan guards attach to 
the unit. These relays disable the fan/ionizer operation 
when either fan guard is removed. Take care when at-
taching the fan guards to assure proper functioning of 
the product. 

Summary of Contents for 801

Page 1: ...BFN 801 Ionizing Blowers Instruction Manual T R A N S F O R M I N G T E C H N O L O G I E S L L C O U T S T A N D I N G A L T E R N A T I V E S I N S T A T I C C O N T R O L ...

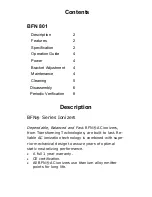
Page 2: ...escription BFN Series Ionizers Dependable Balanced and Fast BFN AC ionizers from Transforming Technologies are built to last Re liable AC ionization technology is combined with supe rior mechanical design to assure years of optimal static neutralizing performance A full 1 year warranty CE certification All BFN AC ionizers use titanium alloy emitter points for long life ...

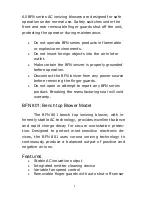
Page 3: ... before removing the finger guards Do not open or attempt to repair any BFN series product Breaking the manufacturing seal will void warranty BFN 801 Bench top Blower Model The BFN 801 bench top ionizing blower with in herently stable AC technology provides excellent balance and rapid charge decay for secure workstation protec tion Designed to protect most sensitive electronic de vices the BFN 801...

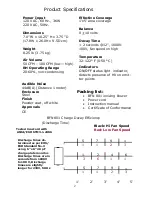
Page 4: ... 9 1 1 2 4 6 5 7 9 1 1 1 2 3 3 6 1 1 1 1 2 3 1 2 3 4 5 Tested in accord with ANSI ESD STM3 1 2006 Discharge times de termined as per EOS ESD Standard No 3 using 6 x6 20 pF charge plate monitor Discharge times are in seconds from 1000V to 100 V Discharge times are slightly longer for 230V 50 Hz Indicators ON OFF status light indicator detects presence of HV on emit ter points Audible Noise 44dB A D...

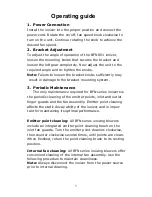
Page 5: ...nce required for BFN series ionizers is the periodic cleaning of the emitter points inlet and outlet finger guards and the fan assembly Emitter point cleaning affects the static decay ability of the ionizer and is impor tant for maintaining its optimal performance Emitter point cleaning All BFN series ionizing blowers include an integrated emitter point cleaning brush on the inlet fan guards Turn ...

Page 6: ...ase point on the bottom of the plastic rear cover using a flat blade screwdriver B Gently push the cover upwards C Lift the rear cover up and away from the metal casing A B C After removing both front and rear fan guards the emitter points and fan assembly will be unobstructed for easy deep cleaning Use a soft brush Isopropyl Alcohol and compressed air to remove any foreign matter Note The frequen...

Page 7: ...n the rear fan guard with the slots on the BFN fan housing B Push the rear fan guard into the corresponding slots C Slide the two sides of the rear fan guard down D Lightly pull the very bottom of the rear fan guard down ward with your thumb to lock it securely Caution BFN series products have safety relay switches where the front and rear fan guards attach to the unit These relays disable the fan...

Page 8: ...ent Liability is limited to servicing after evaluating repairing or replacing any product returned to Transforming Technologies The company does not warrant damage due to misuse neglect alteration or accident In no event shall Transforming Technologies be liable for collateral or consequential damages About Transforming Technologies Since 1998 Transforming Technologies has helped electronic manufa...

Reviews: