13
5.7. Splitting cycle
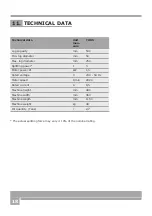
• Load your chunk on the machine laying it firmly between the
lateral guides and against the push-block. Always split the log grain-
wise. Do not attempt to split the logs tanding vertical on the machi-
ne. The log must be secureley laid in the cradle. (see figure 3)
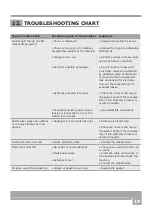
• Do not attempt to split with the log skewed across its seat between
the lateral guides. (see fig. 4)
Fig. 3
• Make sure that the log is securely clamped between and perpendicu
lar to the wedge and to the push-block. NEVER try to split two
chunks at a time. If the log tends to wobble, reposition it by turning
it. This operation MUST BE PERFORMED with the machine stopped
after all moving parts have come to a complete STOP.
• Never try to hold the pressure up for a longer time to force a big log
through the wedge. Doing this may cause dangerous overloads that
may damage the machine. In this case stop the machine,
Fig. 4
turn the chunk around and try again.
Clearing logs sticking to the wedge
• Clear both control buttons and control handle to let the push-block
return to start position.
• Fit a wooden block underneath the sticking log, then operate the
pusher to advance it against this block.
• If the log remains attached to the wedge, repeat the procedure
using each time a bigger block.
• DANGER! Never try to clear a jammed log by hand or by
hammering on it. Keep you hand away from the dangerous wedge
area! Hammering or hitting on a jammed log may cause strong
shocks that may cause even permanent damage to the motor!
• This splitter is a ONE-MAN operation machine. NEVER let more than
one person operate or work with the machine at the same time.
5.8. End of the work
• At the end of the work, make sure that the push-block drives back
to start position
• Unplug the machine and tighten the air-bleed screw again
(see fig. 2)
• Provide consistent compliance with these maintenance instructions.


