Commissioning
33
11 Cold flush the system to remove any loose par-
ticles and any system debris before starting the
boiler for the first time
The flushing procedure must be in line with
BS7593
Treatment of Water in d.h.w. c.h. Sys-
tems.
When the installation and second filling are
completed turn on the c.h. system and run it
until the temperature has reached the boiler
operating temperature. The system must then
be immediately flushed through.
This procedure must be repeated twice more.
During this operation we highly recommend
the use of a c.h. flushing detergent in the quan-
tities as specified by the appropriate manufac-
turer, whose function it is to dissolve any
foreign matter which may be in the system.
The above operation could save the invalida-
tion of your boilers guarantee and will also pre-
vent problems which you may experience in
the future if an inhibitory is not used.
7.5
Condensate pipe and traps
The full length of the condensate pipe should be
check for leaks.
The boiler has a built---in condensate trap pro-
vided with a ball valve that prevents the escape of
combustion products when the trap is empty.
It is however recommended that any other trap
in the drain system is correctly filled with water
before to run the boiler.
7.6
Lighting the boiler
Some products incorporate an anti cycling time
delay. It is normal when first switching the boiler on
for the boiler to operate on heating for a few sec-
onds then switch off. After 3---4 minutes has
elapsed the boiler will then re ignite and operate
perfectly normally. The ignition delay cycle does
not prevent normal operation of the boiler to pro-
vide d.h.w..
If external controls are fitted (e. g. Timeclock, room
thermostat) ensure they ”call for heat”.
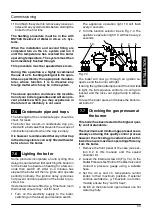
1 Turn on the electricity supply to the boiler,
switching on the fused spur isolation switch.
The appliance operation light 10 will flash
every 4 seconds.
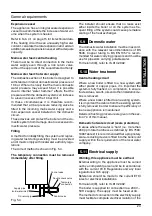
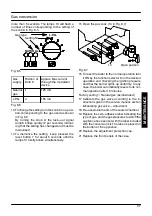
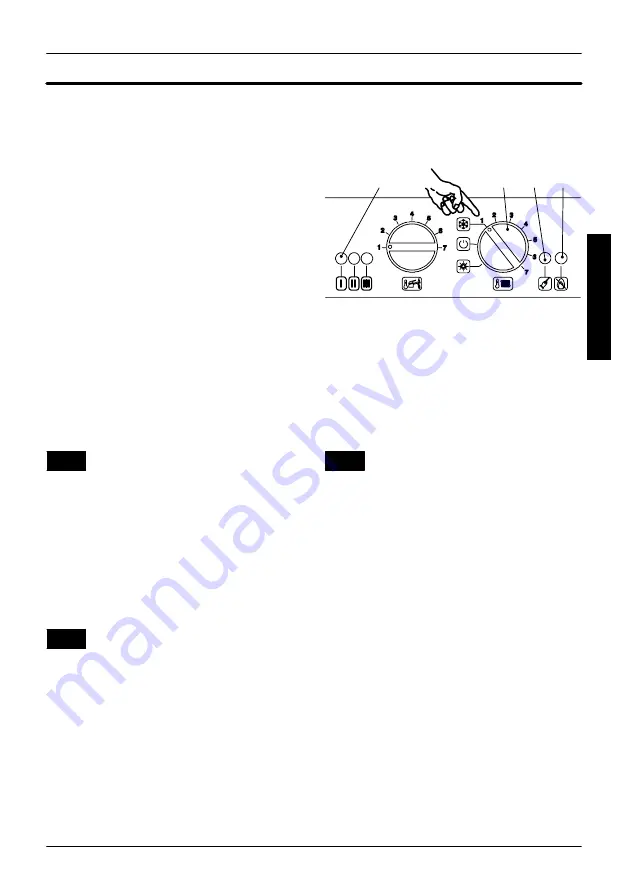
2 Turn the function selector 8 as in Fig. 7.3. The
appliance operation light 10 will flash every 2
seconds.
8
10
7
6
Fig. 7.3
The boiler will now go through an ignition se-
quence and the burner will light.
If during the ignition attempt period the boiler fails
to light, the full sequence control p.c.b. will go to
lockout and the lock---out signal lamp 6 will ap-
pear.
To reset the boiler press and release the boiler re-
set button 7.
7.7
Checking the gas pressure at
the burner
This boiler has been tested to the highest qual-
ity control standards.
The maximum and minimum gas pressures are
already set during this quality control process
however the checking procedure must be fol-
lowed to ensure maximum operating efficiency
from the boiler.
1 Remove the front panel of the case (see sec-
tion 9.2 in this manual) and the sealed
chamber lid.
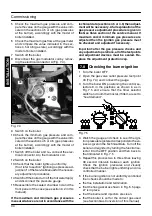
2 Loosen the internal screw 33 (Fig. 7.4) on the
Outlet Pressure Test Point of the Gas Valve and
connect a pressure gauge using a suitable
hose.
3 Set the d.h.w. and c.h. temperature control
knobs to their maximum position. If external
controls are fitted (e. g. Timeclock, room ther-
mostat) ensure they ”call for heat”.
4 Switch on the boiler and open at least one hot
water tap fully.
IN
S
TA
LLA
TI
O
N


