3.5 Parts assembly
21
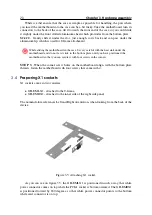
They are both attached with two screws, the
Left
version to the side of the T-frame, and
the
Right
version to the inner side of the left side panel of the case.
N
In appliances containing only one card, the right X1 socket does not come mounted
to the case. If you are here for the upgrade to two cards, please mount the provided
GH-EMRX1 socket to the inner side of the left side panel first and then continue with
the manual.
3.5
Parts assembly
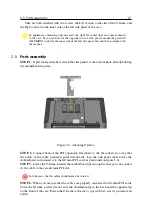
STEP 1.
If previously detached, attach the side panels to the bottom plate already holding
the motherboard in place.
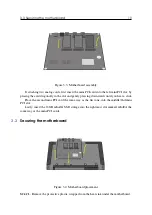
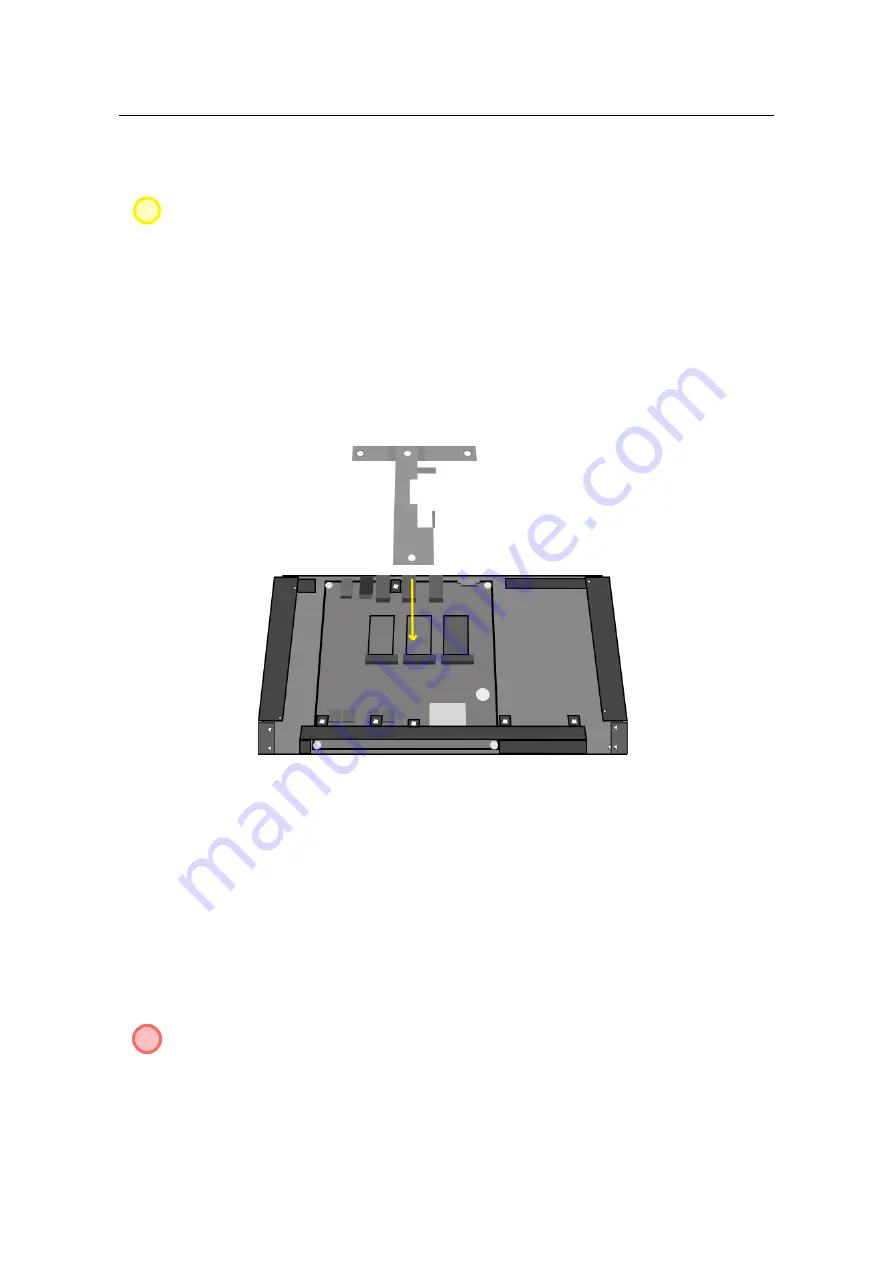
Figure 3.6: Attaching T-frame.
STEP 2.
Connect both of the PCI expansion flat cables to the X1 sockets in a way that
the notch on the cable connector point downwards. Lay the side panel cable across the
motherboard and connect it to the left mini PCI card (as positioned on figure 3.6).
STEP 3.
Lower the T-frame towards the motherboard just enough so that you can connect
its flat cable to the second mini PCI slot.
W
In both cases, the flat cables should
never
be twisted.
STEP 4.
When you are sure that the cables are properly connected to the mini PCI cards,
lower the T-frame so that it leans over the aluminium lip in the back and the opposite lip
on the front of the case. Fasten the T-frame to the case’s
lips
with two screws you removed
earlier.

