26
Chapter 4. Installation
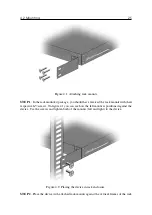
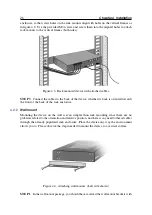
enclosure, so that screw holes on the rack mounts align with holes on the vertical frames as
in figure 4.2. Use the provided M3 screws and screw them into the aligned holes to attach
rack mounts to the vertical frames (both sides).
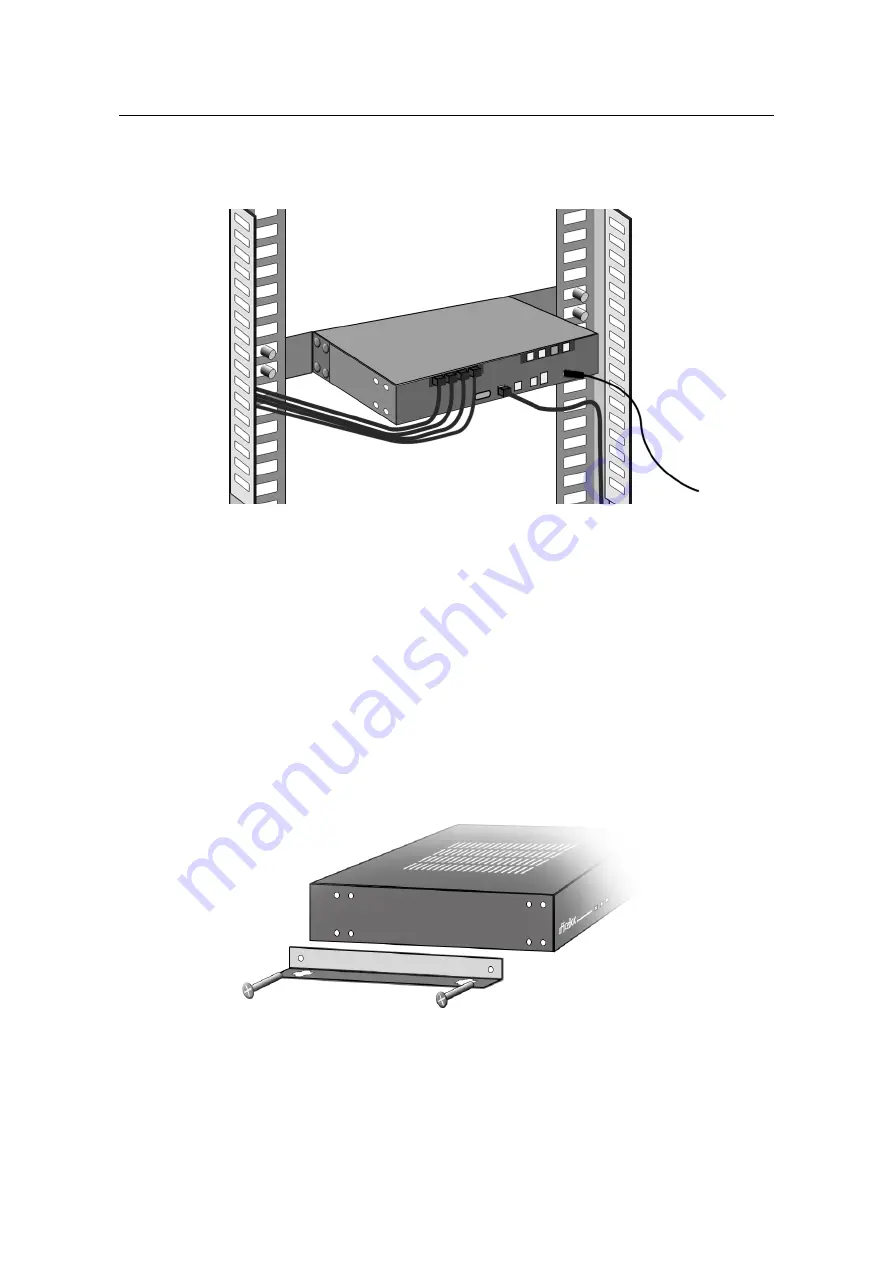
Figure 4.3: Rack mounted device with attached cables.
STEP 3
. Connect the cables to the back of the device, whether its back is oriented towards
the front or the back of the rack enclosure.
4.2.2
Wall mount
Mounting the device on the wall is even simpler than rack mounting since there are no
problems related to the orientation and relative position, nor there is any need to thread cables
through the already populated rack enclosure. Place the device any way the environment
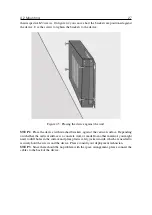
allows you to. Please observe the steps needed to mount the device to a vertical surface.
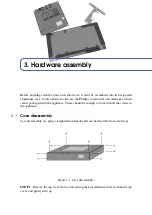
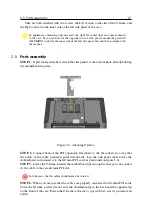
Figure 4.4: Attaching wall mounts. (Left side shown)
STEP 1
. In the wall mount package, you should have received the wall mount brackets with


