5.0
Operation
5.
1
5
Stacking (Automatic)
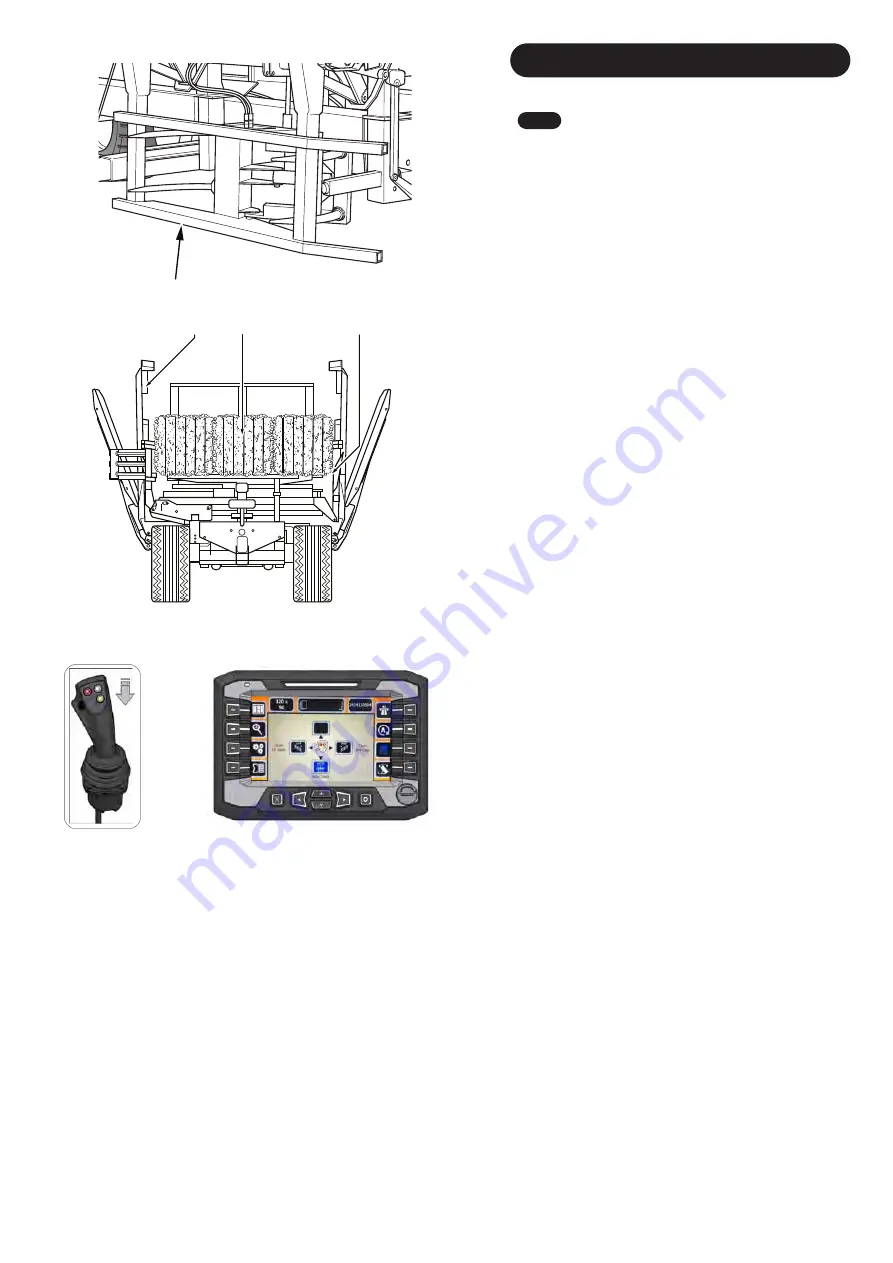
1. Before operating the stacking function, ensure the
following:
A.
The pickup has returned fully
(Fig.
63
)
.
B.
The table is full and the bales are tight, central and well
aligned. This is very important
(Fig.
64
).
Fi
g. 47 No
te 1
Note the alignment with the sides of the platform.
F
ig. 47 N
ote 2
The Bales must be tightly packed together, tight up against
the bale stop and central to the machine.
Fi
g. 47 N
ote 3
Location of Bale Stop.
See Adjustments Section 6.0
C. Ensure the forks are erect, pressurised and forward
.
D. Check the rear clamp
s
is fully open
.
See 5.13 Getting
Started Manually
E. Ensure you are in 'Field Manual Mode'
(Fig. 1
2
)
.
2. Pull the joystick back
(Fig.
65
)
to start an 'Auto Stack'
and
the machine will place
the first line of bales on the platform
against the forks and
return to its lower position on the nylon
bottom stops with
the hooks withdrawn.
Note:
The 'Auto Stack' will know if it should 'Tie' or 'No Tie'
due to how you set your bale configuration.
Note
: The
side gate tines
should grip the bales and prevent
them falling forward. The 'Side Gates' should open and close
automatically to suit.
3. View the Screen on the control panel, this will have
progressed to indicate one layer of bales.
4. Repeat the above process until the platform is full. This
will be indicated by the LCD flashing full.
The
Transtacker
4100 will then automatically go into 'Road
Mode'.
1
2
3
Fig. 64
Pick up
Fig. 63
Fig.
65
19
Summary of Contents for Transtacker 4100
Page 61: ...58...
Page 62: ...59...
Page 63: ...11 0 Hydraulic Systems 11 4 Valve Block Schematic Fig 168 60...
Page 67: ...13 0 Maintenance 13 2 Pickup Grease Points Fig 172 64...
Page 68: ...13 0 Maintenance 13 3 Grab Arm Grease Points Fig 173 65...
Page 69: ...13 0 Maintenance 13 4 Turntable A Frame Grease Points Fig 174 66...
Page 70: ...13 0 Maintenance 13 5 Side Gate Grease Points Fig 175 67...
Page 71: ...13 0 Maintenance 13 6 Rear Clamps Grease Points Fig 176 68...
Page 72: ...13 0 Maintenance 13 7 Chassis Grease Points Fig 177 69...
Page 73: ...13 0 Maintenance 13 8 Platform Grease Points Fig 178 70...
Page 74: ...13 0 Maintenance 13 9 Axle Grease Points Fig 179 71...
Page 84: ...16 0 Operators Notes 81...
Page 85: ...82...
Page 86: ...83...
Page 87: ...84...


