50
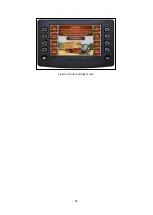
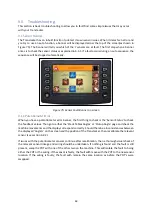
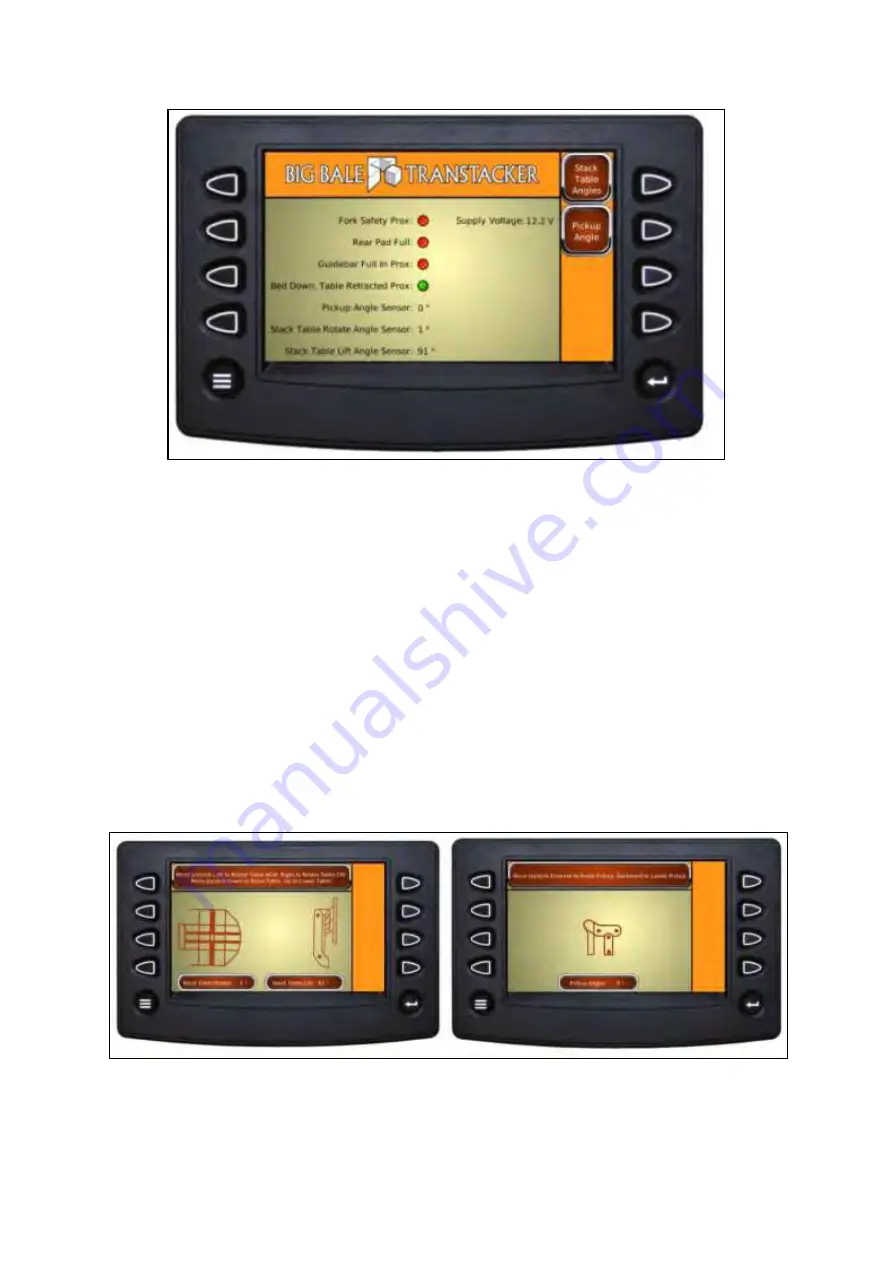
Figure 63: Sensor Status Page.
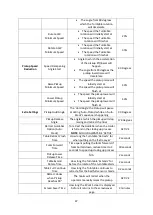
To ensure your potentiometers are working correctly or to verify you have calibrated a sensor
correctly, on the
‘S
ensor Status
’
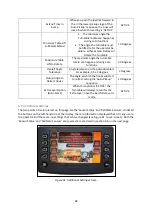
page (Figure 63), you can see on the top right of the screen that there
are two options of;
‘Stack Table Angles’ and ‘Pickup Angles’.
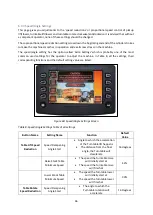
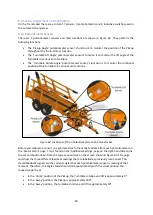
Pressing either of those buttons will pull
up either of the screens shown in Figure 64.
On both screens, at the top centre of the screen, there are instructions for you to follow. With the
PTO running, you can follow the instructions. The machine will move, as will the graphics which
replicate the real time movement of the Transtacker. Ensure the Guidebar is extended in order to use
the ‘Pickup Angle’.
NOTE
: The Transtacker will move and therefore you need to ensure the area is safe and clear of
bystanders.
NOTE
: Before you rotate the turntable, ensure the turntable is raised to at least 15 degrees.
If it is felt that a calibration of a sensor is necessary, go to section 6.4.2.
Figure 64:
‘Stack Tables Angles’ (Left) and ‘Pickup Angle’ (Right).
Summary of Contents for Transtacker
Page 7: ...7 3 0 Machine Overview Figure 1 Transtacker Overview...
Page 43: ...43 Figure 59 Auto Settings Screen...
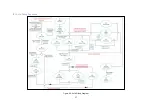
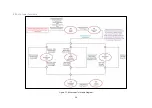
Page 57: ...57 8 1 Auto Pickup Sequence Figure 69 Auto Pickup Diagram...
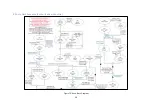
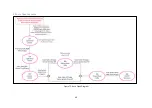
Page 58: ...58 8 2 Auto Stack Sequence both with and without tie Figure 70 Auto Stack Diagram...
Page 59: ...59 8 3 Auto Lower Turntable Figure 71 Auto Lower Turntable Diagram...
Page 60: ...60 8 4 Auto Open Sequence Figure 72 Auto Open Diagram...
Page 61: ...61 8 5 Auto Tip Bed Down Sequence Figure 73 Auto Tip Bed Down Diagram...
Page 62: ...62 8 6 Road Mode Sequence Figure 74 Road Mode Diagram...

