Page 1 of 2
090815-1.0
Tools Required.
-
Torx head screwdriver #27
-
Flat and Phillips head screwdrivers.
-
Socket set.
Congratulations on your Biketronics CribClicker purchase! CribClicker is made in America and to the extent
possible, using components from American companies. CribClicker is a state-of-the-art, highly secure wireless
garage door and gate opener. Should you have questions regarding CribClicker, feel free to dial the number
found below or on your unit.
CAUTION
When working on automatic garage door openers, make sure to follow the manufacturer’s safety instructions
carefully. Please exercise good judgment. Unplug the garage door motor when making connections. Anticipate
that opener may actuate at any time and use proper precautions.
General Installation Guidelines
On vehicle, disconnect battery - negative cable first. Remove power from door or gate opener unit.
Read all instructions FIRST.
Go easy… Don’t force parts!
Prior to disassembly, insure that you have all necessary tools and parts for the job.
Protect bike finish using towels and blankets. Before fairing removal, prepare a safe, padded area to place it.
Allow plenty of time – don’t rush the job.
When in doubt, re-read the instructions or call Biketronics for help.
Receiver Installation on Door/Gate Power Head Unit
Disconnect power from door/gate motor.
DO THIS NOW!
1.
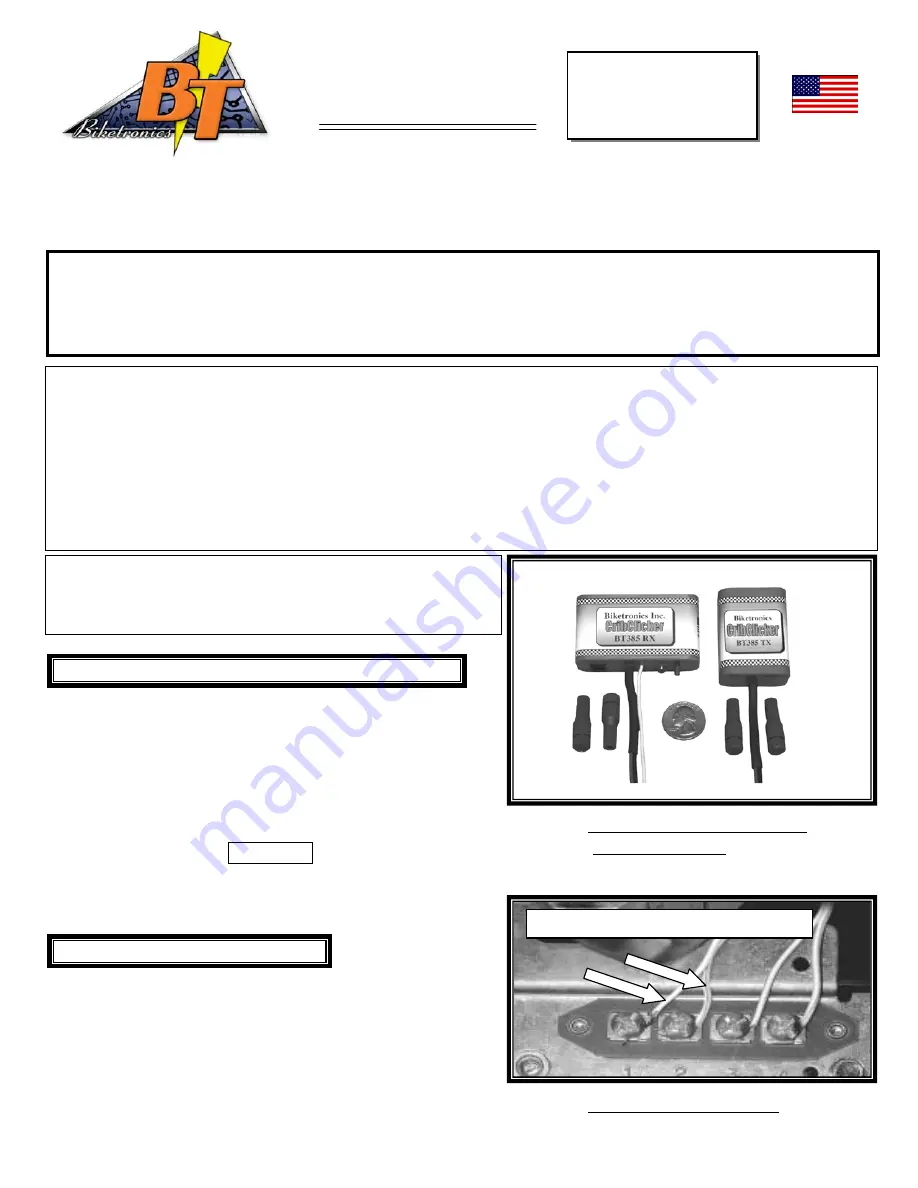
Locate BT385 RX receiver on wall switch circuit
between wall switch and power head unit. A good
location is at the power head near the wall switch
terminal strip. This may be behind light-lens or on
back of power head unit.
2.
Use supplied Posi-Taps to make connection of
CribClicker’s two black wires to wall switch circuit.
3.
Use zip-tie or Velcro to secure the CribClicker module.
4.
Yellow wire is CribClicker antenna and should not be
connected to anything.
Transmitter Installation on Vehicle
Disconnect battery - negative cable first.
DO THIS NOW!
5.
Remove outer fairing.
6.
Connect and mount BT385 TX transmitter – one wire
to ground and one wire to switched 12V. Headlight
high-beam circuit is best (yellow wire on Harley
Davidson.)
Made in USA
BT385
Universal application for any
vehicle and just about every
door/gate actuator.
CribClicker
(BT385)
Installation Guide
Figure 1. – CribClicker receiver (left) and
transmitter (right.)
Figure 2. – Power head terminal strip.
Place Posi-Taps on wall switch circuit only!


