37
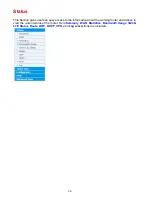
Summary
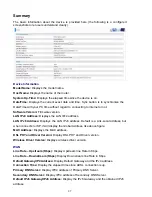
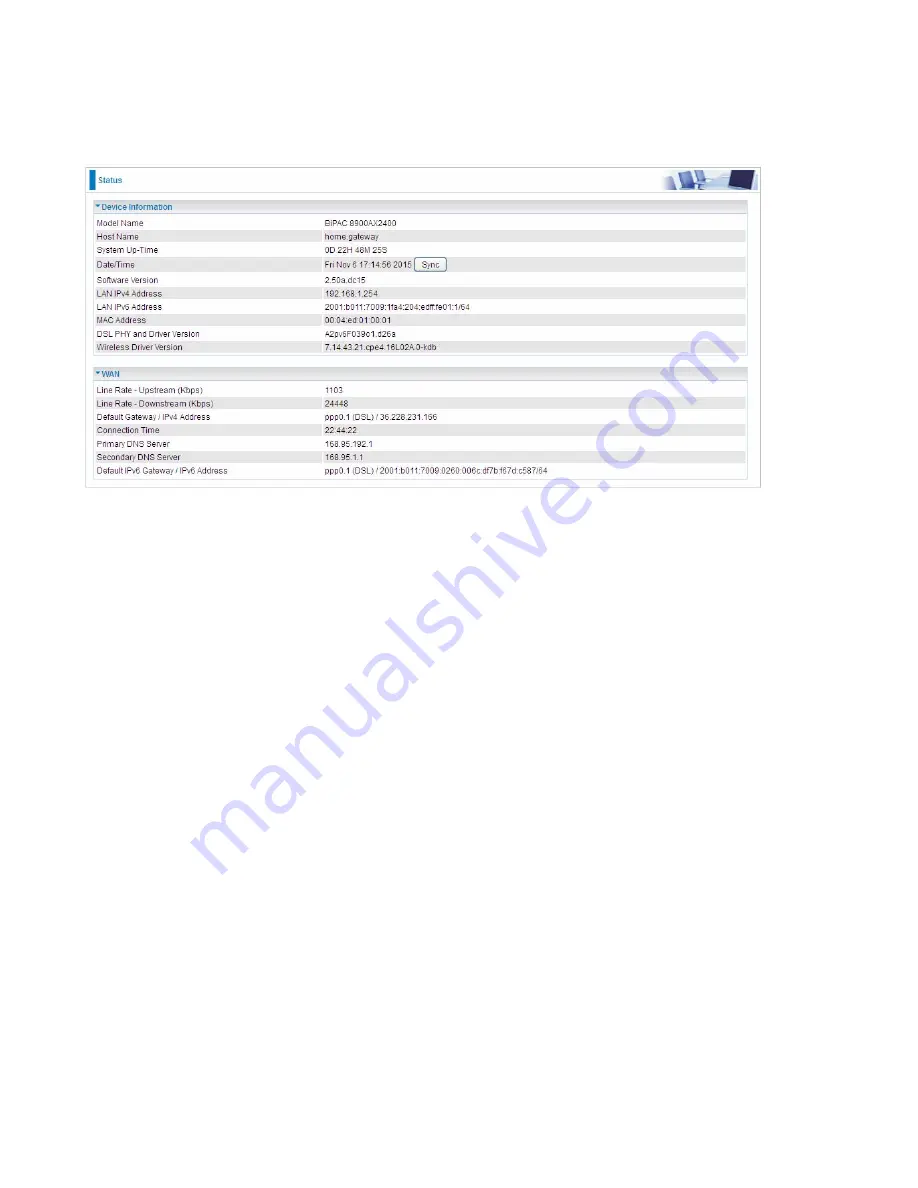
The basic information about the device is provided here (the following is a configured
screenshots to let users understand clearly).
Device Information
Model Name:
Displays the model name.
Host Name:
Displays the name of the router.
System Up-Time:
Displays the elapsed time since the device is on.
Date/Time:
Displays the current exact date and time. Sync button is to synchronize the
Date/Time with your PC time without regard to connecting to internet or not.
Software Version:
Firmware version.
LAN IPv4 Address:
Displays the LAN IPv4 address.
LAN IPv6 Address:
Displays the LAN IPv6 address. Default is a Link-Local address, but
when connects to ISP, it will display the Global Address, like above figure.
MAC Address:
Displays the MAC address.
DSL PHY and Driver Version:
Display DSL PHY and Driver version.
Wireless Driver Version:
Displays wireless driver version.
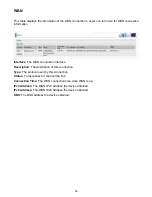
WAN
Line Rate – Upstream (Kbps):
Display Upstream line Rate in Kbps.
Line Rate – Downstream (Kbps):
Display Downstream line Rate in Kbps.
Default Gateway/IP4 Address:
Display Default Gateway and the IPv4 address.
Connection Time:
Display the elapsed time since ADSL connection is up.
Primary DNS Server:
Display IPV4 address of Primary DNS Server.
Secondary DNS Server:
Display IPV4 address of Secondary DNS Server.
Default IPv6 Gateway/IPv6 Address:
Display the IPv6 Gateway and the obtained IPv6
address.
Summary of Contents for BiPAC 6900AX(L)-2400
Page 20: ...15 3G LTE Router mode ...
Page 66: ...61 7 Success ...
Page 94: ...89 Configure AP as Enrollee Add Registrar with PIN Method 1 Set AP to Unconfigured Mode ...
Page 144: ...139 Accessing mechanism of Storage In your computer Click Start Run enter 192 168 1 254 ...
Page 146: ...141 Access the folder public ...
Page 149: ...144 Step 2 Click Add a Printer Step 3 Click Add a network wireless or Bluetooth printer ...
Page 160: ...155 Rule inactive ...
Page 196: ...191 ...
Page 199: ...194 ...
Page 208: ...203 4 Input Internet address and Destination name for this connection and press Next ...
Page 209: ...204 5 Input the account user name and password and press Create ...
Page 210: ...205 6 Connect to the server ...
Page 212: ...207 ...
Page 223: ...218 4 Input Internet address and Destination name for this connection and press Next ...
Page 224: ...219 5 Input the account user name and password and press Create ...
Page 241: ...236 2 ipoe_eth0 with DDNS www hometest1 com using username password test test ...
Page 253: ...248 Click Apply to confirm your settings ...
Page 261: ...256 Mobile Network User can press Scan to discover available 3G LTE mobile network ...
Page 267: ...262 Example Ping www google com ...
Page 268: ...263 Example trace www google com ...

