94
Advanced
– 2.4GHz Wireless
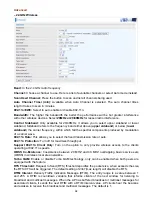
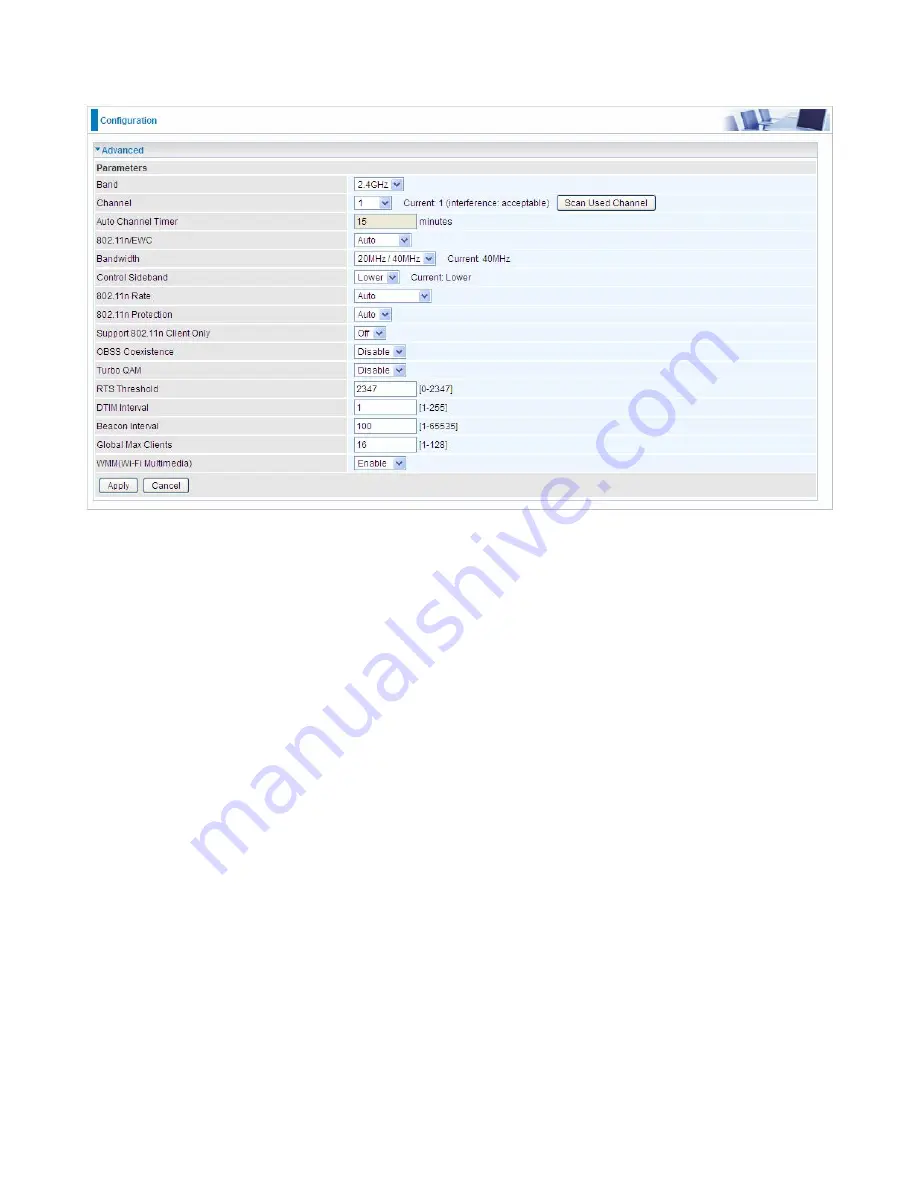
Band:
In the 2.4 GHz radio frequency.
Channel:
Choose a channel to use. Here is a list of available channels or select Auto mode instead.
Scan Used Channel:
Press the button to scan and list all channels being used.
Auto Channel Timer (min):
Available when Auto Channel is selected. The auto channel times
length it takes to scan in minutes.
802.11n/EWC:
Select to auto enable or disable 802.11n.
Bandwidth:
The higher the bandwidth the better the performance will be but greater interference
with other wireless devices. Select
20MHz or 20/40MHz
for lessen radio interference.
Control Sideband:
Only available for 20/40MHz. It allows you to select upper sideband or lower
sideband. Sideband refers to the frequency band either above (
upper sideband
) or below (
lower
sideband
) the carrier frequency, within which fall the spectral components produced by modulation
of a carrier wave.
802.11n Rate:
This allows you to select the fixed transmission rate or auto.
802.11n Protection:
Turn off for maximize throughput.
Support 802.11n Client Only:
Turn on the option to only provide wireless access to the clients
operating at 802.11n speeds.
OBSS Co-Existence:
Coexistence between 20 MHZ and 40 MHZ overlapping basic service sets
(OBSS) in wireless local area networks.
Turbo QAM:
Enable or disable Turbo QAM technology, only can be enabled when both peers are
equipped with the feature.
RTS Threshold:
Request to Send (RTS) threshold specifies the packet size, when exceeds the size,
the RTS/CTS will be triggered. The default setting of 2347(max length) will disable the RTS.
DTIM Interval:
Delivery Traffic Indication Message (DTIM). The entry range is a value between 1
and 255. A DTIM is countdown variable that informs clients of the next window for listening to
broadcast and multicast messages. When the AP has buffered broadcast or multicast messages for
associated clients, it sends the next DTIM with a DTIM interval value. AP clients hear the beacons
and awaken to receive the broadcast and multicast messages. The default is 1.
Summary of Contents for BiPAC 6900AX(L)-2400
Page 20: ...15 3G LTE Router mode ...
Page 66: ...61 7 Success ...
Page 94: ...89 Configure AP as Enrollee Add Registrar with PIN Method 1 Set AP to Unconfigured Mode ...
Page 144: ...139 Accessing mechanism of Storage In your computer Click Start Run enter 192 168 1 254 ...
Page 146: ...141 Access the folder public ...
Page 149: ...144 Step 2 Click Add a Printer Step 3 Click Add a network wireless or Bluetooth printer ...
Page 160: ...155 Rule inactive ...
Page 196: ...191 ...
Page 199: ...194 ...
Page 208: ...203 4 Input Internet address and Destination name for this connection and press Next ...
Page 209: ...204 5 Input the account user name and password and press Create ...
Page 210: ...205 6 Connect to the server ...
Page 212: ...207 ...
Page 223: ...218 4 Input Internet address and Destination name for this connection and press Next ...
Page 224: ...219 5 Input the account user name and password and press Create ...
Page 241: ...236 2 ipoe_eth0 with DDNS www hometest1 com using username password test test ...
Page 253: ...248 Click Apply to confirm your settings ...
Page 261: ...256 Mobile Network User can press Scan to discover available 3G LTE mobile network ...
Page 267: ...262 Example Ping www google com ...
Page 268: ...263 Example trace www google com ...


