159
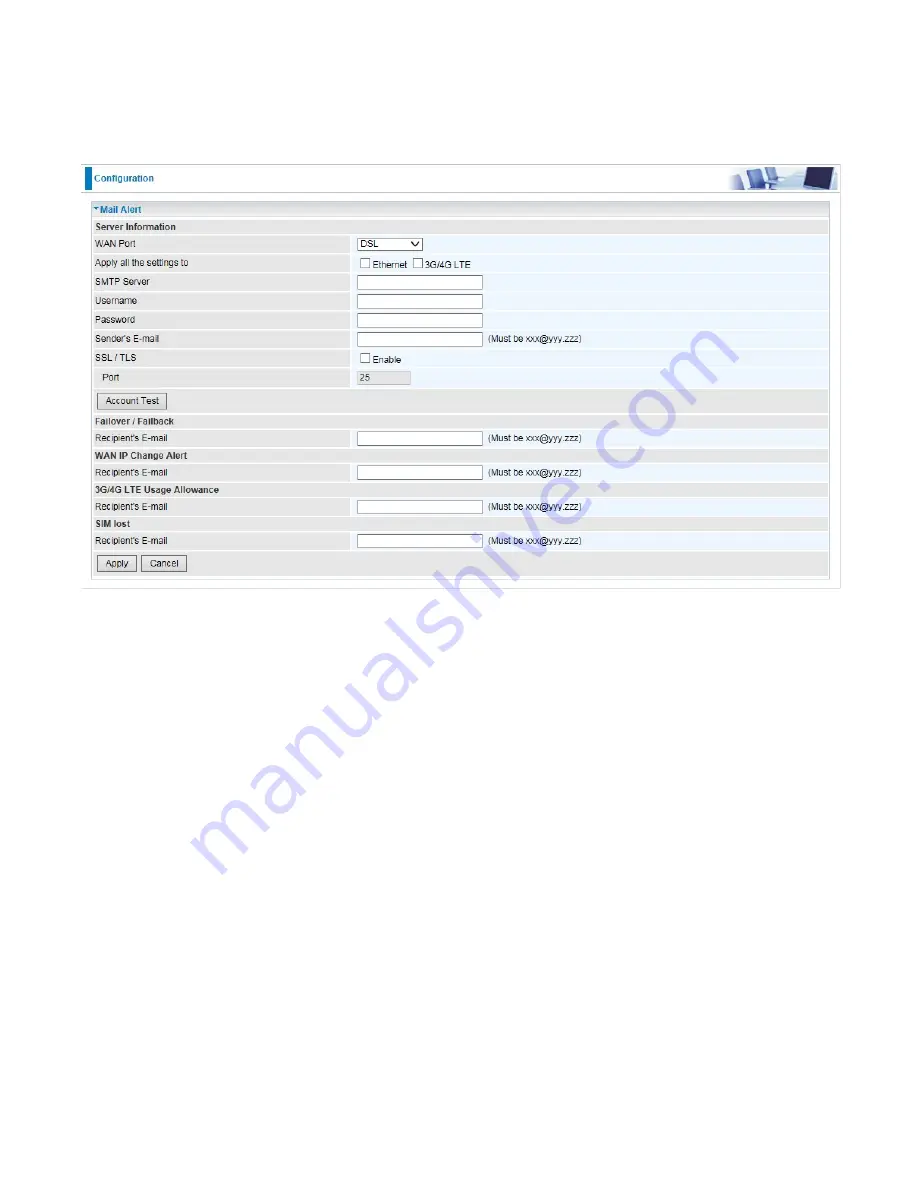
Mail Alert
Mail alert is designed to keep system administrator or other relevant personnel alerted of any
unexpected events that might have occurred to the network computers or server for monitoring
efficiency. With this alert system, appropriate solutions may be tackled to fix problems that may have
arisen so that the server can be properly maintained.
WAN Port:
Mail Alert feature can be applicable to every WAN mode: Ethernet
,
DSL and 3G/4G
LTE. Select the port you want to use Mail Alert.
For example DSL, then when the WAN connection is in DSL mode and when there is any
unexpected event, the alert message will be sent to your specified E-mail.
Apply all settings to:
check whether you want to have a copy of the settings to apply to other WAN
port, suppose the above Main port is DSL, then if you enable this function, then Ethernet port will
have the same configuration.
SMTP Server:
Enter the SMTP server that you would like to use for sending emails.
Username:
Enter the username of your email account to be used by the SMTP server.
Password:
Enter the password of your email account.
Sender’s Email:
Enter your email address.
SSL:
Check to whether to enable SSL encryption feature.
Port:
the port, default is 25.
Account Test:
Press this button to test the connectivity and feasibility to your sender’s e-mail.
Recipient’s Email (Failover / Failback):
Enter the email address that will receive the alert message
once the failover or failback has been detected.
Recipient’s Email (WAN IP Change Alert):
Enter the email address that will receive the alert
message once a WAN IP change has been detected.
Recipient’s Email (3G/4G LTE Usage Allowance ):
Enter the email address that will receive the
alert message once
the
3G over Usage Allowance occurs.
Recipient’s Email (SIM lost):
Enter the email address that will receive the alert message once the
SIM card loss has been detected.
Summary of Contents for BiPAC 8700VAX(L)-1600
Page 17: ...12 The Rear Ports 5 1 2 3 4 7 9 8 10 6 ...
Page 22: ...17 3G 4G LTE mode Failover fallback mode ...
Page 37: ...32 8 In the above page click finish to complete the EZSO settings ...
Page 40: ...35 8 In the above page click finish to complete the EZSO settings ...
Page 43: ...38 8 In the above page click finish to complete the EZSO settings ...
Page 106: ...101 Configure AP as Enrollee Add Registrar with PIN Method 1 Set AP to Unconfigured Mode ...
Page 126: ...121 Router C setup Refer to Router B setup ...
Page 169: ...164 Accessing mechanism of Storage In your computer Click Start Run enter 192 168 1 254 ...
Page 171: ...166 Access the folder public ...
Page 174: ...169 Step 2 Click Add a Printer Step 3 Click Add a network wireless or Bluetooth printer ...
Page 185: ...180 How to disable set rule Rule inactive ...
Page 233: ...228 ...
Page 236: ...231 ...
Page 246: ...241 4 Input Internet address and Destination name for this connection and press Next ...
Page 247: ...242 5 Input the account user name and password and press Create ...
Page 248: ...243 6 Connect to the server ...
Page 250: ...245 ...
Page 262: ...257 4 Input Internet address and Destination name for this connection and press Next ...
Page 263: ...258 5 Input the account user name and password and press Create ...
Page 267: ...262 ...
Page 291: ...286 2 ipoe_eth4 with DDNS www hometest1 com using username password test test ...
Page 303: ...298 Click Apply to confirm your settings ...
Page 312: ...307 Mobile Network User can press Scan to discover available 3G 4G LTE mobile network ...
Page 318: ...313 Example Ping www google com ...
Page 319: ...314 Example trace www google com ...


