Part No 500264
20
F091506B
BC2402 Series Brush Cutter Owner’s Manual
B
LADE
D
RIVE
B
ELT
R
EMOVAL AND
R
EPLACEMENT
READ
all safety instructions before servicing unit.
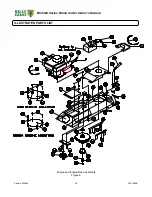
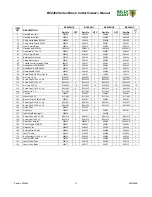
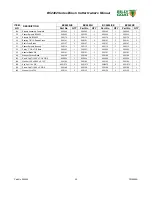
Numbers in parenthesis (N-N ) refer to figure and item numbers in Illustrated Parts List.
Tools required:
- 1/2” socket, 3/8” drive
- ratchet, 3/8”
- drive extension, 3/8” drive
- universal joint, 3/8” drive
- pry bar or long screwdriver
- jack stands or similar device adequate to support weight of machine.
DISCONNECT
spark plug wire before servicing unit.
1. Disconnect spark plug wire.
2. Lift and support rear of unit to allow access to underside.
UNIT IS HEAVY
. Make sure support is adequate to support weight of machine.
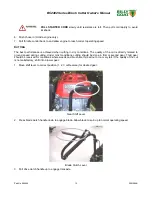
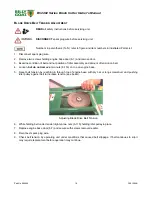
3. Remove two screws (6-103) and washers (6-141) holding engine base door (6-7) and remove door.
4. Loosen,
but
do not remove
, two nuts (6-116) holding idler mounting plate (6-26) to relieve tension on blade
drive belt (8-29).
It may be necessary to pry idler pulley (8-9) away from its original position to release belt.
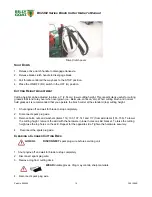
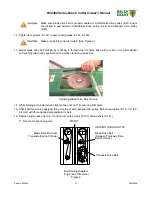
5. Using drive extension and universal joint, loosen, but
do not remove
, four screws (6-107) holding belt
guides (6-149, 6-150) in place next to crankshaft drive pulley (8-9) at rear of machine.
If extension and universal joint are not available, remove stop bolt (6-110) and nuts (6-116, 6-
117) to allow idler arm to swing back and allow access to screws (6-107).
6. Pull transaxle drive belt (8-10) from groove on pulley (8-9).
7. Pull blade drive belt (8-29) from groove on pulley (8-9) and down past pulley.
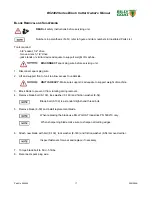
8. Pull belt back through hole in top of engine base and remove it from machine.
It will take some force to walk the belt past the front portion of the pulley.
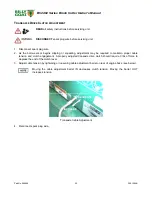
9. Install new blade drive belt (8-29) on groove in pulley (8-9). Push remaining length of belt back through
engine base toward clutch/brake drive pulley.
10. Install transaxle drive belt (8-10) on groove in pulley (8-9).
11. Reach through from rear of machine and pull new belt through and install it in the groove on the clutch/brake
drive pulley.

