GAT Handheld Coder GAT Pro+ User Manual
©2016 Bimmer Retrofit Inc.
recommended to use Remote auth. In all other cases uncheck ‘
Remote auth’
to keep
using local authorization source.
‘
WiF
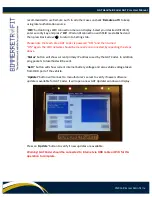
i’ button brings WiFi connection menu on display. Select your desired WiFi SSID,
enter security key and press “
OK
”. Wait until connection with SSID is established and
then press Back arrow ‘
’ to return to Settings tab.
Please note that each time GAT Coder is powered “OFF” and then turned
“ON” again, the WiFi network should be manually re-connected by repeating the steps
above.
‘
Status’
button will show current primary IP address used by the GAT Coder. In addition
ping packets to localhost will be sent.
‘
Bat V’
button will show current internal battery voltage and also vehicle voltage taken
from OBD port of the vehicle.
‘
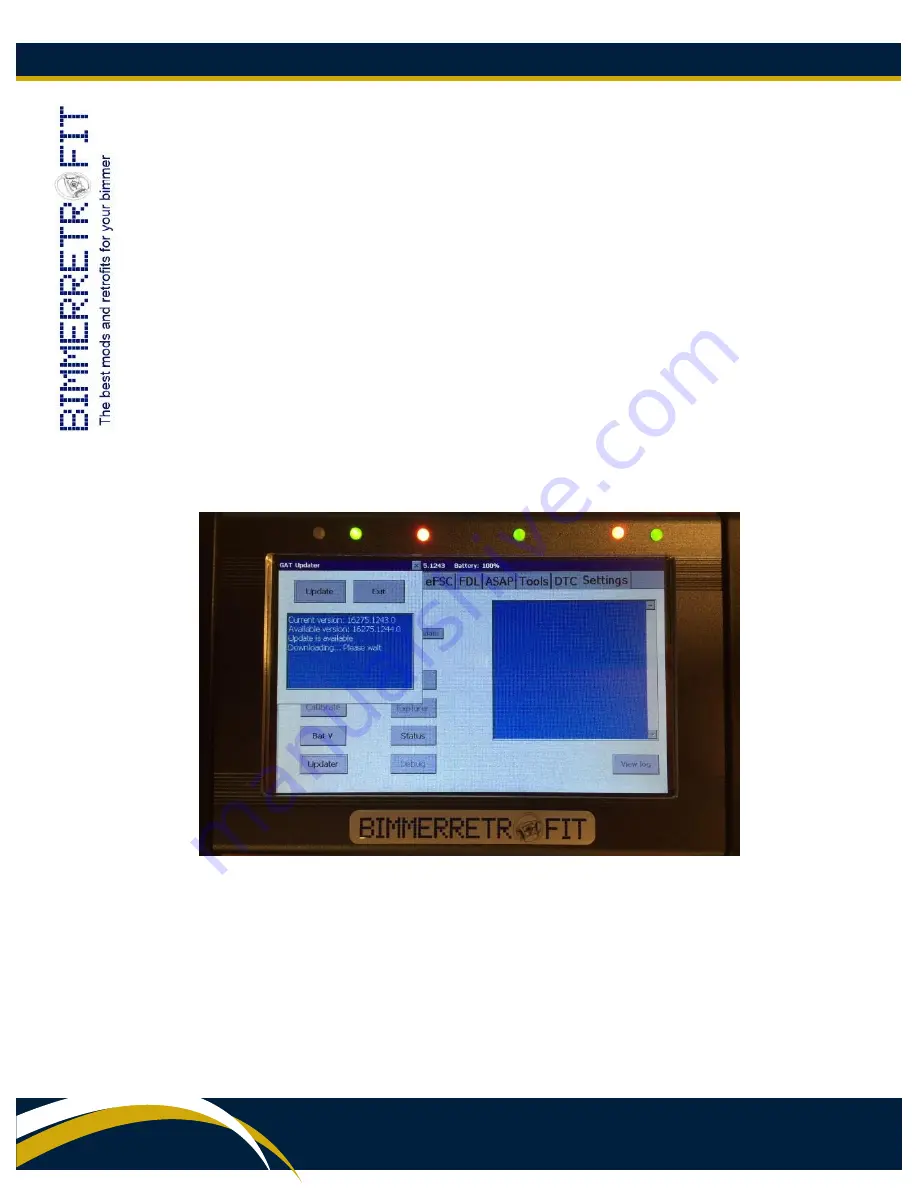
Updater’
button will connect to manufacturer’s server to verify if newer software
update is available for GAT Coder. It will open a new GAT Updater window on display.
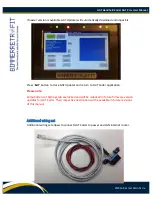
Press on ‘
Update’
button to verify if new updates are available.
Warning! GAT Coder should be connected to internet via OBD cable or WiFi for this
operation to complete.


