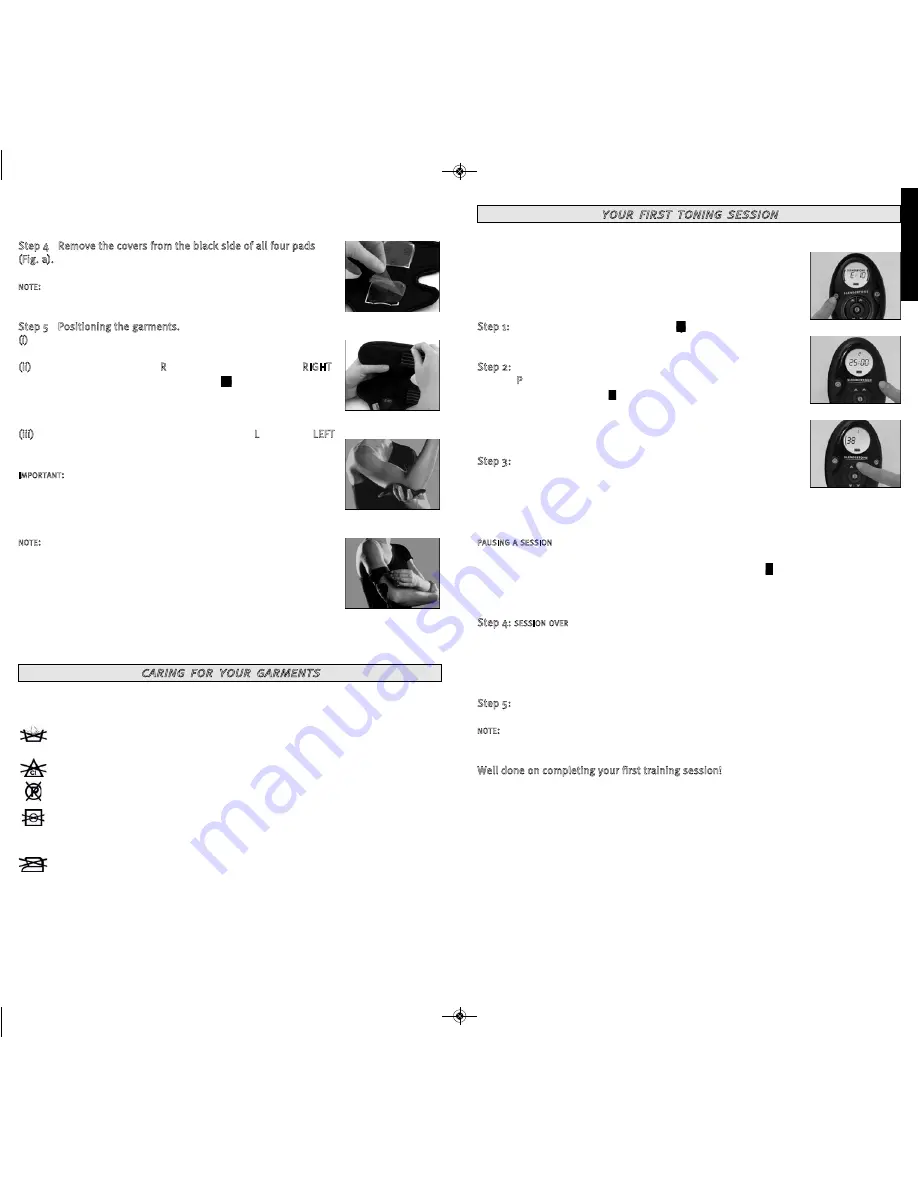
Muscle toning can be an unusual sensation, but a pleasant one. It
may tickle to begin with. We recommend that you use the product
while seated until you become accustomed to the sensation. This
progresses to a smooth muscle contraction as the toning intensity
increases. To get started, follow these simple steps:
Step 1:
Press and hold the on/off button ( ) for two seconds to
switch your unit on (Fig. a).
Step 2:
Select the program you wish to use by pressing the program
button (
P
- Fig. b). Then, to start the program, press and hold the
increase intensity buttons ( - Fig. c) until you feel your muscles con-
tracting. Always choose an intensity level at which you feel a strong
but comfortable contraction. This will vary from person to person. The
increasing intensity level is displayed on the screen.
Step 3:
Continue increasing the intensity throughout the session if
possible. You will feel the muscle contractions getting stronger as the
intensity increases. Remember the harder you work your muscles the
better the results you will see, but always reduce the intensity if you feel
any discomfort. Your unit’s intensity range is 0-99.
PAUSING A SESSION
If you wish to pause a session before it is finished, simply press the on/off
button briefly. The display will show that the unit is paused ( ). To resume
the session, briefly press the on/off button again. The display will return to
its normal mode.
Step 4:
SESSION OVER
At the end of the training session your
SLENDERTONE ARMS
unit will stop
automatically. However, you may switch off your unit at any time during a
session by pressing and holding the on/off button for two seconds. You
should see the display turn off.
Step 5:
Remove the garments and put the covers back on the black side of
the pads. Store everything in the pouch until your next session.
NOTE
:
Do not disconnect the unit from the garments without first switching
the unit off, as this may result in an error on your display.
Well done on completing your first training session!
Step 4
-
Remove the covers from the black side of all four pads
(Fig. a).
Do not throw these covers away as you will need to put
them back onto the pads at the end of your session.
NOTE
:
You should only use
SLENDERTONE
pads with your
SLENDERTONE
ARMS ACCESSORY
.
Step 5
-
Positioning the garments.
(i)
Attach two straps to one side of each garment (fig. b).
(ii)
Take the garment marked ‘
R
’ and place the point of your
RIGHT
elbow directly onto the connector symbol ( ) on the inside of that
garment. Then press the garment onto the back of your arm (Fig. c).
Fasten that garment firmly in place using the straps (Fig. d).
(iii)
Repeat step (ii), placing the garment marked ‘
L
’ onto your
LEFT
arm.
IMPORTANT
:
You may need to adjust the position of the garments slightly until
you find the most comfortable position. However, the positioning
will become much easier after a few sessions.
NOTE
:
For the best results, we recommend that you do five training
sessions per week. You should, however, only do a maximum of
one session per day, as this allows your muscles to recuperate.
Your garments may cleaned using a lightly dampened sponge, but you must first remove
the pads. Always follow the cleaning instructions when cleaning the garments.
Never machine-wash or hand-wash your garments. Always clean them using a
lightly dampened cloth or sponge.
Do not use bleach when washing the garments.
Do not dry clean your garments.
Do not tumble dry your garments. Dry them on a flat surface. Do not dry them over
anything hot. (e.g. a radiator) as they contain plastic parts. Ensure the garments
are completely dry before using them again.
The garments should never be ironed.
7
6
your first toning session
Fig. a
Fig. b
Fig. c
Fig. a
Fig. b
Fig. c
Fig. d
English
caring for your garments
Resize Slendertone Arms IM Backups_Layout 1 26/10/2011 11:32 Page 8


