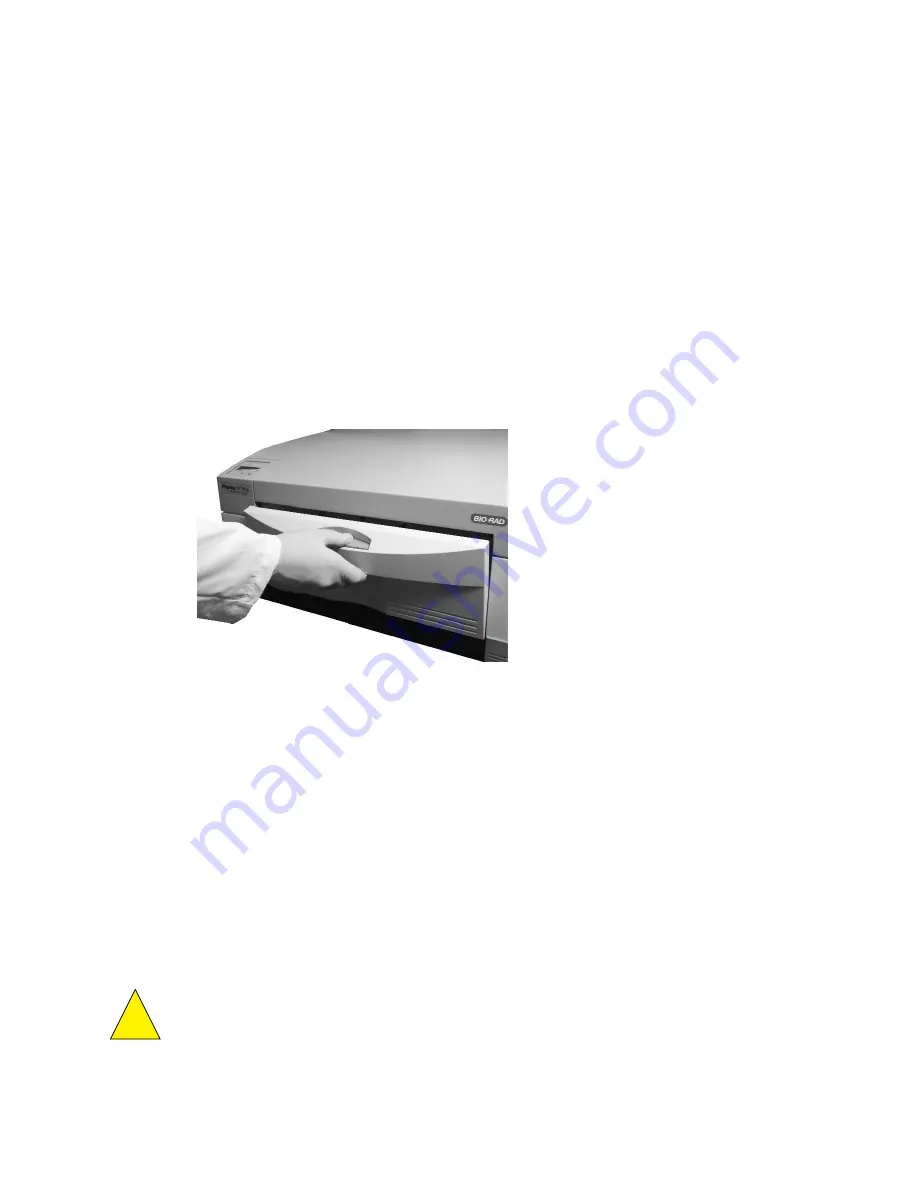
5. Slowly insert the tray with the sample all the way into the scanner, until the hold latch
engages and you hear a click.
6. Close the front door of the scanner.
7. The sample can now be scanned using the acquisition software.
8. To remove the tray, simply wait until scanning is complete, open the scanner door and
pull the tray out.
Note: For wet samples, use a clean, lint-free absorbent paper towel to remove excess liquid
from around the sample. This will reduce the potential for the gel to slide on the sample tray
and move during image collection.
Note: It is recommended that samples be placed against the edge of the tray to ensure
straight alignment.
Note: Gel holders may also be placed at opposite corners of the sample to prevent
movement during tray insertion.
Fig. 4.2. Steps for inserting a fluorescent sample into the scanner.
4.2.3 Scanning Fluorescent Samples
1. Open the scan window in the acquisition software. Under the File menu, choose
PharosFX. In the acquisition window choose Select and use the layered menu to identi-
fy your application and sample strength. (i.e. for an ethidium bromide stained DNA
sample of low concentration, select Nucleic Acid Stain>Ethidium Bromide>Low
Sample Intensity).
2. The emission filters choice is specified through the software.
3. Choose the scan area that you would like to image.
4. Select the desired resolution setting. The highest resolution is 50 µm and the lowest is
800 µm.
5. Select Acquire to begin scanning. The scanning is performed sequentially. A single
frame is scanned for a selected fluorophore.
Note: Refer to the Software Manual for detailed acquisition instructions.
Caution: Do NOT open the door of the scanner while the unit is scanning. This will terminate
your scan and require you to rescan your fluorescent sample.
6. When the scanning is complete open the door of the PharosFX.
7. To remove the sample, simply pull out the tray and lift it off.
19
!


