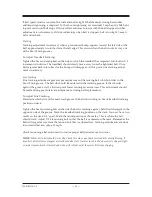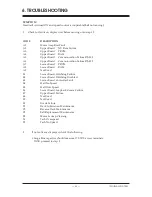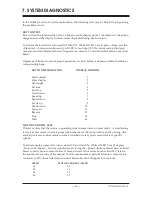
10. If incline or decline is desired, use the Elevation <+> or <-> keys to set the grade at which
you wish the exercise to begin.
11. Press <Stop> to stop the treadmill at any time while still retaining all current data on the
display screen.
AVERTISSEMENT:
Appuyer toujours sur la touche ARRET pour interrompre un exercise en cours.
Ne pas appuy er sur la touche ATTENTE anant I'arrét complet du tapis. La touche ARRET antraíne
une décélération progressive et toutes les données sont sauvegaardées. Si on était à appuyer sur la
touche ATTENTE, non seulement on perdrait les données mais ela entraínerait aussi un arrét brutal
du tapis.
CAUTION:
Always press <Stop> to stop the treadmill when patient exercise is in progress. Do not
press <On/Standby> to clear the system of data until the treadmill belt has completely stopped mov-
ing. The <Stop> key will cause the
treadmill to ramp smoothly to a stop, all display data will be retained. Pressing <On/Standby> will
clear all data from the display and stop the treadbelt more abruptly.
12. Press <Clear Display> to clear display data and reset settings to their default values.
13. At the end of the day, turn OFF power to the treadmill using the ON/OFF switch located
on the left side of the front base.
NOTE:
BELT MOVEMENT WHILE AT ZERO SPEED
Inherent “belt creep” is common with Pulse Width Modulation Motor Control. Allow the treadmill suffi-
cient time to “warm up” prior to making any adjustments for belt creep. See “Zero Balance Adjustment”
later in this chapter for instructions on this adjustment.
CHANGING MEASUREMENT UNITS
The Biodex RTM 400 can be configured to display either standard English or Euro (metric) mea-
surements. To change measurement units:
1. Turn the treadmill OFF and then ON.
2. While the LED’s on the front panel are lit, press <Stop> and the <Ele> key
simultaneously.
3. Depress the <Set Time +> key and units will toggle from Euro (Metric) to English.
4. Once the desired units have been selected, press <Start> to save the new value.
ZERO BALANCE ADJUSTMENT
This option is used to correct treadbelt “creeping” which may occur at the zero speed setting
due to changes in temperature, heavy use, etc.
1. Turn the treadmill OFF and then ON.
2. While the LED’s on the front panel are lit, press <Stop> and <Forward> simultaneously. The
display window should now show a “Creep Adjust-ment Setting” of between 1 and 16.
The factory preset default value is 8.
3. Use the <Set Time> or <Set Weight> key to increase or decrease the Creep Adjustment
Value. Lower the value for reverse direction, raise the value for forward direction.
4. Once the treadbelt has stopped creeping, press <Start> to save the new value.
CONTENTS
BASIC OPERATION OF THE RTM 400
— 14 —
Summary of Contents for 950-273
Page 4: ......
Page 6: ......
Page 12: ......
Page 18: ......
Page 26: ......
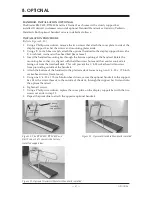
Page 28: ...CONTENTS OPTIONAL 28 Figure 12 Handrail installation...
Page 30: ......
Page 32: ......
Page 34: ......
Page 35: ...12 ASSEMBLY DRAWINGS SCHEMATICS 35 ASSEMBLY DIAGRAMS SCHEMATICS...
Page 36: ...CONTENTS ASSEMBLY DIAGRAMS SCHEMATICS 36...
Page 37: ...CONTENTS 37 ASSEMBLY DIAGRAMS SCHEMATICS...
Page 38: ...CONTENTS ASSEMBLY DIAGRAMS SCHEMATICS 38...
Page 39: ...CONTENTS 39 ASSEMBLY DIAGRAMS SCHEMATICS...
Page 40: ...CONTENTS ASSEMBLY DIAGRAMS SCHEMATICS 40...
Page 41: ...CONTENTS 41 ASSEMBLY DIAGRAMS SCHEMATICS...
Page 42: ......
Page 43: ......


