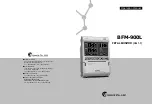
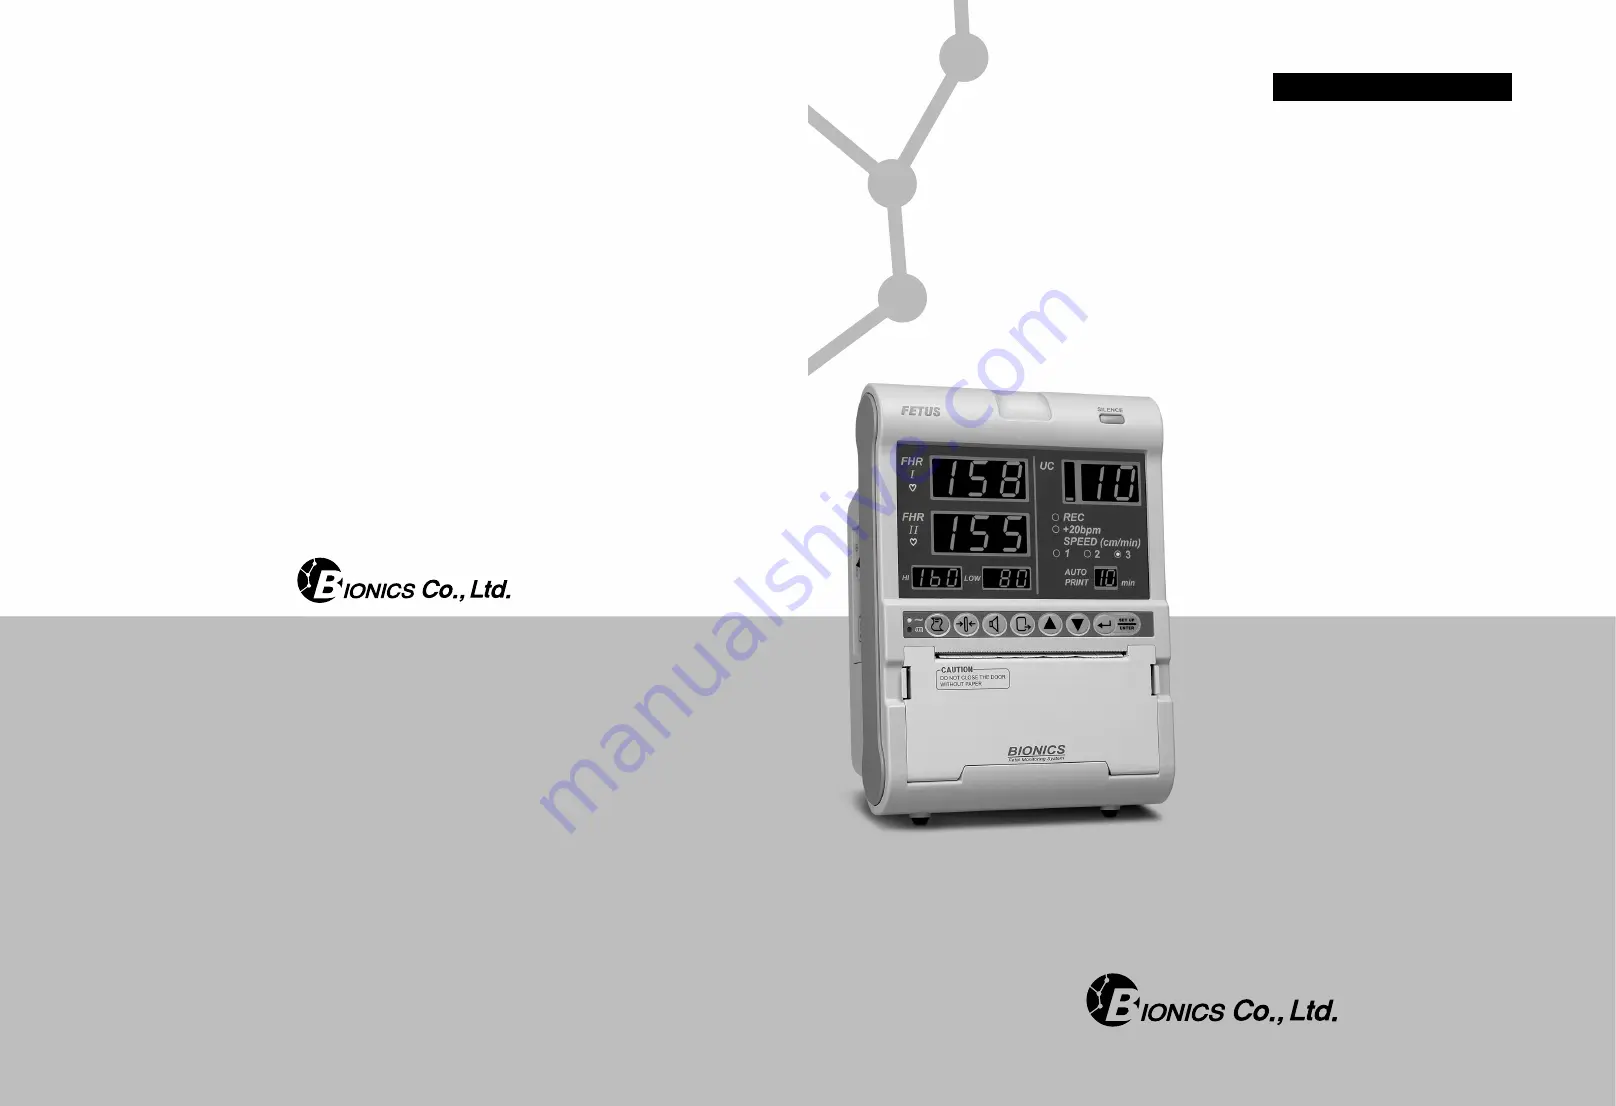
background image

Operation Manual

BFM-900L

FETAL MONITOR (Ver 1.1)

Head Office/Factory    

687-5, Sangoan-ri, Hongcheon-eup, Hongcheon-gun,
Gangwon-do, Korea (zip.250-804)
Tel : +82-33-434-9041     Fax : +82-33-434-9043

Seoul Office/R&D

1406, Masters Tower, 553, Dohwa-dong, Mapo-gu,
Seoul, Korea  (zip.121-748)
Tel : +82-2-714-2960

2     Fax : +82-2-714-2963

Customer Service Dept.

Tel : +82-2-714-2962     Fax : +82-2-714-2963

Address of Region Representative   

ET MEDICAL DEVICES SPA

VIA DE ZINIS 6, 38011 CAVARENO (TN) ITALY    
Tel : +39 0463 85 01 25     Fax : +39 0463 85 00 88

Summary of Contents for BFM-900L

Page 1: ...33 434 9041 Fax 82 33 434 9043 Seoul Office R D 1406 Masters Tower 553 Dohwa dong Mapo gu Seoul Korea zip 121 748 Tel 82 2 714 2960 2 Fax 82 2 714 2963 Customer Service Dept Tel 82 2 714 2962 Fax 82...

Page 2: ...BFM 900L FETAL MONITOR Ver 1 1 MAR 27 2009 OPERATION MANUAL...

Page 3: ...eaning of Symbols in the User s Manual Chapter 2 Precautions for Us 2 1 Precautions for Using Environment 2 2 Precautions for Electric Safety 2 3 Maintenance and Cleanness Chapter 3 Overview of BFM 90...

Page 4: ...How to use Event Mark 5 7 How to use the printer 5 8 Volume Control 5 9 Alarm On Off 5 10 Sound 5 11 AST Optional Chapter 6 Setting by Menu Function 6 1 Record Setting 6 2 Alarm Setting 6 3 Volume Se...

Page 5: ...oducts only The device shall be assembled extended amended repaired by us or the person certified by us The device shall be installed meeting relevant regulations including electrical installation and...

Page 6: ...lem on the device take the actions as follow Please immediately contact our Customer Service Dept or any distributor representing us for our service Check the model name product number purchasing date...

Page 7: ...ual you will expect more effects from using the device If you find any Problem while using please contact us or our A S Reservation Office 1 2 Contents The user must read the User s Manual before usin...

Page 8: ...it away from direct sunlight 1 3 Meaning of Symbols in the User s Manual We have marked on the user manual to emphasize the following agreements The user must follow all warnings and remarks In case...

Page 9: ...This device is I type BF grade device in terms of electric shock It is improper to use this device nearby inflammable anesthetic and solvent IEC EN 60601 1 Safety of Electric Medical Equipment based n...

Page 10: ...UC Probe 1EA Event Mark Jack 1EA Printer Paper 1EA Power Cord 1EA 110V AC Conversion Jack 1EA User s Manual 1 Volume Supersonic Gel 1EA Belt for Probe Fixation 3EA Options Central Monitoring Device C...

Page 11: ...nection Part 4 AC Power Switch 5 Mark Jack Connection Part 6 UC Probe Connection Part 7 ID Label 1 Display for FHR 1 Value 2 Display for FHR 2 Value 3 Display for Alarm setting 4 A C Battery Power LED...

Page 12: ...bol Description 15V 3ADC Power Input Type BF Device Electric Shock Device Protection Warning or Precaution See the User s Manual AC Main Power On Off DOP1 Probe Connection Part DOP2 Probe Connection P...

Page 13: ...nerate noise Probe may be damaged by impact Do not get the Probe externally impacted nor submerge it in water or oil If Supersonic Probe used it must be used with Supersonic Gel After use wash it clea...

Page 14: ...can place the roll of printing paper as well as the printer machine and black roller on the inside of the door Make sure the paper s printing side is facing up and then close the printer door 3 Ground...

Page 15: ...ry to measure and inspect the condition of the fetus 5 2 Using BFM 900L Connect the probe you want to use on the main body Normal procedure is as follows Pre labor diagnosis for non twin fetus DOP I P...

Page 16: ...ng used 2 Battery Optional LED lights up while Battery Power being used Alarm Lamp The LED located on the top of the front face Panel displays Alarm and Heart Rate Rhythm 5 5 Measurement of FHR and UC...

Page 17: ...at sound cannot be measured heartbeat area shows If the heartbeat displayed on screen goes over or under the alarm level limit an alarm will sound and alarm lamp will change green to red and FHR value...

Page 18: ...L uses a Button Top styled DOP Probe Insert the protruding buttons on the opposite side of the DOP Probe surface to the Button Hole on the belt under the patient 6 It takes 4 to 5 seconds for the hear...

Page 19: ...ing the setting by users it will apply to the initial printing ZOOM Operation 1 Use this function when you want to see the changes in the FHR more closely 2 When you select On in the Zoom category in...

Page 20: ...on sound happens you can turn off the sound to use Exit key 6 Press the Enter key or Exit key at the desired level and the volume control operation is complete If you press the Enter key the desired l...

Page 21: ...1 Doppler Sound This is the Doppler sound of the fetus s heartbeat The volume of this sound can also be adjusted using the Volume Key 2 Alarm Sound When a measured HR value exceeds the set range the...

Page 22: ...olume and Time Step 3 Press the Enter key on the item desired to be set Then each relevant setting screen will be displayed The setting screen will be described in more detailed later Step 4 Press the...

Page 23: ...e Exit key menu will move to the previous mode Step 2 If press the Enter key menu will move to the detailed setting mode of each mode Symbol Description Setting Range Automatically records during the...

Page 24: ...ng mode among Auto Print Offset Zoom Speed Contrast and Fetal Movement If press the Exit key menu will move to the previous mode Step 2 If press the Enter key menu will move to the detailed setting mo...

Page 25: ...ress the Exit key to move to the basic screen Step 1 Press the Setup key to move to menu setting mode in the basic screen If you press the Exit key menu will return to the basic screen Step 2 Press th...

Page 26: ...u will move to previous mode Step 2 without saving If press the Enter key menu will move to previous mode Step 4 with saving Step 7 After all setting is completed press the Exit key to move to the bas...

Page 27: ...ll setting is completed press the Exit key to move to the basic screen Step 1 Press the Setup key to move to menu setting mode in the basic screen If you press the Exit key menu will return to the bas...

Page 28: ...ound and Message When the values go over or below the Alarm range over 10 seconds the beep will sound The color of alarm LED lamp will be changed green to red The FHR will be also twinkled 7 2 Solutio...

Page 29: ...released The beep sounds ding dong every 5 minutes when the battery is low until error is released or press the Exit key Error message will be displayed in Hi Low and Auto Print FND until error is rel...

Page 30: ...silence for 3 minutes Display AL oFF and 3 MI with error code by turns Paper out with silence Display AL oFF with error code Low Battery Display bAt Lo with error code if internal batter is instlled o...

Page 31: ...10 0V an information alarm will sound and bAt Lo will display on the Hi Low Auto Print FND If no management with low battery within 10 minutes the device will be turned off Before turning off the dev...

Page 32: ...red value display part nothing is shown Check to see if the connection between the device and the Probe Connection Terminal is normal Check to see if the Probe is manufactured and provided from our co...

Page 33: ...ff Function ROLL Type Paper Indicators Battery On orange LED optional AC Power green LED Display Printing State Offset State Speed State Auto Print Time Heart Rhythm FHR1 DOP1 Value FHR2 DOP2 Value UC...

Page 34: ...replaced or refunded in accordance with Consumer s Damage Compensation Regulation noticed by Economic Planning Board For 1 year from purchasing date DD MM YY Fetal Monitor BFM 900L No 08 193 APR 03 2...

Reviews: