background image

Handheld Pulse Oximeter

27  Trend Function PalmCare plus

Measuring of SpO

2

  28  

PalmCare plus

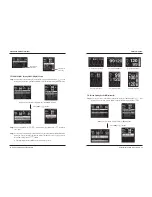
Step3)   You can go back to the initial screen if you press ESC button (         ) after completing trend 

examination.

Palmcare plus can show you the value at each time in the trend form which has been measured for1hr, 

12hr, 24hr, 48hr and 72hr of the patients oxygen saturation (SpO

2

) and Pulse Rate (HR) That’s to say, 

you can examine and print the long-term change and the previous data of the measurement value of 

the patient (However, the printing is possible only in case of attaching the printer on Palmcare plus. 

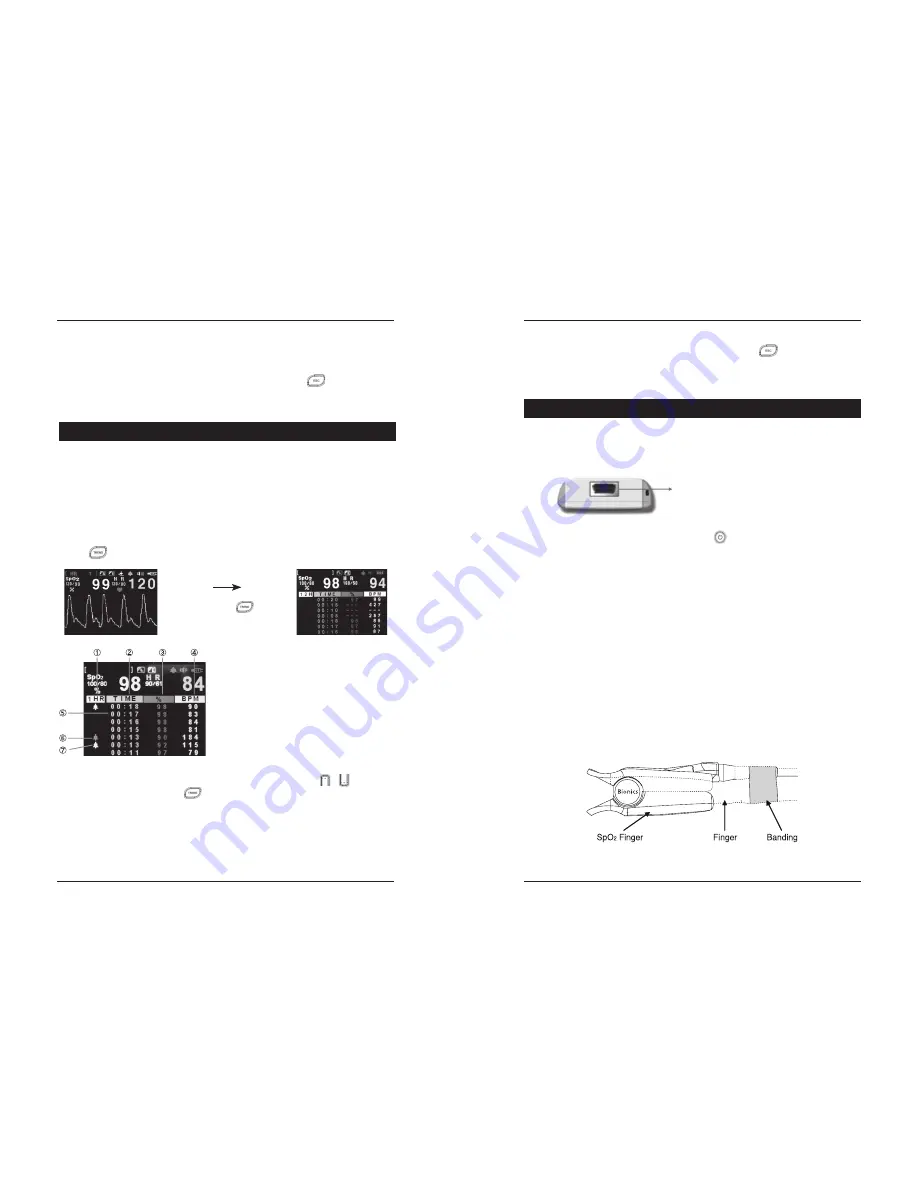
Trend Information Check

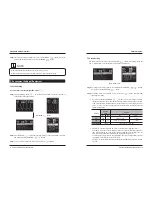
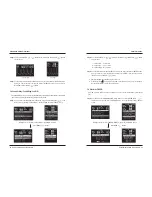
Step1)   If you want to examine the trend information on the initial screen, please press TREDN button 

(          ) then the following Trend printing screen will be seen on the LCD.

Step2)   You can examine the Trend Data by pressing the UP/DOWN button  (       /       ). Whenever 

pressing the TREDN button (            ) one time, you can check Trend information as below.

1 hour  SpO

/ Pulse Rage Trend - mean value of the 1 minute unit 

12 hours SpO

/ Pulse Rage Trend - mean value of the 5 minutes unit 

24 hours SpO

/ Pulse Rage Trend - mean value of the 10 minutes unit 

48 hours SpO

/ Pulse Rage Trend - mean value of the 20 minutes unit 

72 hours SpO

/ Pulse Rage Trend - mean value of the 30 minutes unit

6. Trend Function PalmCare plus

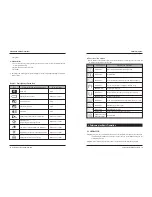
It indicates the type of the trend being displayed on the 

curren screen. 

Time(hour: minute-It starts at 00:00) for initial trend 

saving time

Saved SpO

2

 value

Save HR Value

Event data which is saved by the user

Data mark which is saved by Medium Priority Alarm 

Data mark which is saved by High Priority Alarm

ii.  OFF :  If there is no key input, do not setting Back Light is controlled automatically after 30 

seconds.

Step3)   You can go back to the previous (SETUP screen) if you press ESC (           ) button.

Press the TREND (           ) button.

Preparation before Measuring SpO

2

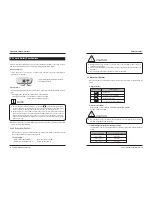
Step1)   Plug in the SpO

2

 probe to SpO connection port on upper side of Palmcare plus.

Step2)   Turn the power on by pressing the power button (        ) PalmCare plus.

Attaching of Probe
Step 1) Clean the area of the body to be measured by using alcohol.
Step 2)  Attach the probe to a finger as shown on the following drawing. (When measuring NIBP, 

SpO

2

 probe is attached to the other arm than the one that NIBP is measured. Do not use 

with other medical instruments that can affect the blood flow, and do not attach the probe 

where medical interference can be generated.)

Step 3)  Be sure that red light of the probe is on, the sensor gives out the light, the both sides of 

the probe faces rightly

Step 4)  For a stable SpO

2

 measurement, movement of body should be restricted, and band the 

probe cable on the finger. When banding the probe cable, make sure it does not hinder 

with blood flow.

Step 5)  Make sure to check the skin condition in the attached location and the sensor whether 

they are facing each other in a proper way, every 2 to 3 hours.

             If skin condition changes, change the attaching location.

7. Measuring of SpO

2

 SpO

2

 probe connection port

(How to apply SpO

2

 finger probe)
Summary of Contents for PalmCare plus

Page 1: ...ang gu Seongnam si Gyeonggido 13486 Korea Dir 82 31 696 4899 Fax 82 31 696 4877 Customer Service Dept Dir 82 31 696 4899 Fax 82 31 696 4877 European Representative Medical Econet Gmbh Quality Assuranc...

Page 2: ...OPERATION MANUAL PalmCare plus Handheld Pulse Oximeter Ver 1 3 NOV 10 2017...

Page 3: ...4 Bottom Side 2 5 Back Side 3 Description of Product Symbols 3 1 Screen configuration 4 Palmcare plus Basic Operation 4 1 Operation 3 3 3 4 5 8 9 9 10 10 10 10 11 12 12 12 12 12 12 13 13 16 16 5 Envi...

Page 4: ...special circumstances during the use of the product The warranty is limited to the repair or exchange of the product by the authority of the company or the agency for problems in materials or the manu...

Page 5: ...determining necessity of treatment for the patient WARNING Locations where moisture level increase considerably or where air is not ventilated properly Locations where sudden impact or vibration could...

Page 6: ...battery from the product To ensure the lifecycle and safety of battery please discharge the battery and then charge perfectly again every six months Also time worn battery exceed 24 months should be...

Page 7: ...ttings Pay attention when setting Palmcare plus for the following points Use Palmcare plus under conditions of 10 40 of circumstantial temperature and 30 85 humidity Check the connection status of the...

Page 8: ...ction parts power line or any optional device are connected to the device properly Noise may be made if the device isn t completely grounded Precautions for using Do not disassemble the device Do not...

Page 9: ...for how to set up each initial display mode In order to avoid electrical shock do not open the cover Disassembling of the equipment must be done only an by service personnel who is authorized by BION...

Page 10: ...ds Function of the buttons Each buttons on the PalmCare plus services more than two use according to the screen The use meaning for each screen is as below chart Button Display mode Meaning and Operat...

Page 11: ...56 to 299 On the contrary if high limit value for HR is 150 the LOW value range for HR can be adjusted as some numbers between1 to 149 The value range for SpO2 also can be applied of the same rule of...

Page 12: ...arm ringing when a probe has slipped off or when a probe connector is pulled off from the Palmcare plus At this time this is an item to decide wether this information alarm will activate setting on or...

Page 13: ...end Time Setting 5 3 Initial Display Setting Mode Display Mode Step1 You can enter to the initial display setting mode if you press ENTER button after making a reverse the item 2 DISPLAY MODE on the e...

Page 14: ...Sound Off Volume Off ii 2 Sound Low Low volume iii 3 Sound High High volume Step3 You can return automatically to the SETUP screen if you choose the mode by ENTER button And if you want to cancel the...

Page 15: ...e ENTER button after making a reverse the item 7 Device Info Step2 You can use UP DOWN button for the item moving and ENTER button for your choice Brightness LCD Brightness auto control setting i ON I...

Page 16: ...00 00 for initial trend saving time Saved SpO2 value Save HR Value Event data which is saved by the user Data mark which is saved by Medium PriorityAlarm Data mark which is saved by High PriorityAlarm...

Page 17: ...atal patients make sure the disposable probe should be used outside the incubator The humid atmosphere inside the incubator can cause inaccurate measurements Alarms for Each Mode Standard Mode The hig...

Page 18: ...ower has to be supplied at once For the effective use of battery Palmcare plus has the power saving mode it turn off the LCD back light after 3 seconds and also turn off the all functions of Palmcare...

Page 19: ...act our Customer Service Dept orA S receptions 10 Before Requesting After Service Problem Solution 1 In case of the battery is discharged Connect DC adapter 2 Please check the connection of the switch...

Page 20: ...ation and Pulse rate Memories 72 hours maximum Physical Dimension 165mm H X 70mm W X 30mm D 1CELL 200 g 2CELL 250 g StandardAccessories Finger Probe 5V 2 0ADCAdapter OptionalAccessories USB mini B Typ...

Page 21: ...omer s Damage Compensation Regulation noticed by Economic Planning Board This product is medical equipment Product Warranty Product Name Model Code Manufacture Approval No Manufacture Approval Date Ma...

Reviews: