21
20
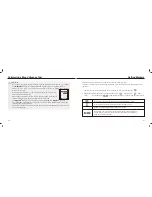
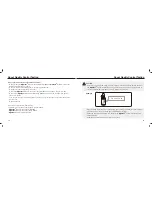
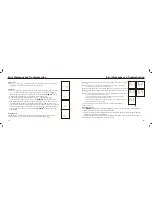
4. Time format 12/24H selection
With the time format blinking, press the Left or Right
button to switch between 12H and 24H. Press the Main
button to confirm.
5. Hour setting
With the hour blinking, press the Left or Right button
until you see the current hour. Press the Main button to
confirm.
6. Minute setting
With the minutes blinking, press the Left or Right button
until you see the current minute. Press the Main button
to confirm.
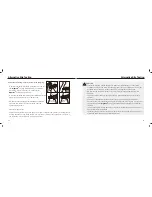
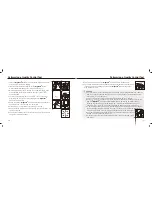
Once confirmed, the Hour Setting will
appear.
Once the hour is confirmed, the Minute Setting
will appear.
Once the minute is confirmed, the Volume
Setting will appear.
5)
6)
Setting Up Your Meter - Setting the Date, Time and Volume
4a)
4b)
NOTE
- If you do no change any settings during Meter Set-up for over 2 minutes, the
Blood Glucose Meter
will leave setting mode and power off automatically.
TM
Rightest
GM700S
Setting Up Your Meter - Setting the Date, Time and Volume
7a)
7b)
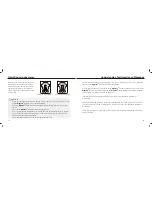
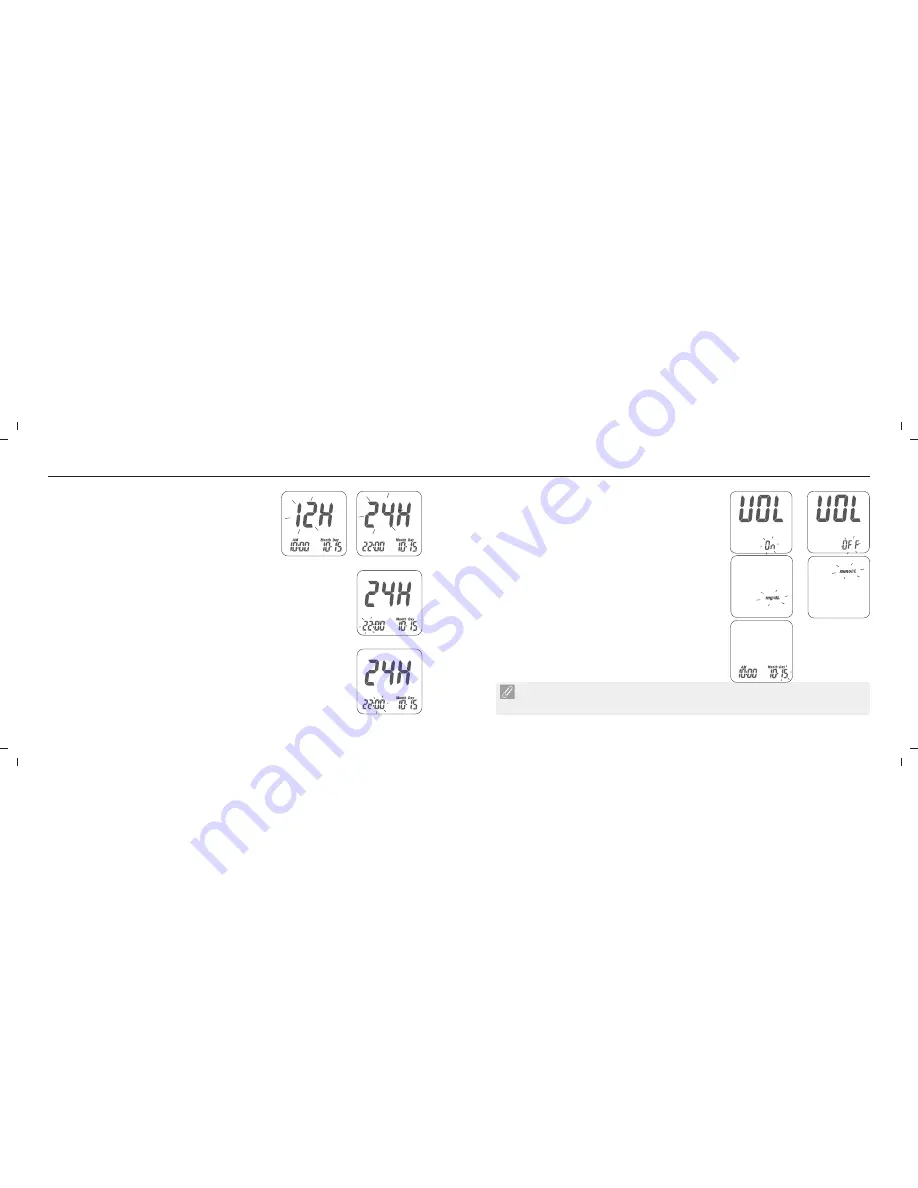
7. Volume Setting
With the volume blinking, press the Left or Right button
to turn the volume on or off. Press the Main button to
confirm and finish the settings.
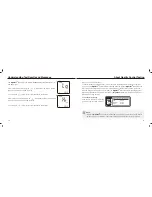
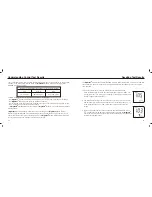
8. Setting the Unit of Measurement
With milligrams per deciliter (mg/dL) or millimoles per
liter (mmol/L) blinking, press the Left or Right button to
switch. Then press the Main button to confirm it and
finish the settings.
9. Ending setting
After measurement of unit setting, for confirmation you
will hear a beep (if volume is turned on). All the settings
are saved and completed and will return to time screen.
(If Volume is turned off, the display will directly return to
time screen without a sound of “beep”.)
8a)
8b)
9)
Summary of Contents for rightest GM700S
Page 2: ......


