15
Handling and Implantation
Accessing the Vein and Inserting the Lead
Preparing the lead
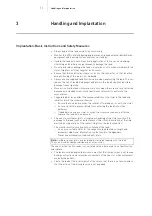
After all implantation preparations have been made, proceed as follows:
Two methods of accessing the
vein
There are two options for inserting the lead into the vein:
Method A
Through the cephalic vein:
Method B
Through the subclavian vein:
•
Use a suitable lead introducer set.
Stop the procedure if the lead cannot be easily inserted into the introducer
sheath and check whether the lead introducer set is appropriate for the lead.
•
Please consult the technical manual included with the lead introducer set.
!
!
CAUTION
Risk of pacing and sensing loss due to excessive mechanical stress of the lead
Make sure the lead does not become pinched between the clavicle and the first rib
after implantation.
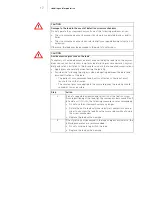
After having established the access to the vein using the lead introducer set, insert
the lead into the vein through the introducer sheath.
Step
Action
1
Ensure that the fixation screw is completely retracted.
2
Move the premounted lead fixation sleeve close to the lead
connector.
3
Ensure that a straight stylet is completely inserted into the lead.
Either
Method A
Incision of the cephalic vein
Or
Method B
Puncturing the subclavian vein
Step
Action
1
Prepare the cephalic vein.
2
Open the vein.
3
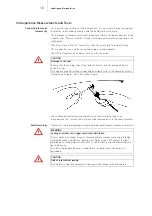
Carefully insert the tip of the vein lifter provided into the lumen of the
vein.
4
Raise the vein lifter carefully.
5
Insert the lead into the vein through the opening.


