16
Handling and Implantation
Positioning and Fixating the Lead
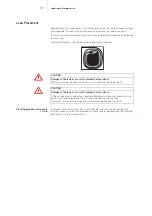
Note:
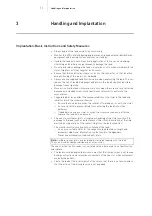
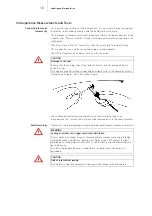
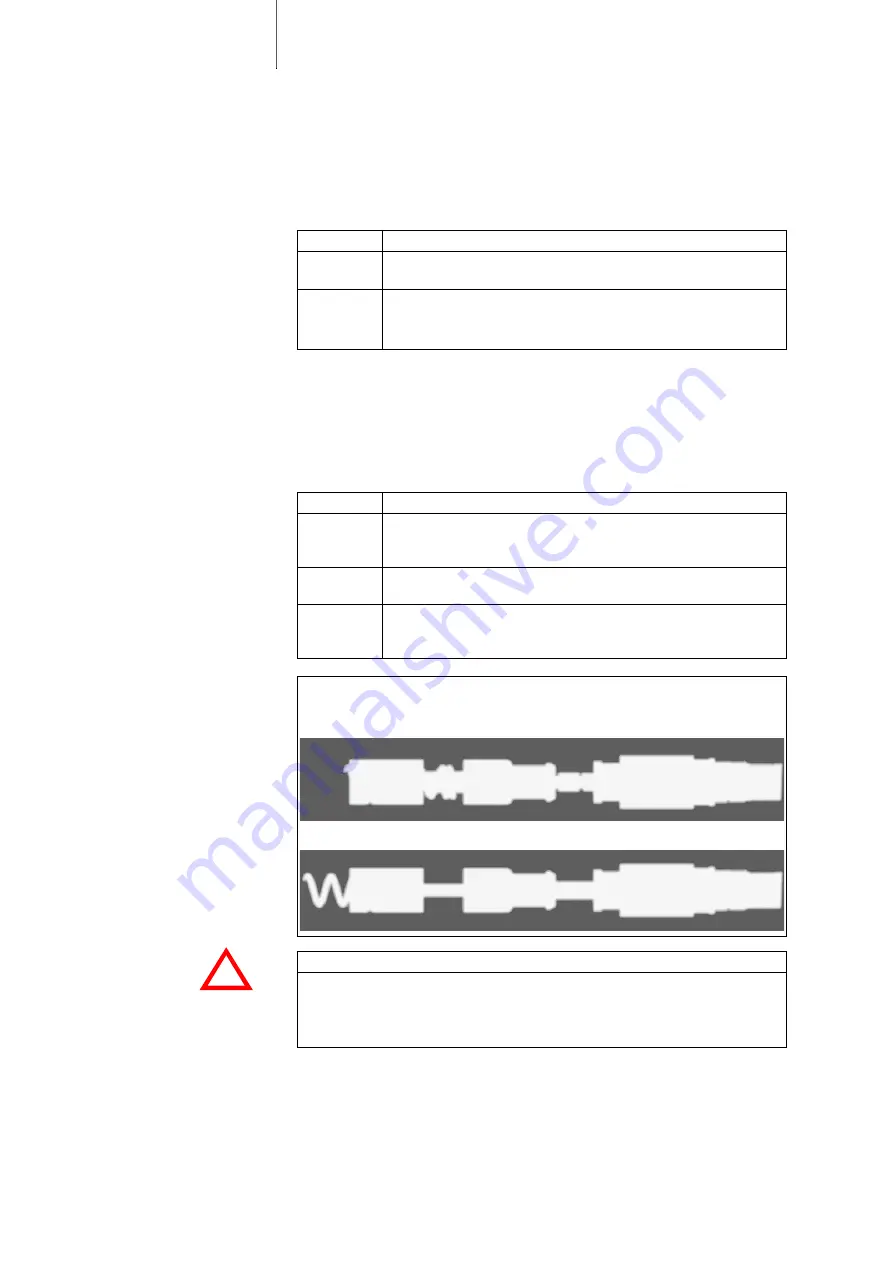
The position of the fixation screw can be clearly seen on the X-ray image
when the lead is X-rayed from the lateral view (see figure).
!
!
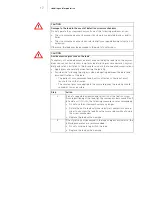
WARNING
The myocardium can be damaged if the fixation screw is over-rotated!
Only rotate the fixation screw as many times as are necessary for complete exten-
sion.
Observe the position of the fixation screw on the X-ray.
Prerequisite
Access to the vein has been obtained through incision of the cephalic vein or
puncture of the subclavian vein, and the lead tip has been inserted.
Positioning the lead
Proceed as follows to position the lead in the ventricle:
Test measurement to assess
the lead position
The electrically active tip of the fixation screw can also contact the myocardium
when the screw is retracted.
Thus, the position of the lead tip can be assessed prior to fixation using
electrocardiac measurements without injuring the tissue.
Fixating the lead tip
Proceed as follows to fixate the lead tip in the myocardium after finding a suitable
position:
Step
Action
1
Carefully advance the lead tip through the tricuspid valve into the
right ventricle.
2
Find a suitable position for the lead tip:
•
Close to or on the ventricular apex
•
If possible, perpendicular to the myocardium
Step
Action
1
Remove the stylet guide from the lead connector.
It is now on the end of the stylet that is protruding from the lead. The
stylet remains entirely in the lead.
2
Clamp one of the included fixation tools onto the contact pin of the
lead connector.
3
Anchor the lead tip in the myocardium by keeping the lead in
position while rotating the connector pin to the right using the
fixation tool.
X-ray image of the lead with retracted fixation screw:
X-ray image of the lead with extended fixation screw:


