background image


CONDOR 1500 BUILD INSTRUCTIONS 


Thank you for buying the ‘CONDOR 1500’. 
 
This manual will show you how to build and fly this plane, but before you start you will need a few 
simple tools. 
 

Summary of Contents for CONDOR 1500

Page 1: ...CONDOR 1500 BUILD INSTRUCTIONS Thank you for buying the CONDOR 1500 This manual will show you how to build and fly this plane but before you start you will need a few simple tools...

Page 2: ...al hot glue both available in the Tools section of our website Z bender for control rods Scissors for cutting hinge material Iron to re melt hot glue and remove hot glue stings Step 1 Warm up the hot...

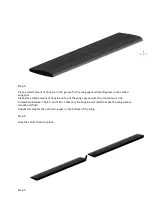
Page 3: ...Place some small amount of hot glue on top of the wing spar and use the iron set your iron somewhere between Nylon and Silk so that only the hot glue will melt to make the wing surface smooth and flus...

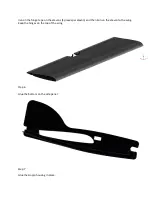
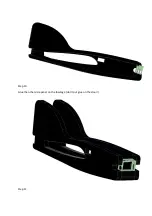
Page 4: ...the hinge tape on the elevons 4 pieces per elevon and then iron on the elevon to the wing Keep the hinges on the top of the wing Step 6 Glue the bottom on the side panel Step 7 Glue the Gopro housing...

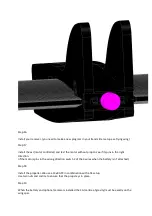
Page 5: ...fit in snugly The idea is that the magnets hold the door in place by magnetic force To hold the magnets in place put our hinge material over the magnets and iron it on Also iron on a piece of hinge ma...

Page 6: ...Step 9 Glue the upper part of the fuselage in place don t put glue on the door...

Page 7: ...Step 10 Glue the other side panel on the fuselage don t put glue on the door Step 11...

Page 8: ...the wing carefully so that it is exactly in the middle and under a 90 degree angle with the fuselage Step 12 Screw the motor on the motor mount use some Loctite Step 13 Pull the motor wires under the...

Page 9: ...vo tester or receiver to put the servo under 90 degree angle Step 15 Use the Z bend tool to make the control rods so that the elevon centre is exactly in the centre of the small gap in the motor mount...

Page 10: ...t spins in the right direction if the motor spins in the wrong direction switch 2 of the 3 wires when the battery isn t attached Step 18 Install the propeller We use a 13x8 APC in combination with a 5...

Page 11: ...urfaces move in the right direction and are mixed in the right way Always start and land in the wind Ask a more experienced pilot to fly and trim the plane for you Close the throttle just before landi...

Page 12: ...intenance After each flight check the plane on both mechanical and electrical damage Store or charge the lipo battery Always check the prop and motor Loose bolds dirt etc can hurt others if parts fly...

Reviews: