background image

LIFT

-OFF

®


 2-IN-

1 C

Y

CL

ONIC 

C

ordles

s

ti

C

k V

a

C

uum

USER GUIDE

1189 SERIES

Summary of Contents for 1189 SERIES

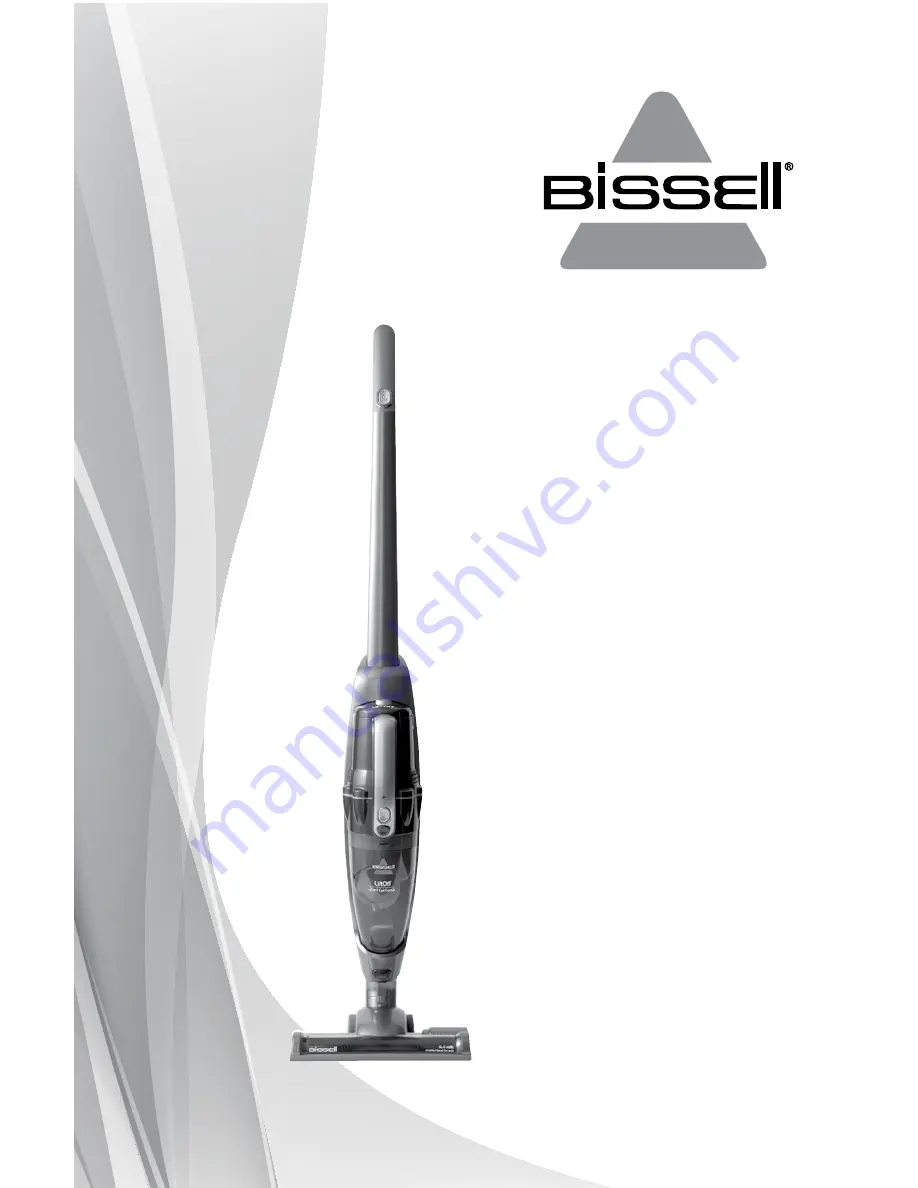
Page 1: ...LIFT OFF 2 IN 1 CYCLONIC Cordless Stick Vacuum USER GUIDE 1189 SERIES ...

Page 2: ...return it to a service center Do not pull or carry by cable use cable as a handle close door on cable or pull cable around sharp edges or corners Do not run appliance over cable Keep cable away from heated surfaces Do not unplug by pulling on cable To unplug grasp the plug not the cable Do not handle plug or appliance with wet hands Do not put any object into openings Do not use with any opening b...

Page 3: ... behind it with a knowledgeable dedicated Consumer Care department so should you ever have a problem you ll receive fast considerate assistance My great grandfather invented the floor sweeper in 1876 Today BISSELL is a global leader in the design manufacture and service of high quality homecare products like your BISSELL vacuum Thanks again from all of us at BISSELL Mark J Bissell Chairman CEO Saf...

Page 4: ...l Hardfloor Brush Roll Product View WARNING Donotpluginyourvacuumcleaneruntil youarefamiliarwithallinstructionsand operatingprocedures WARNING Plasticfilmcanbedangerous Toavoid dangerofsuffocation keepawayfrom babiesandchildren www bissell com 0844 888 6644 4 WARNING Toreducetheriskofelectricshock turn powerswitchoffanddisconnectpolarized plugfromelectricaloutletbeforeperforming maintenanceortroub...

Page 5: ...ore accessory tools on post of charging base Charging Before charging make sure the unit is powered OFF 1 Plug the adapter into the wall outlet The red charging indicator light will illuminate and remain lit while charging 2 Charge the unit for 12 hours prior to first use The indicator light will change from red to green when battery is fully charged Unit will run up to 21 minutes 3 After initial ...

Page 6: ...move the hand vac by pressing the release button 2 The power button is located on top of the grip area push ON I to start cleaning 3 Easily clean messes on furniture stairs and other hard to reach areas 4 To use the accessory tools simply insert the base of the tool into the end of the nozzle TIP Accessories can be combined together or used individually 5 When done cleaning simply push the power b...

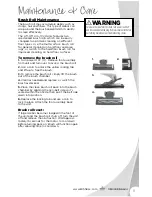
Page 7: ... bin 3 Gently pull debris bin away from the body of the hand vac and remove the filter and separator 4 Empty debris into waste container 5 Open the clear cap of the cyclonic separator wipe away any debris inside and discard 6 Replace filter and separator back into debris bin and attach debris bin to hand vac until it snaps securely in place www bissell com 0844 888 6644 7 Maintenance Care Release ...

Page 8: ...on page 6 3 Remove filter and tap firmly against the inside of a waste container removing any visible dirt 4 Replace filter back into the dirt container and attach dirt container to hand vacuum until it snaps securely in place NOTE After heavy usage you may clean the filter by washing it gently by hand in warm water and mild dish detergent Rinse thoroughly and make certain it is completely dry bef...

Page 9: ...e brush 3 To remove the brush roll simply lift the brush out of the brush chamber 4 Clean as needed and replace or switch the brush as desired 5 Place the clean brush roll back into the brush chamber by aligning the non belt side so it s seated within the nozzle then pivot the belt side down into position 6 Replace the locking tab and use a coin to lock in place Attach the foot assembly back to th...

Page 10: ...d vac 4 Keep battery pack together DO NOT separate individual batteries For specific disposal instructions of batteries please follow local regulations 5 Discard remainder of product WARNING ThisproductcontainsNickelMetalHydride NiMH rechargeablebatteries AccordingtoFederalandState regulations removalandproper disposalofNiMHbatteriesis required Forremovalofthe batteriesinyourLift Off2 in 1 Cycloni...

Page 11: ...ainer Dirt container is not installed properly Position container correctly and snap firmly into place Foot is loose Make sure foot is fully inserted into body of unit Filters need cleaning Follow filter instructions on page 8 Filters need replacing Visit www bissell com or call 0844 888 6644 to order replacement filters Visible dirt escaping from cleaner Dirt container is full of debris Empty dir...

Page 12: ...filters beltsandmoppads whichmustbereplacedorservicedbythe userfromtimetotime arenotcoveredbythisGuarantee This Guarantee does not apply to any defect arising from fair wear and tear Damage or malfunction caused by the user or any third party whether as a result of accident negligence abuse neglect or any other use not in accordance with the User Guide is not covered by this Guarantee Anunauthoris...

Reviews: