2
www.BISSELL.com
IMPORTANT SAFETY INSTRUCTIONS
WARNING
TO REDUCE THE RISK OF FIRE, ELECTRIC SHOCK
OR INJURY:
»
Connect to a properly grounded outlet only. See grounding instructions.
Do not modify the 3-prong grounded plug.
»
Do not leave appliance when it is plugged in. Unplug from outlet when
not in use and before servicing.
»
Do not expose to rain. Store indoors.
»
Do not allow to be used as a toy. Close attention is necessary when used
by or near children.
»
Do not use for any purpose other than described in this user guide. Use
only manufacturer’s recommended attachments.
»
Do not use with damaged cord or plug. If appliance is not working as it
should, or has been dropped, damaged, left outdoors, or dropped into
water, have it repaired at an authorized service center.
»
Do not pull or carry by cord, use cord as a handle, close a door on cord,
or pull cord around sharp edges or corners.
»
Do not run appliance over cord. Keep cord away from heated surfaces.
»
Do not unplug by pulling on cord. To unplug, grasp the plug, not the cord.
»
Do not handle plug or appliance with wet hands.
»
Do not put any object into openings. Do not use with any opening
blocked; keep openings free of dust, lint, hair, and anything that may
reduce air flow.
»
Keep hair, loose clothing, fingers, and all parts of body away from open-
ings and moving parts of the appliance and its accessories.
»
Turn OFF all controls before plugging or unplugging appliance.
»
Use extra care when cleaning on stairs.
»
Do not use to pick up flammable or combustible materials (lighter fluid,
gasoline, kerosene, etc.) or use in areas where they may be present.
»
Do not use appliance in an enclosed space filled with vapors given off
by oil-based paint, paint thinner, some moth-proofing substances,
flammable dust, or other explosive or toxic vapors.
»
Do not use to pick up toxic material (chlorine bleach, ammonia, drain
cleaner, etc.).
»
Do not pick up anything that is burning or smoking, such as cigarettes,
matches or hot ashes.
»
Do not pick up hard or sharp objects such as glass, nails, screws, coins, etc.
»
Do not use without filters in place.
»
Use only BISSELL® cleaning formulas intended for use with this
appliance to prevent internal component damage. See the “Cleaning
Formulas” section of this guide.
»
Do not immerse. Use only on surfaces moistened by the cleaning
process.
»
Keep appliance on a level surface.
»
Do not carry the appliance while in use.
»
Always install float before any wet pick-up operation.
»
Unplug before connecting TurboBrush® Tool.
»
Plastic film can be dangerous. To avoid danger of suffocation, keep
away from children.
»
Liquid must not be directed towards equipment containing electrical
components.
»
Use only the type and amount of liquids specified under the operations
section of this guide.
READ ALL INSTRUCTIONS BEFORE USING YOUR DEEP CLEANER.
When using an electrical appliance, basic precautions should be observed, including the following:
This model is for household use only. Commercial use of this unit voids the manufacturer’s warranty.
SAVE THESE INSTRUCTIONS
FOR FUTURE USE
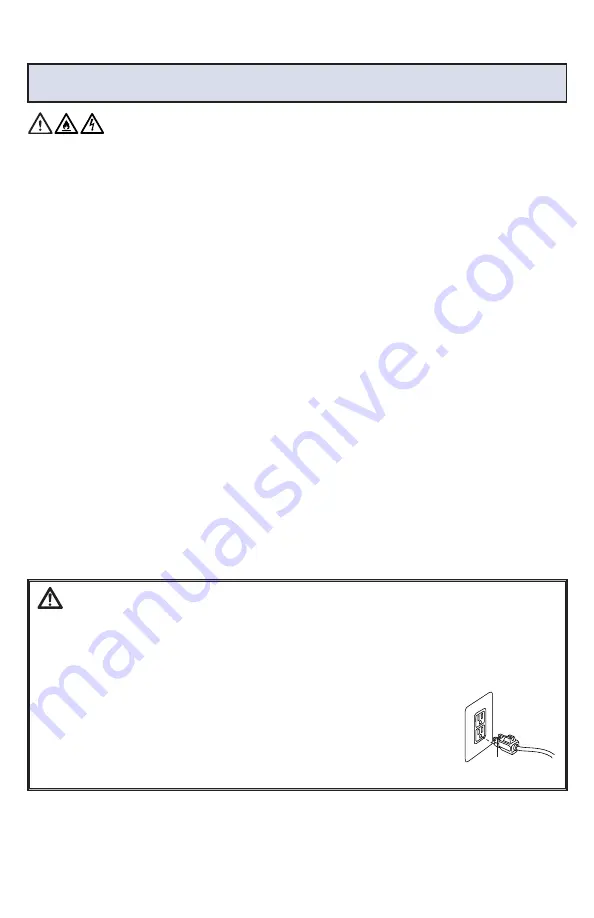
WARNING
Improper connection of the equipment-grounding
conductor can result in a risk of electrical shock.
Check with a qualified electrician or service
person if you aren’t sure if the outlet is properly
grounded. DO NOT MODIFY THE PLUG. If it will
not fit the outlet, have a proper outlet installed by
a qualified electrician. This appliance is designed
for use on a nominal 120-volt circuit, and has a
grounding attachment plug that looks like the plug
in the illustration. Make certain that the appliance
is connected to an outlet having the same
configuration as the plug. No plug adapter should
be used with this appliance.
GROUNDING INSTRUCTIONS
This appliance must be connected to a grounded
wiring system. If it should malfunction or break
down, grounding provides a safe path of least
resistance for electrical current, reducing the risk
of electrical shock. The cord for this appliance
has an equipment-grounding
conductor and a grounding
plug. It must only be plugged
into an outlet that is properly
installed and grounded in
accordance with all local codes
and ordinances.
Grounded
Outlet
Grounding Pin
IMPORTANT INFORMATION
»
If your appliance has a motorized Brush Roll, do not leave machine running in the same spot without the handle fully upright.
Summary of Contents for PROHEAT 2X REVOLUTION 15484
Page 17: ...17 www BISSELL com Notes...
Page 35: ...17 www BISSELL com Notas...