Using the Java GUI
On the start page of the web interface, you can download a .jar-file to your computer. If you have
Java installed, you can execute this .jar-file to start the GUI.
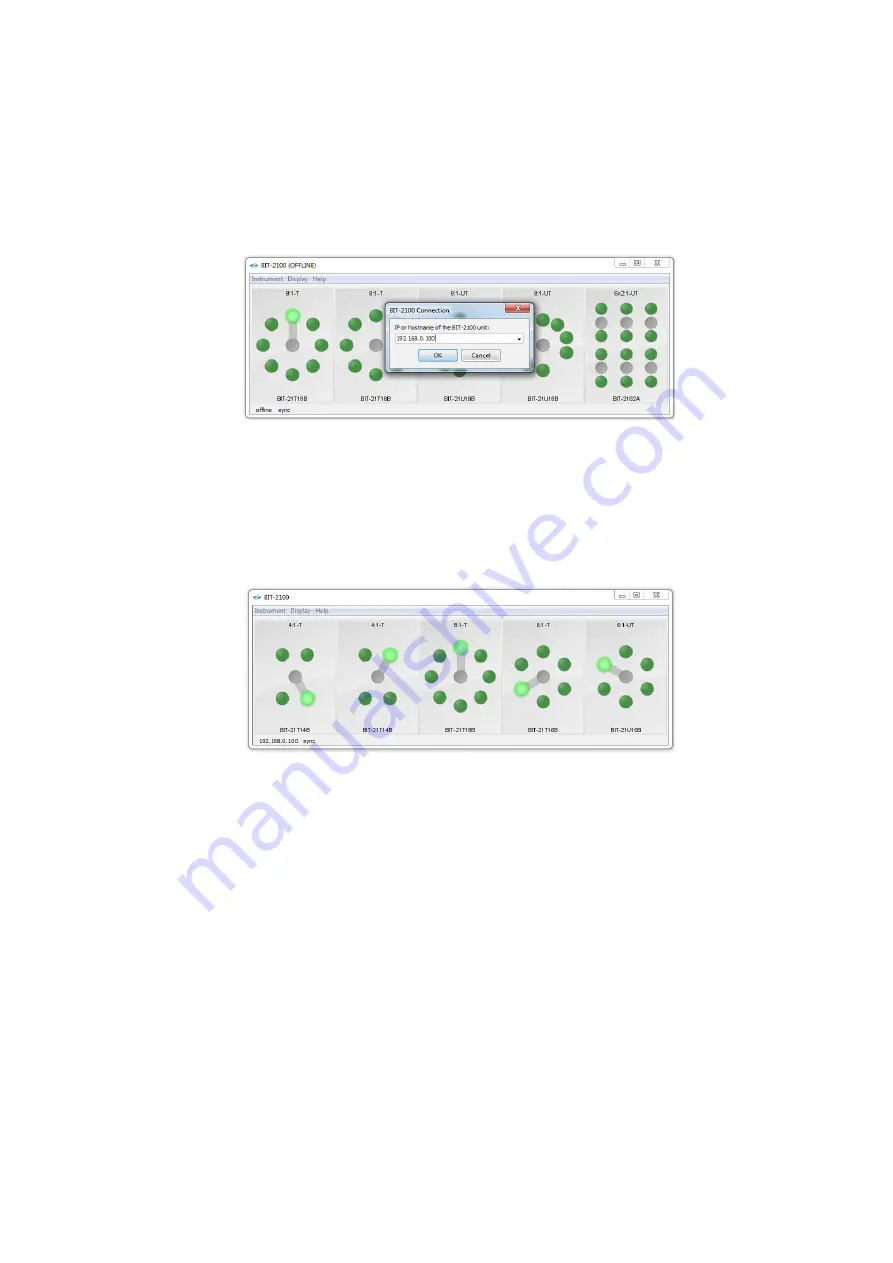
The GUI will first show a dialog to prompt you to enter the IP address or hostname of the instrument
(see figure 6). If you cancel this dialog, the GUI will operate in offline mode, where it simulates the
behavior of a typical instrument.
When being connected to the instrument, you can click the circles which represent the connectors
and LEDs of the switch modules (see figure 7). You can click the type labels on the modules to get
details about the specific module. If the connected instrument is a master, you will see tabs on the
right of the window where you can switch to the slave.
You can access more features from the main menu, including:
•
Instrument: connect/disconnect; get more information about the instrument; initiate a
reset; initiate a self-test; open the diagnostics window
•
Display: enable/disable synchronization of the GUI with the instrument, which might be
helpful with slow connections; enable/disable GUI lock, which might be helpful if you don’t
want to accidentally interfere with another remote connection
•
Help: get more information about the GUI
In the diagnostic window, you can inspect detailed error messages, issue your own SCPI commands,
or turn on logging to learn how the GUI uses SCPI commands.
18
BitifEye Digital Test Solutions GmbH
Figure 6: Connecting to the instrument with the GUI
Figure 7: Main window of the GUI


