6
TROUBLESHOOTING
Problem
Possible Cause
Possible Solution
• Unit will not start. • Cord not plugged in.
• Plug tool into a working outlet.
• Circuit fuse is blown.
• Replace circuit fuse.
(If the product repeatedly causes
the circuit fuse to blow, discontinue
use immediately and have it
serviced at a BLACK+DECKER service
center or authorized servicer.)
• Circuit breaker is tripped.
• Reset circuit breaker. (If the
product repeatedly causes the
circuit breaker to trip, discontinue
use immediately and have it
serviced at a BLACK+DECKER service
center or authorized servicer.)
• Cord or switch is damaged. • Have cord or switch replaced at
BLACK+DECKER Service Center or
Authorized Servicer.
• Dust is not
• Sandpaper holes do not align. • Use Mouse
®
sandpaper with the
being collected.
appropriate hole configuration.
• Dust canister is full.
• Separate dust canister and gently
shake or tap to empty.
For assistance with your product, visit our website
www.blackanddecker.com
for the
location of the service center nearest you or call the BLACK+DECKER help line at
1-800-544-6986.
DUST ExTRACTION
To Empty Dust Canister
:
cauTIon:
Respiratory hazard.
Never
operate this tool
for wood sanding
unless
the dust canister is in place. Sanding dust
exhaust may create a breathing hazard.
warnInG:
Fire hazard.
Collected
sanding dust from sanding surface coatings
(polyurethane, linseed oil, etc.) can self-ignite
in sander dust canister or elsewhere and
cause fire. To reduce risk, empty canister
frequently and strictly follow sander manual
and coating manufacturer’s instructions.
warnInG:
Fire hazard.
When
working on metal surfaces, do not use the
dust canister or a vacuum cleaner because
sparks are generated. Wear safety glasses
and a dust mask. Due to the danger of fire,
do not use your sander to sand magnesium
surfaces. Do not use for wet sanding.
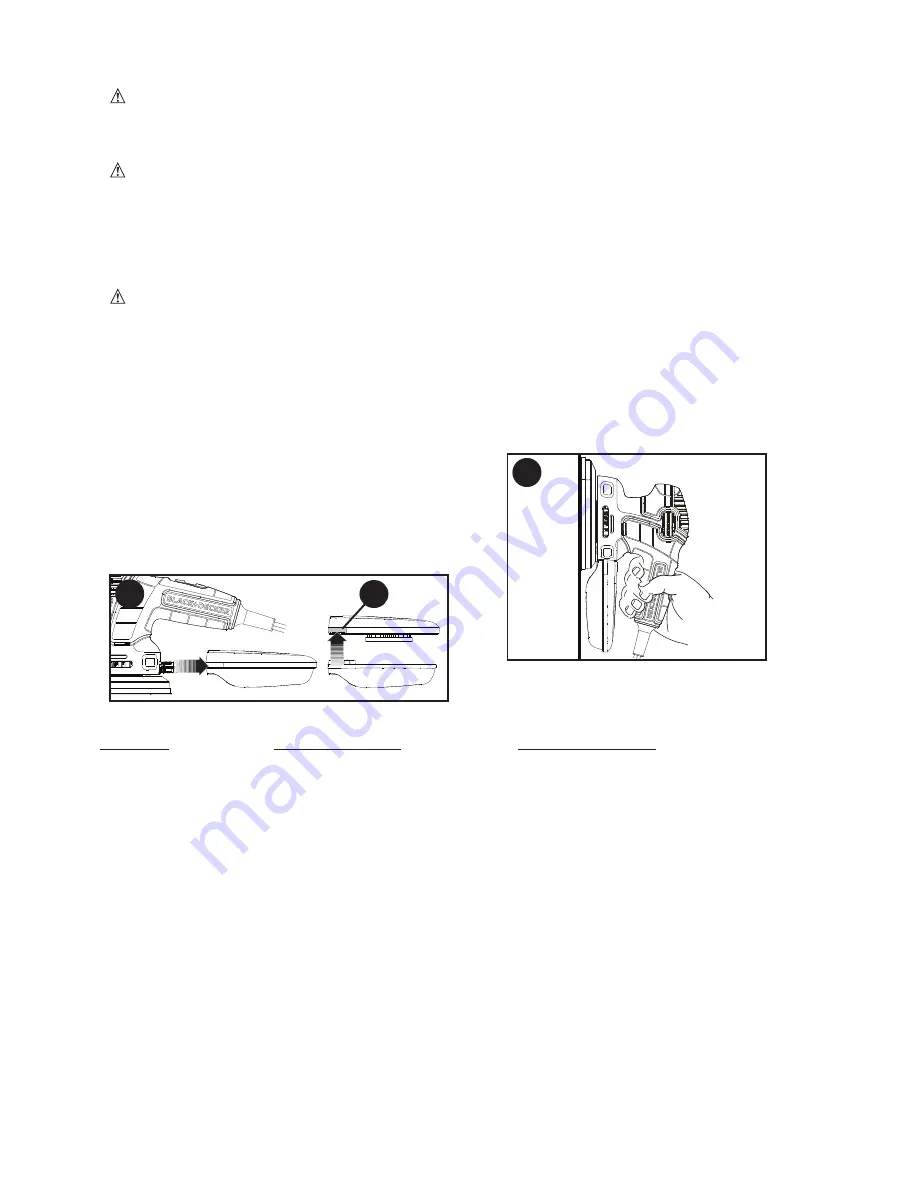
• The dust collection canister (4) should be
emptied after every 10 minutes of sanding.
• While holding the sander, grasp the dust
collection canister and pull it off of the
sander as shown in figure e.
• Hold the canister just inside a garbage
can to ensure dust is contained.
• Push up on tab (10) to separate the top of the
canister from the bottom as shown in figure e.
• Gently shake or tap the top and bottom of
the canister to empty.
• Reattach the top and bottom and firmly
push the canister back onto the sander.
HInTS for oPTIMuM uSe
• Do not place your hands over the
ventilation slots.
• Do not exert too much pressure on the
tool.
• Regularly check the condition of the
sanding sheet. Replace when necessary.
• Always sand with the grain of the wood.
• When sanding new layers of paint before
applying another layer, use extra fine grit.
• On very uneven surfaces, or when
removing layers of paint, start with a
coarse grit. On other surfaces, start with
a medium grit. In both cases, gradually
change to a fine grit for a smooth finish.
• When sanding on a vertical surface, hold
the back handle (2) for better grip and
control as shown in figure f.
f
e
10


