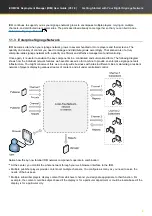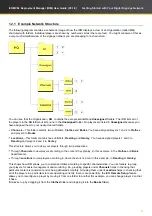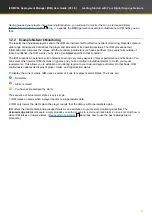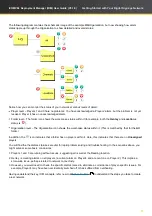
18
iCOMPEL Deployment Manager (IDM)
User Guide (V3.1.0)
Getting Started with Your Digital Signage Network
1.4.3 Structuring Your
Organization
Using Folders
To follow the steps here, you must access the
IDM
through an account with the
organization
Administration
permission.
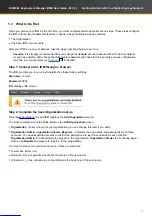
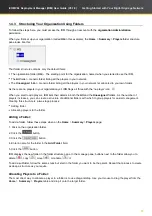
When you first set up your
organization
(called
HQ
in this example), the
Home
>
Summary
>
Players
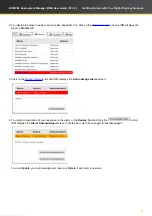
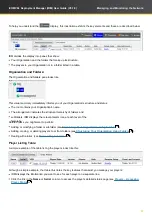
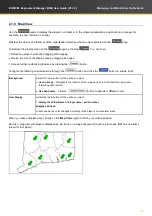
folder structure
pane looks like this:
That folder structure contains only the default items:
The
organization
folder (
HQ
) – The starting point for the
organization
, named when you started to use the
IDM
.
The
All
folder – Generic folder listing all the players in your network.
The
Unassigned
folder – Generic folder listing all the players in your network not allocated to your own folders.
As there are no players in your
organization
yet,
IDM
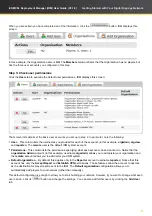
flags all three with the 'no player' icon .
When you start to add players,
IDM
lists their details in both the
All
and the
Unassigned
folders. As the number of
players increases, you can create a structure of additional folders with which to group players for easier management.
Creating this structure is a two-stage process:
Adding folder
Allocating players to the folder
Adding a Folder:
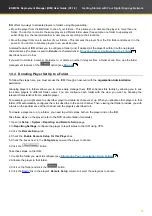
To add a folder, follow these steps when on the
Home
>
Summary
>
Players
page:
1.
Click on the
organization
folder.
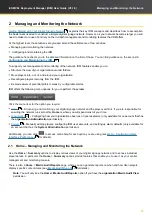
2. Click the
button.
3. Click the
button
4. Enter a name for the folder in the
Add
Folder
field.
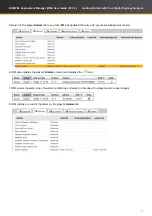
5. Click the
button.
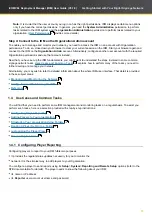
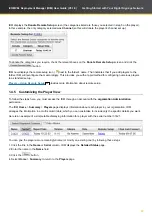
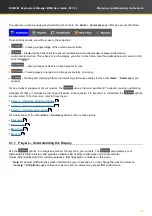
IDM
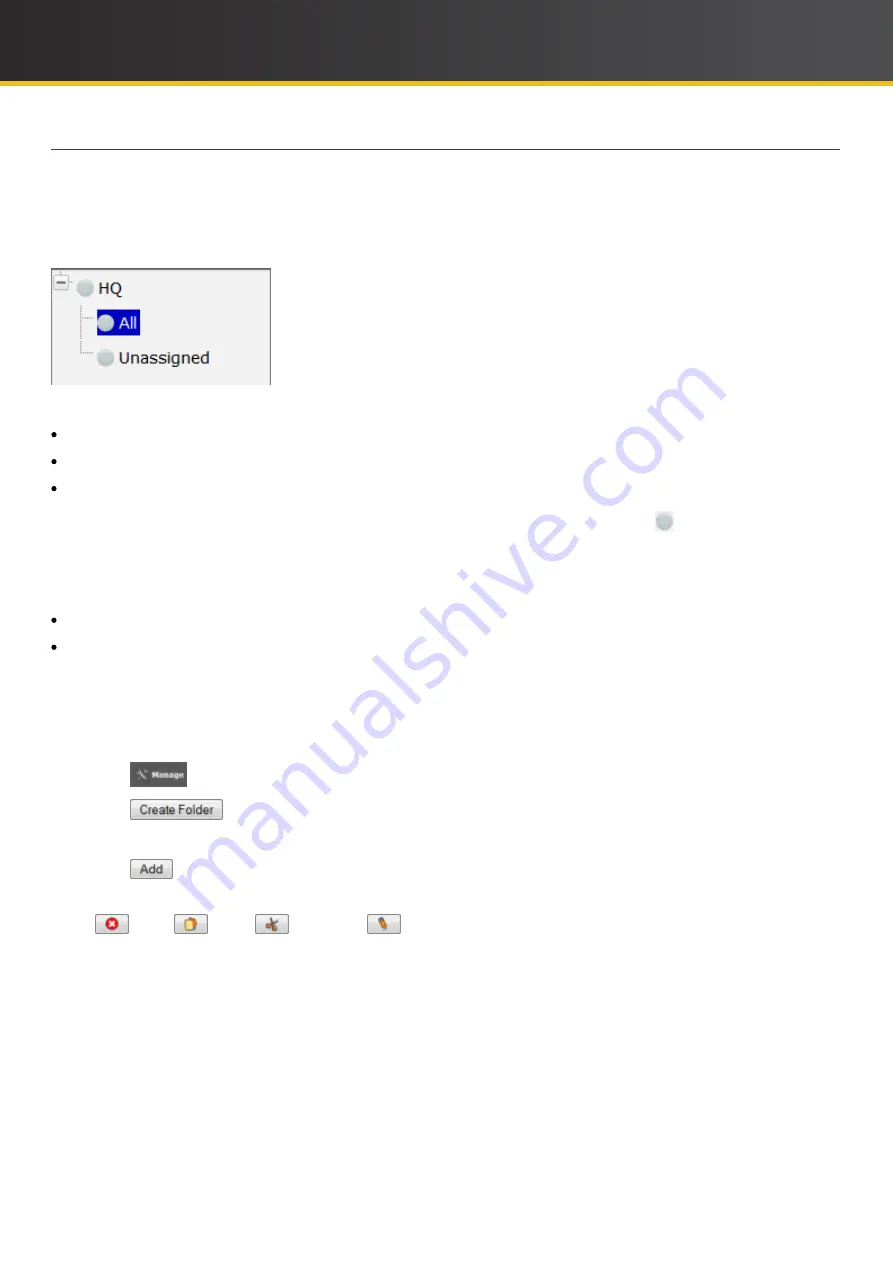
displays the new folder in the folder structure pane. In the manage pane, buttons next to the folder allow you to
delete
, copy
, move
, or rename
it.
To add a subfolder, follow the same steps but start in the folder you want to be the parent. Repeat that process to create
as deep a structure as you require.
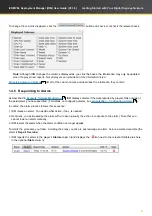
Allocating Players to a Folder:
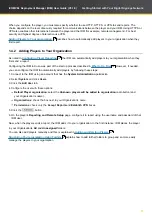
The most direct way to allocate a player to a folder is to use drag-and-drop. Use your mouse to drag the player from the
Home
>
Summary
>
Players
table and drop it onto the target folder.

