97
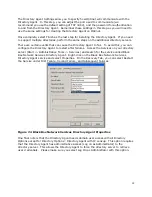
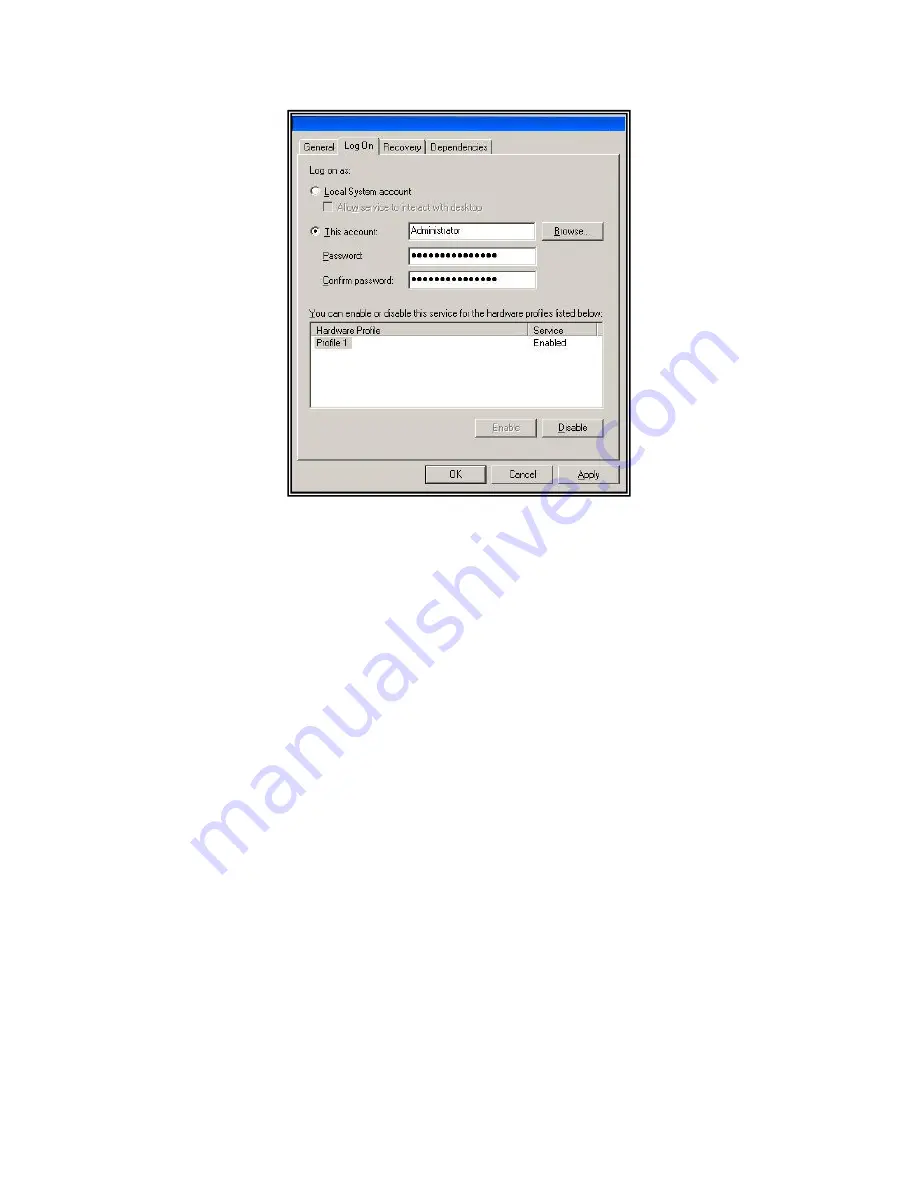
Figure 7.5 Black Box Network Services Directory Agent Properties
Create Directory Agents
The second part to using the Directory Agent is to establish an association with Optinet.
This is done by creating the Directory Agent on Optinet, which will allow the device to
synchronize directory groups, OUs, and user attributes.
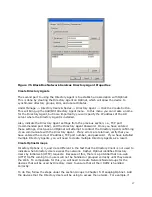
Under Manage -> Directory Users & Nodes -> Directory Agent -> Click the Create button.
This will bring up the Add/Edit Directory Agent menu. In this menu you can create a name
for the Directory Agent, but more importantly you will specify the IP address of the AD
server where the Directory Agent is installed.
Also, indicate the Directory Agent settings from the previous section, i.e., TCP port
(recommended port 3462), and the Directory Agent Password. Once you have entered
these settings, click Save and Optinet will attempt to contact the Directory Agent confirming
it can communicate with the Directory Agent. If any errors are returned, verify that you
have entered the correct IP address, TCP port number, and password. If you have installed
multiple Directory Agents, you will need to create multiple Directory Agents as a result.
Create Optinet Groups
Directory Options 2, 3, and 4 are different in the fact that the Directory Client is not used to
indicate when Directory Users access the network. Rather, Optinet identifies Directory
Users by initial web (HTTP) requests. Because of this, there is a potential that non-web
(HTTP) traffic coming from users will not be handled or grouped correctly until they access
the Web. To compensate for this, you will need to create Network Node Groups for the
devices that will be used by Directory Users to ensure that all their traffic is handled
correctly.
To do this, follow the steps under the section Groups in Chapter 5: Managing Optinet. Add
the devices that the Directory Users will be using to access the network. For example, if


