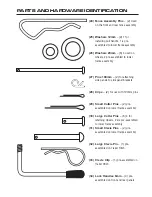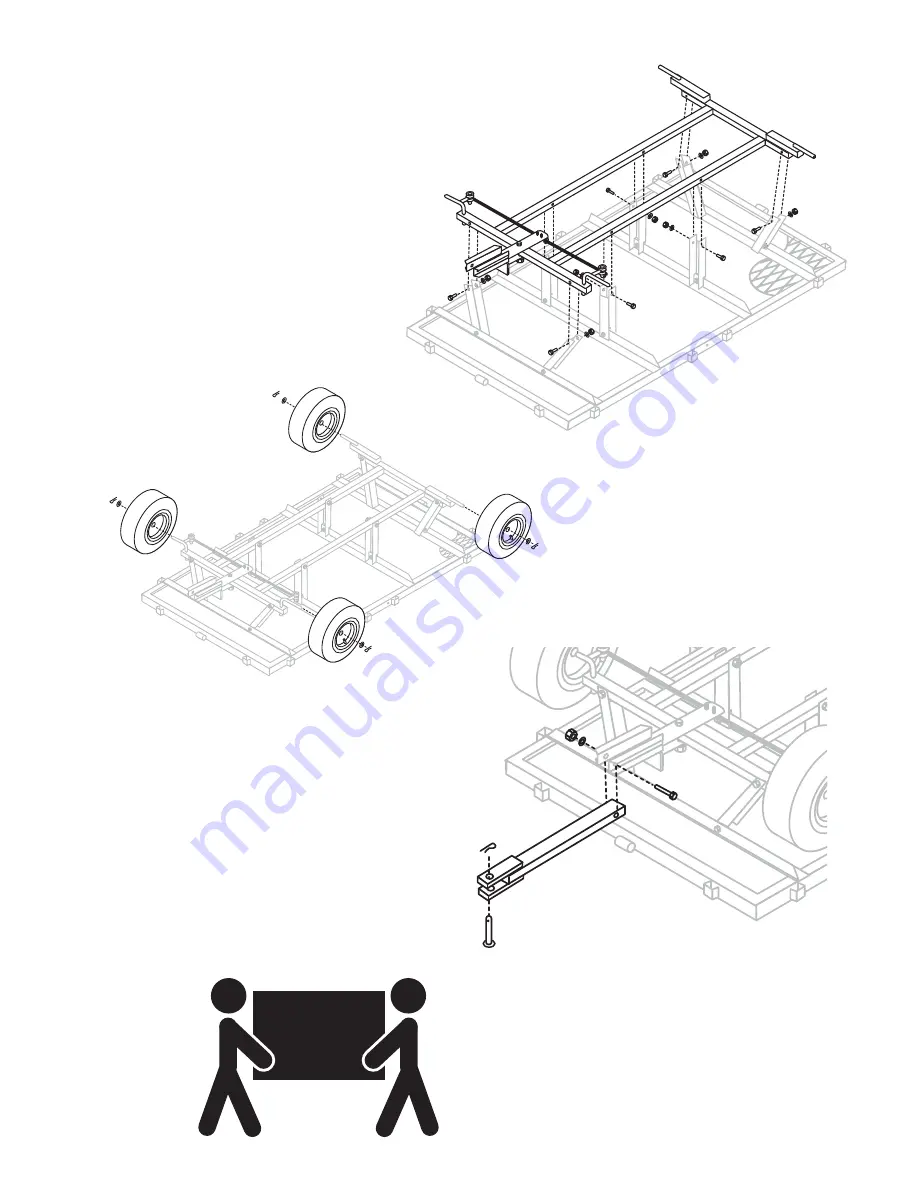
STEP 4
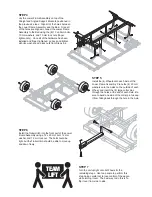
Lay the Lower Frame Assembly on top of the
Straight and Angled Support Brackets positioned in
the previous 2 steps. Align all of the holes between
the Lower Frame Assembly and the Bed. Once all
of the holes are aligned, connect the Lower Frame
Assembly to the Bed using the (8) 10 x 60mm bolts,
10 mm washers, and 10 mm lock nuts (finger
tighten only). Once all of the hardware has been
installed and finger-tightened, go back and tighten
all bolts, washers, and lock nuts from Steps 2-4.
STEP 6
Install the Trailer Hitch into the front part of the Lower
Frame Assembly using a 12 x 60 mm bolt, 12 mm
washer, and 12 mm lock nut. The bolt should be
tight, but the Trailer Hitch should be able to move up
and down freely.
STEP 5
Install the (4) Wheels onto each Axle of the
Lower Frame Assembly. Place the (4) 20 mm
washers onto the Axles on the outside of each
Wheel, and insert the (4) large cotter pins
through the holes at the end of each Axle. Be
sure to bend one side of the cotter pin to keep
it from falling back through the hole in the Axle.
TEAM
LIFT
STEP 7
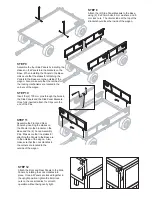
Turn the unit upright onto its Wheels for the
remaining steps. Use two people to perform this
step, being careful not to lose control of the wagon
while turning it over. The best way to do this is to
flip it over from side to side,


