*
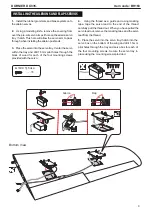
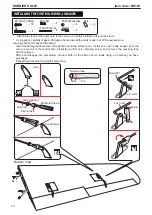
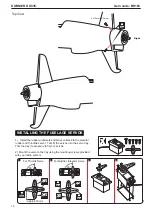
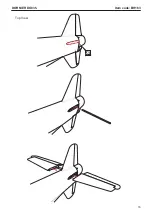
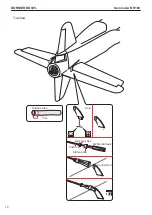
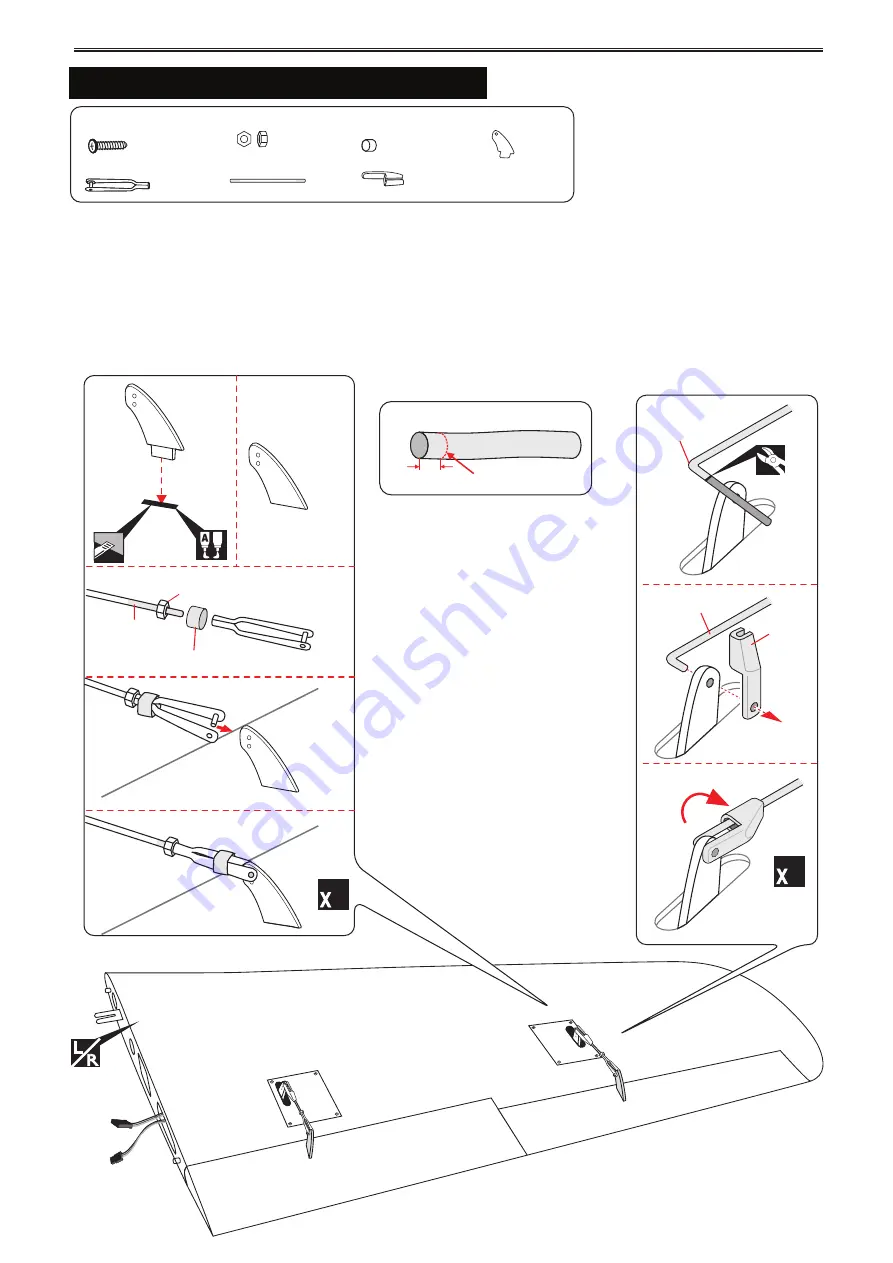
Using pliers, carefully make a 90 degree bend down at the mark made. Cut off the excess wire,
leaving about 6mm beyond the blend.
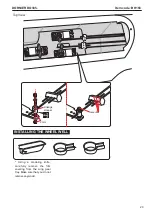
* Attach the clevis to the outer hole in the servo arm. Install a silicone tube on the clevis.
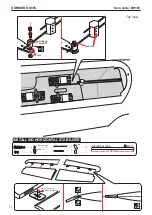
After both linkages are completed. connect both of the aileron servo loads using a Y-harness you have
purchased.
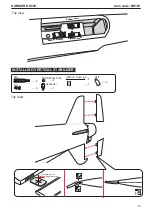
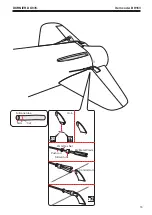
Insert the 90 degree bend down through the hole in the control horn. Install one nylon snap keeper over the
wire to secure it to the control horn. Install the control horn retaining screw and remove the masking tape
from the aileron.
Repeat the procedure to install the other wing.
M2
2mm Nut
100mm Push rod
- - 4
- - - 4
- - - 4
Horn
- - - 4
- - - 4
Flaslink
- - - 4
5mm Silicone tube
DORNIER DO335. Item code: BH163
10
2x10mm Tp Screw
- - - 16
INSTALLING THE CONTROL HORNS, LINKAGES
Flaslink
Push rod
4
Servo arm
Bend 90
⁰
Cut
Silicone tube
5mm
M2 Metal Clevis
Silicon tube
2mm Hex Nut
Push rod
Control Horn
Horn
4
B
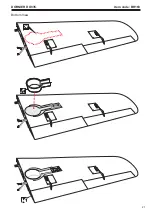
Bottom View
Summary of Contents for BH163
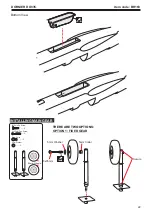
Page 18: ...18 DORNIER DO335 Item code BH163 Top View ...
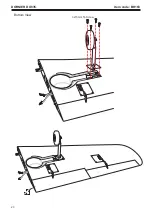
Page 21: ...DORNIER DO335 Item code BH163 21 C A Bottom View ...
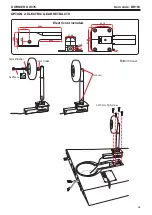
Page 23: ...DORNIER DO335 Item code BH163 23 3x15mm Tp Screw Bottom View ...
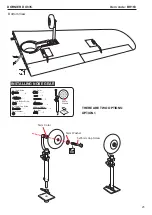
Page 33: ...DORNIER DO335 Item code BH163 3x12mm TP Scew 33 Top View ...
Page 36: ...DORNIER DO335 Item code BH163 EXPL ODED VIEW 36 ...


