W
A L L
M
O U N T
I
N S T A L L A T I O N
1-10
403-002-018 Rev A
Connecting Cables
10
Connect cables to the PR5000. Refer to
Figure 1-2
.
Note
: When using the PR5000 Reader as an Authorization Reader, configure the Transaction
Terminal Options in TS, see: the Blackboard Transaction System Administration Guide
(Hardware chapter). The reader provides data output through AUX1. A serial connection from
AUX1 to third-party hardware is required.
11
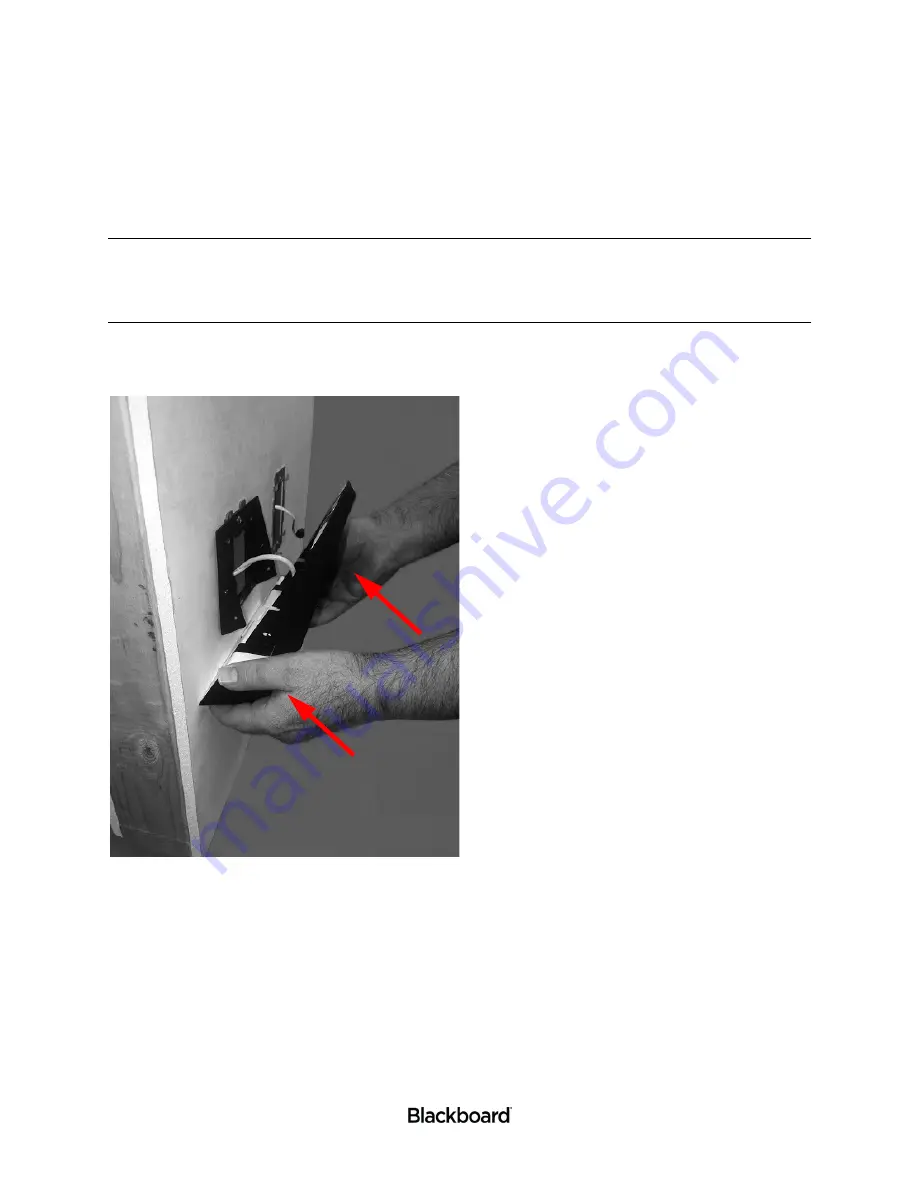
Place the PR5000 Reader on the Mount Base by sliding the Mount’s open slots over the loosely
attached screws previously installed.
Figure 1-10 Installing the PR5000 to Wall
12
Install two more 6-32 X 1/2 Tamper Proof screws into the lower slotted holes.
13
Tighten all four Tamper Proof screws.
14
Verify that the reader is secure.
Wall mount installation is complete. See: the
Point of Sale (PR5000) Configuration Guide
to complete
your setup.


