Post Production Workflow
35
At the very minimum do a quick check of the timeline for shots with excessive exposure or color issues.
When you're satisfied with the appearance of the clips in the timeline, you’re ready to export your clips
to ProRes.
To export your clips:
Step 1.
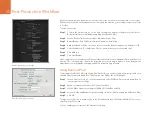
Click on the Deliver tab, go to the Easy Setup menu and select Export to Final Cut Pro.
By default this preset will render using Apple ProRes 422 (HQ).
Step 2.
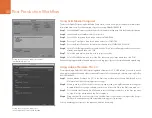
Set the Render Timeline As setting to Individual Source Clips.
Step 3.
Ensure Render Each Clip With a Unique Filename is deselected.
Step 4.
Enable the Render Audio checkbox, select your audio channels and set to a bit depth of 24.
Step 5.
Under Render Job To: click Browse. Choose a new folder for your converted clips.
Step 6.
Click Add Job.
Step 7.
Click Start Render.
Upon completion of the render you will have a folder that contains each individual clip from the Resolve
timeline. The converted clips can now be imported into your editing software. You can always make
adjustments to your grade by exporting an XML from your editing software.
Using Final Cut Pro X
To edit Apple ProRes 422 (HQ) clips using Final Cut Pro X, you need to create a new project and set a
suitable video format and frame rate. This example uses ProRes 422 (HQ) 1080p25.
Step 1.
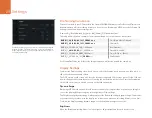
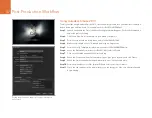
Launch Final Cut Pro X, go to the Menu bar and select File/New Project. A window will open
containing project settings.
Step 2.
Name your project and select the Custom checkbox.
Step 3.
Set the Video Properties settings to 1080p HD, 1920x1080 and 25p.
Step 4.
Set your Audio and Render Properties settings to Stereo, 48kHz, and Apple ProRes 422 (HQ)
Step 5.
Click OK.
To import your clips into your project, go to the Menu bar and select File/Import/Media. Choose your
clips from your CFast card.
You can now drag your clips onto the timeline for editing.
DaVinci Resolve project settings..
Final Cut Pro X project settings.

