Hardware Installation
44
Networking Videohub with USB
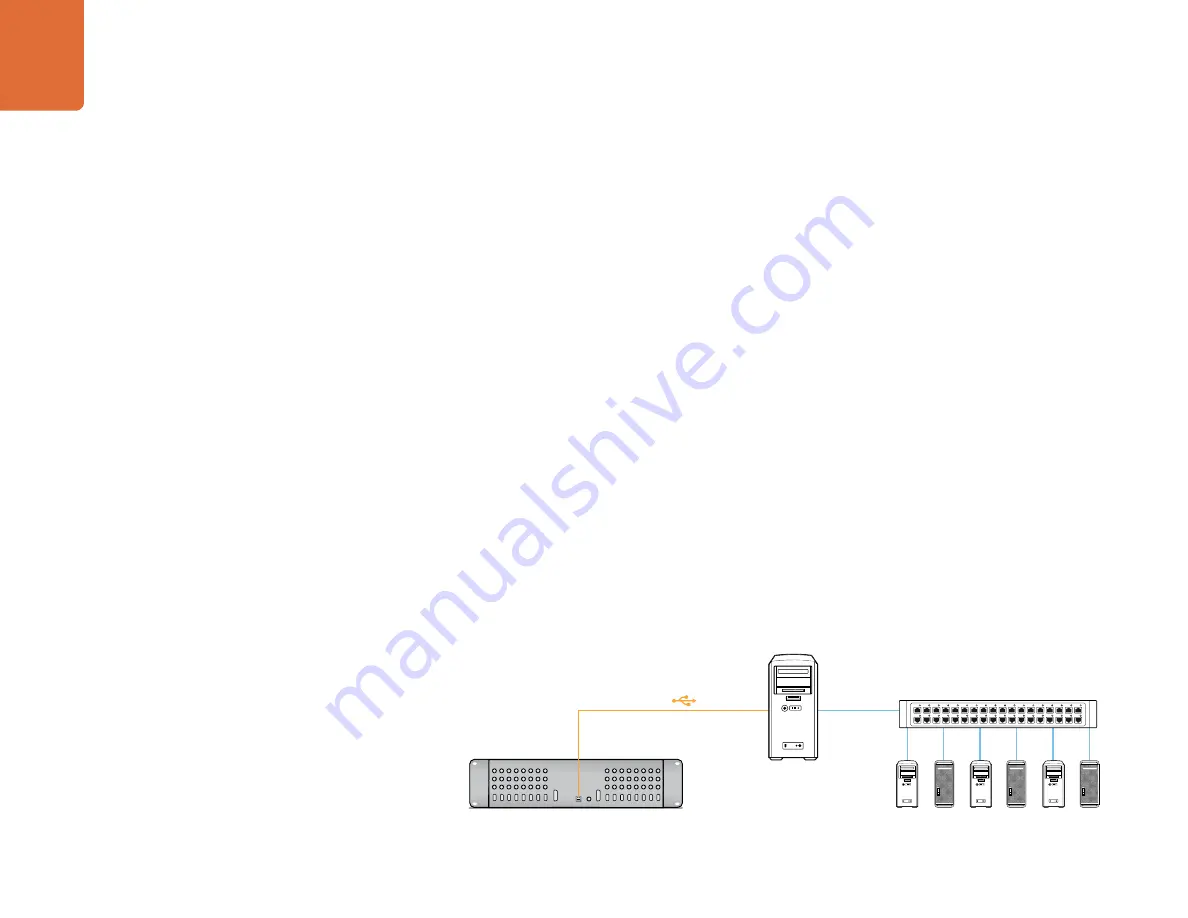
All Videohubs, except Universal Videohubs, can connect to any computer on your local area IP based
network via USB 2.0. One “server” computer on your network connects to Videohub via the plug and play
USB connection, and shares the Videohub with other computers and iPads on your network in a similar way
to USB printer sharing.
You can use almost any computer for the Videohub Server, such as an editing workstation, and you
don’t need a dedicated or powerful computer for this task. If your Videohub is too far away to connect
via USB, or if you do decide to use a dedicated server computer, this could be a great use for an old
Mac OS X or Windows computer which is no longer fast enough for other work. Alternatively you could use
a very small computer, such as a netbook or Mac Mini, which can be hidden in an equipment rack along
with your Videohub.
The “Videohub Server” can be any computer running Apple Mac OS X, Windows XP or Windows 7
and any number of Mac OS X and Windows “clients” can connect to the “server” via USB. You will need to
carry out the following steps to connect Videohub to the local area IP based network.
Step 1.
Securely connect and power on all of the power supplies included with your Videohub.
Step 2.
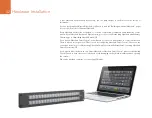
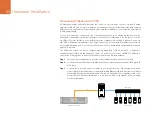
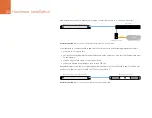
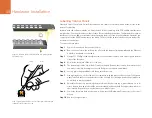
Connect the Videohub router to the Videohub Server computer with a standard USB 2.0 type A-B
male cable.
Step 3.
Connect the Videohub Server computer to your network switch. We strongly recommend
connecting the Videohub Server computer with reliable Ethernet cables in preference to wireless
networking. Wireless networking may be affected by interference from appliances and other
wireless devices. Wireless interference is a common problem in equipment racks containing
electronic equipment.
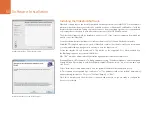
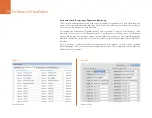
Ethernet
Videohub connected via USB
Network Switch
Client Computers
Videohub Server
Computer

