Software Installation
60
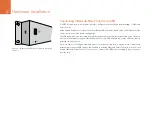
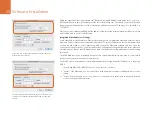
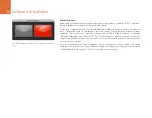
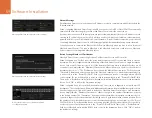
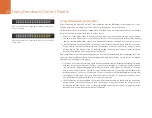
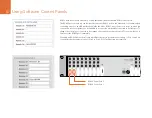
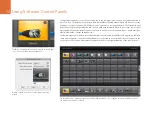
The Take button illuminates red in the lower right corner
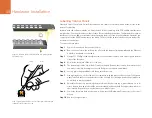
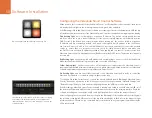
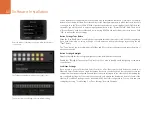
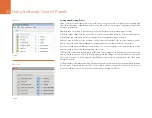
This picture shows the backlight set to the dimmest setting
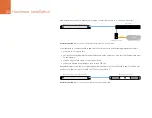
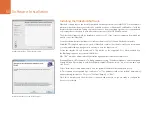
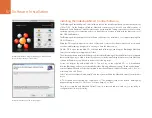
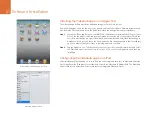
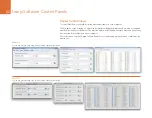
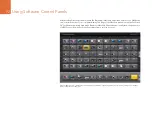
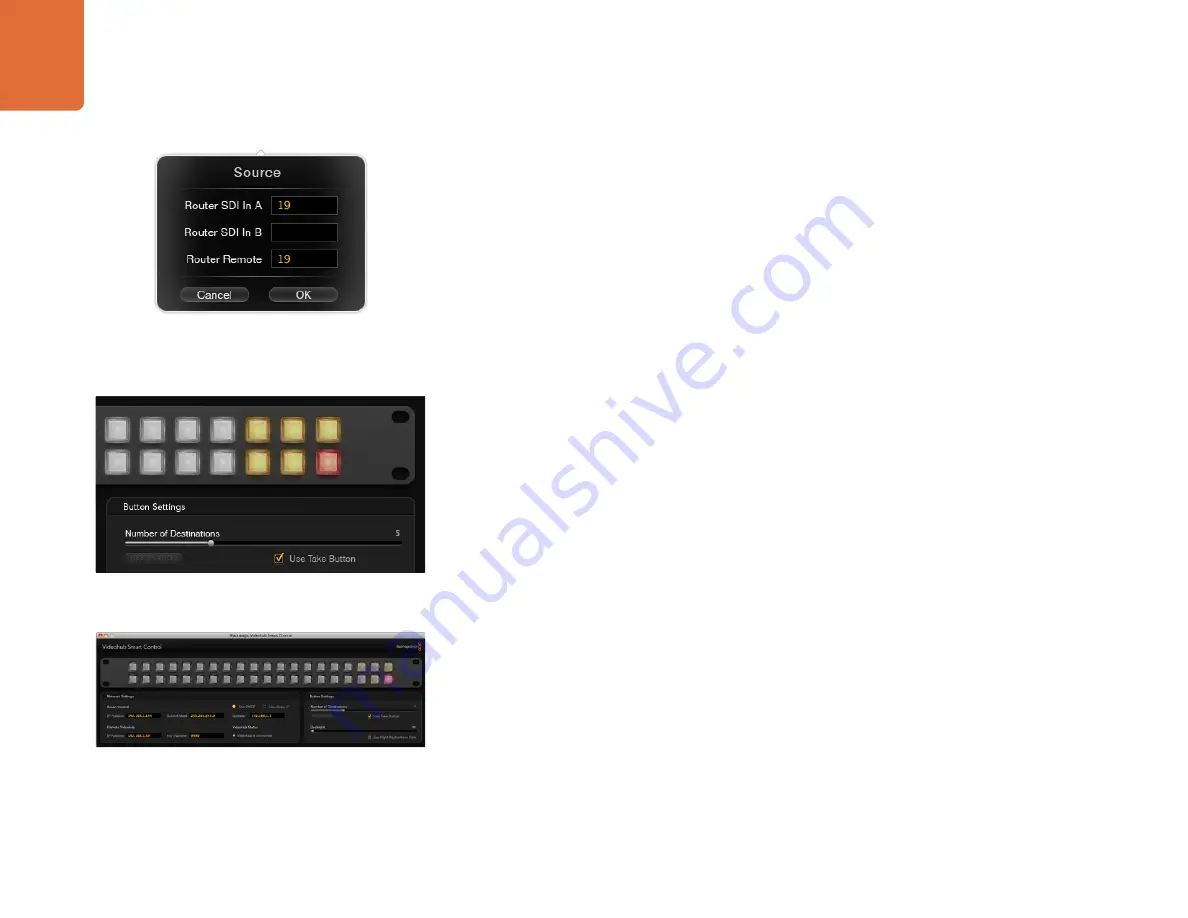
Enter the number of the Videohub port to which the SDI device
is connected.
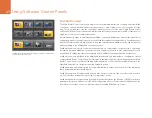
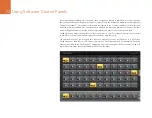
Source buttons are configured in much the same way as destination buttons by clicking on each white
button in the software interface. Enter the number of the Videohub input port, to which the source device is
connected, in to the “Router SDI In A” field. If your destination device is receiving dual-link HD-SDI or dual-
stream 3D, you will also need to enter an input port number in to the “Router SDI In B” field. There is also
a “Router Remote” field if your Videohub is also routing RS-422 deck control from the source device. Click
“OK” to confirm the source settings.
Button Settings: Take Button
When the “Use Take Button” is enabled, the lower right button becomes red-colored. Use this configuration
if you wish to be able to select a change of route and then confirm the change by pressing the red
“Take” button.
The “Take” button can be used with both Cut-Bus and XY controller configurations and takes the place of
a destination button.
Button Settings: Backlight
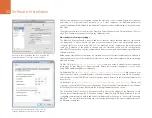
Adjust the backlight slider to vary the brightness of the backlit buttons as desired.
Enable the “Backlight Destinations Only” button if you wish to disable the backlighting of the white
source buttons.
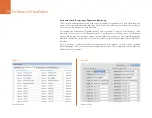
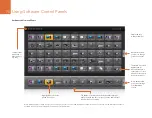
Load/Save Settings
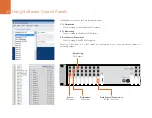
If you intend to use your Videohub Smart Control as a Cut-Bus controller, and dedicate a number of
Videohub Smart Control units to single destination devices in your facility, it can be convenient to save the
settings from an already configured unit and then load those settings in to the other units. After loading the
pre-configured settings in to the other units, you need only update the destination device for each of the
other units. Load/Save settings can also be used with XY controller configurations. You can load and save
settings by choosing “Load Settings” or “Save Settings” from the File menu.

