Using Software Control Panels
82
Locking and Unlocking Routes
Locking a destination will avoid accidentally changing the video source which is routed to that destination.
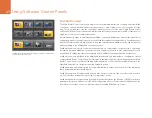
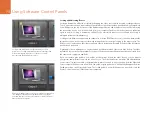
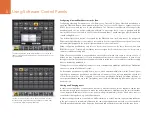
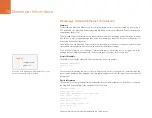
To lock a route between an input and an output, double-tap the destination pushbutton. A yellow padlock
icon will appear in the top-left corner of the destination pushbutton and will prevent anyone else from using
the destination device until it is unlocked from your iPad. Double-tap the destination pushbutton again
to unlock. Locking a destination still leaves the associated video source available for routing to multiple
destinations simultaneously.
Locking a route between an input and an output also locks the RS-422 deck control connection between
the two devices to avoid other users accidentally seizing the deck control belonging to the video source.
The RS-422 connection between the video source and video destination will remain locked until the
destination pushbutton is unlocked.
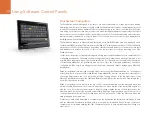
A gray padlock icon will appear on any destination pushbuttons which other users have locked. The video
destination devices will not be available to you until the destination pushbuttons have been unlocked from
the other users’ computers and iPads.
If you encounter a gray padlock icon, and do not know who locked the video device, you can request your
system administrator unlock the route for you. The Videohub Server computer has administrative control
over all connections and your system administrator can unlock any connection from the Videohub Server
computer. When a route is unlocked, the yellow or gray padlock icon will instantly disappear.
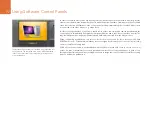
A yellow padlock icon will appear in the top-left corner of the
destination pushbutton and will prevent anyone else from using
the destination device until it is unlocked from your iPad. A gray
padlock icon will appear on any destination pushbuttons which
other users have locked.

