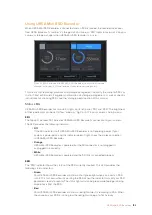
3
On your URSA Broadcast, navigate to ‘ATEM Camera ID’ in the ‘setup’ menu and set
your camera’s ATEM ID to match the switcher input. For example, if URSA Broadcast 1
is connected to Cam 1 on the ATEM switcher, the camera number must also be set to 1.
This ensures tally is sent to the correct camera.
4
In the 'setup' menu select your 'reference source'. Unless you have a genlock signal
being sent to all of your cameras and your switcher, we recommend setting 'reference
source' to 'program' when attached to ATEM.
5
Navigate to the 'monitor' menu and ensure that you have selected ‘clean feed’ for
'main SDI' to ensure that you don't see overlays or the focus box on the SDI output to
the ATEM switcher.
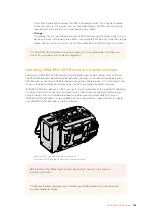
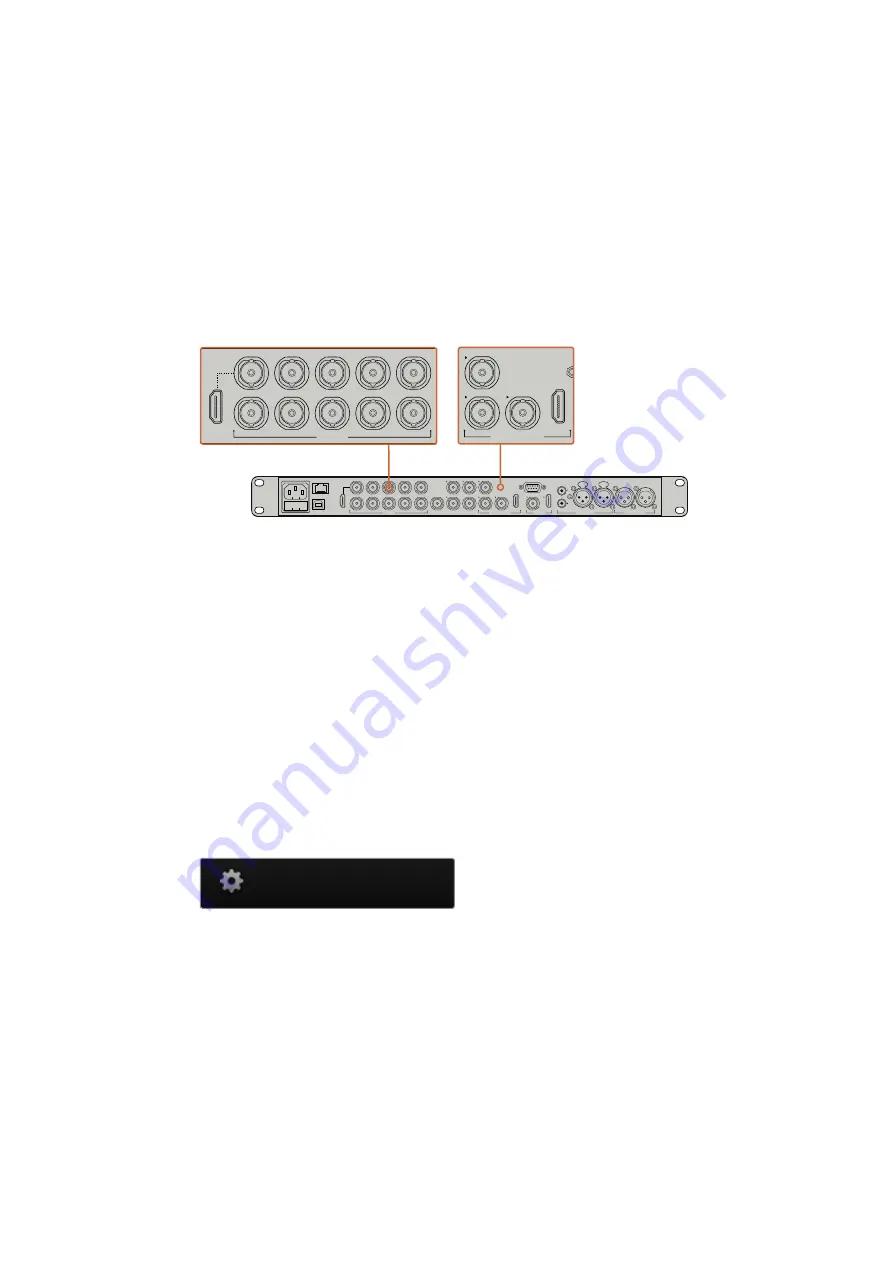
Connect your URSA Broadcast to any of the ATEM switcher’s SDI inputs
Using Camera Control
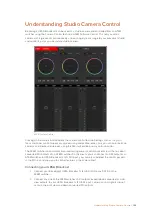
Launch ATEM Software Control and click on the camera button located at the bottom of the
software window. You’ll see a row of labeled camera controllers containing tools to adjust and
refine each camera’s image. The controllers are easy to use. Simply click the buttons using your
mouse, or click and drag to adjust.
Camera Control Selection
The button row at the top of the camera control page lets you select the camera number you
would like to control. If you have more cameras that fit onto the window size, or you are running
the color corrector window, then you can use these buttons to select between which camera
you would like to control. If you are using an Aux output for monitoring your camera control,
pushing these buttons to change the camera to control will also send that camera’s video
output to the Aux output setup in the switcher preferences.
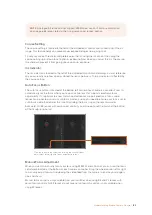
Click on the settings icon to select
the Aux output for camera control
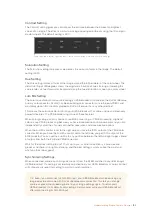
Channel Status
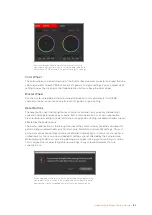
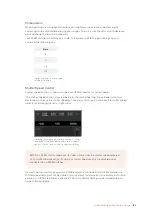
The channel status at the top of each camera controller displays the camera label, On Air
indicator and lock button. Press the lock button to lock all the controls for a specific camera.
When on air, the channel status illuminates red and displays the On Air alert.
PUSH
PUSH
CONTROL
USB 2.0
HDMI IN
SDI INPUTS
REF IN
AUX 1-3
PREVIEW
PROGRAM OUTPUTS
MULTI-VIEW
ANALOG AUDIO IN
STEREO IN
REMOTE
ANALOG AUDIO OUT
CH 1
All SDI and HDMI video connections are
SD, HD and Ultra HD switchable unless indicated
CH 2
CH 1
CH 2
IN
1
IN
2
IN
1
IN
3
IN
4
IN
5
IN
6
IN
7
IN
8
IN
9
IN
10
2
1
3
2
1
HD
HD
HD
PUSH
PUSH
CONTROL
USB 2.0
HDMI IN
SDI INPUTS
REF IN
AUX 1-3
PREVIEW
PROGRAM OUTPUTS
MULTI-VIEW
ANALOG AUDIO IN
STEREO IN
REMOTE
ANALOG AUDIO OUT
CH 1
All SDI and HDMI video connections are
SD, HD and Ultra HD switchable unless indicated
CH 2
CH 1
CH 2
IN
1
IN
2
IN
1
IN
3
IN
4
IN
5
IN
6
IN
7
IN
8
IN
9
IN
10
2
1
3
2
1
HD
HD
HD
185
Understanding Studio Camera Control


