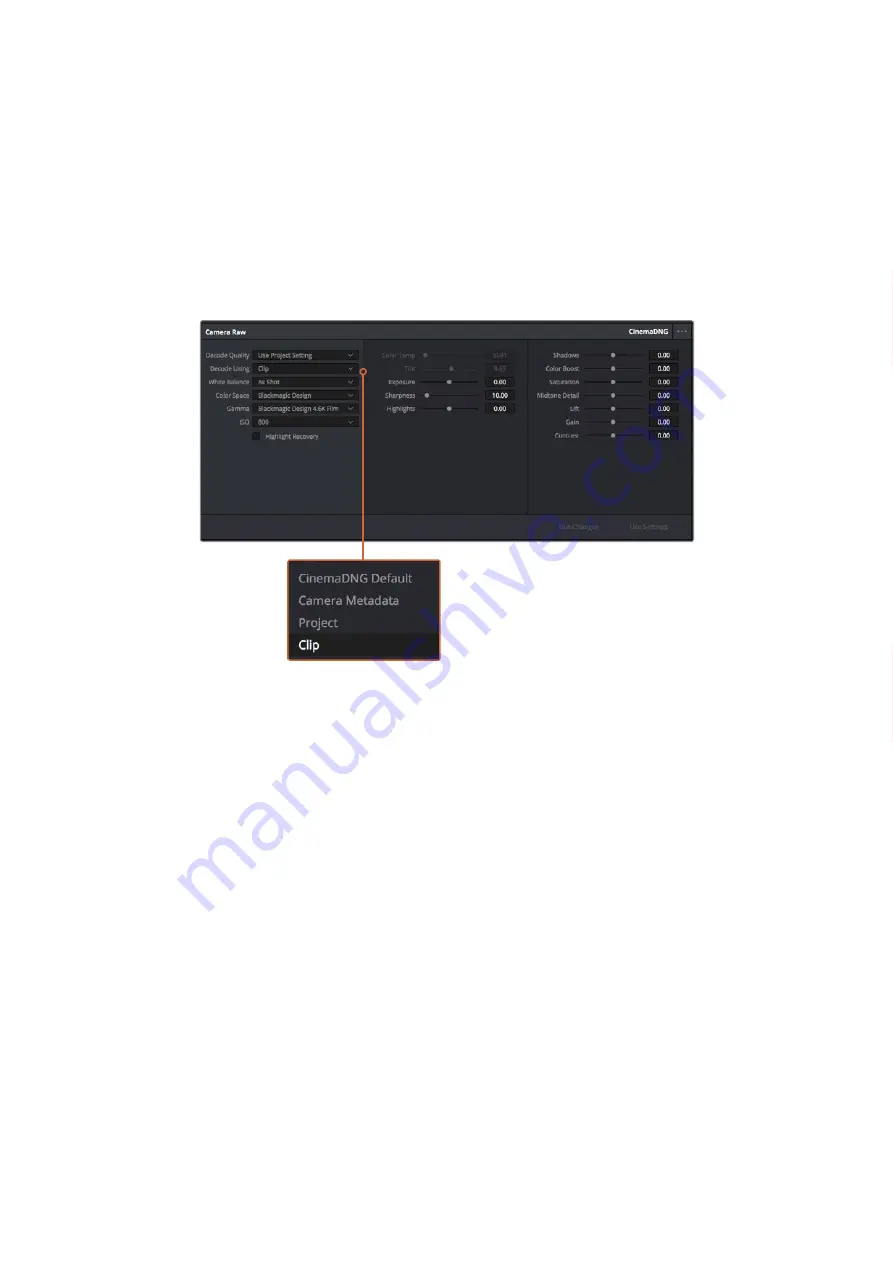
Clip Raw Settings
Once your RAW clips are loaded into the media pool, you can drop them on a timeline in the
edit page and then make adjustments to each clip in the color page.
To make individual adjustments to RAW settings on a per clip basis:
1
Open the 'edit' page, then drag and drop your selected clips into a new timeline.
2
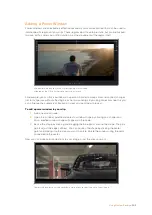
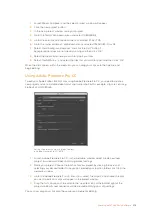
Open the color page and click on the camera icon to open the 'camera raw' palette.
3
Select ‘clip’ from the ‘decode using’ dropdown menu.
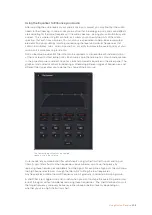
Select ‘clip’ from the ‘decode using’ drop down menu, to
make adjustments to RAW settings for individual clips
Project Raw Settings
If you need to make a setting change that is common to all the clips, for example a global
change to the white balance or ISO setting, you can set the clips to use the project RAW
settings and make global changes from there.
To set project RAW settings:
1
Enter the project settings menu by clicking ‘file,’ and selecting ‘project settings.’
2
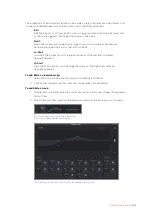
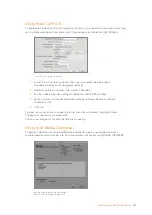
In the ‘Camera RAW’ tab, you’ll see a small arrow in the top right corner with one of
several RAW formats next to it. This should be set to CinemaDNG. When you first drop
a RAW clip shot on your URSA Broadcast into a new timeline, this setting will be set to
CinemaDNG automatically.
3
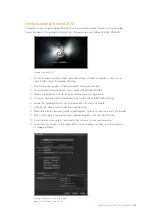
Select ‘project’ in the ‘Decode Using’ drop down menu.
4
Set the white balance setting to 'custom'.
5
Set the color space to 'Blackmagic Design'. This will also set the gamma setting to
Blackmagic Design Film.
Now you can adjust the camera settings for your clips such as white balance, ISO, sharpening,
and more. This will affect all clips on your timeline.
For a full description of all of the RAW settings available, refer to the DaVinci Resolve manual.
New text revised
after translation,
check with
translations.
New text revised
after translation,
check with
translations.
212
Using DaVinci Resolve

