102-A00 page 12/16
MAINTENANCE: HXL8 and HXL10 MODELS
PUMP ASSEMBLY – HXL8 and HXL10
Before reassembling the pump, inspect all component
parts for wear or damage, and replace as required. Wash
out the bearing/seal recess of the head and remove any
burrs or nicks from the rotor and shaft. Remove any
burrs from the liner.
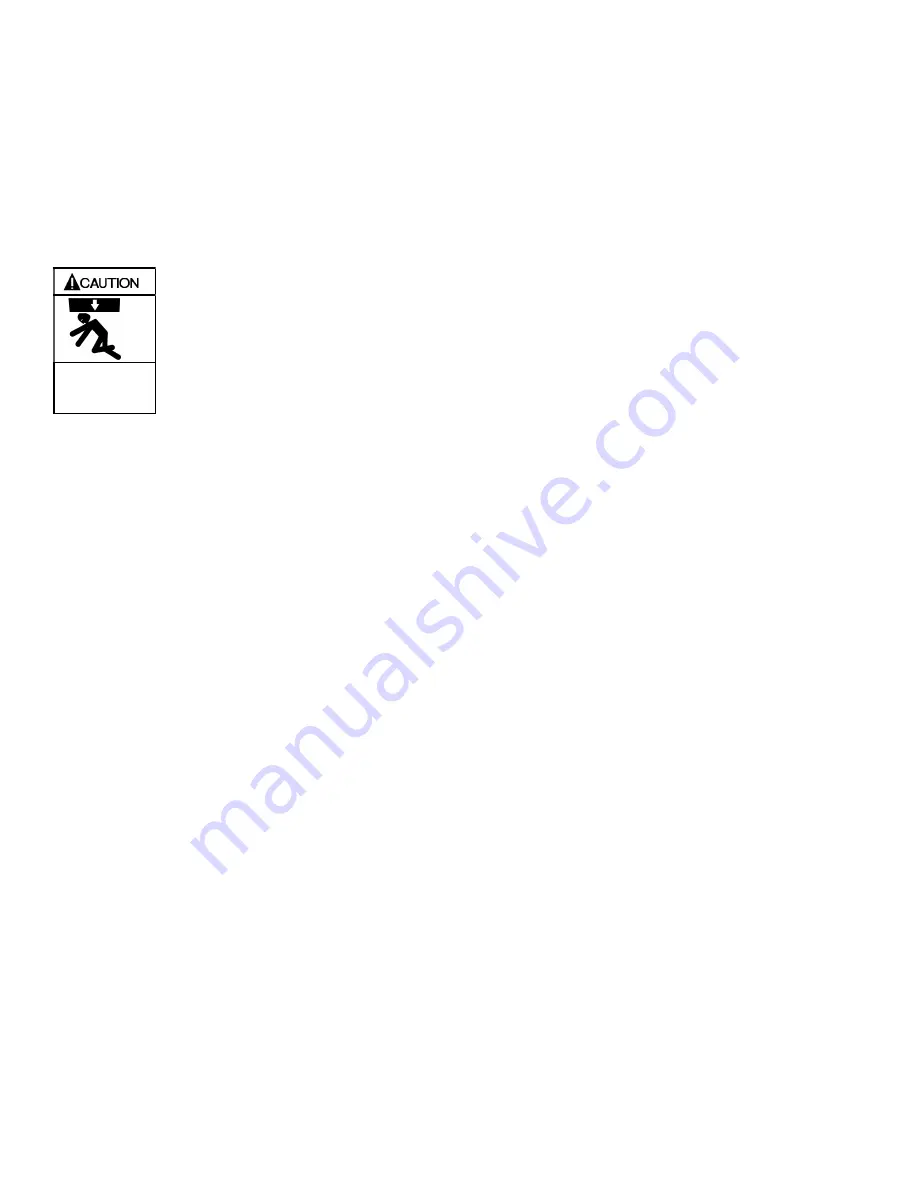
NOTICE:
Use a hoist and eyebolts installed in the threaded holes
located in the heads, discs, rotor and casing to lift the
heavy pump parts.
Always use a lifting device capable of
supporting the full weight of the pump
assemblies.
Heavy assemblies can
cause personal injury
or porperty damage.
1. Set the pump casing upright.
2. The liner must be installed in the pump casing with the
word “INTAKE” cast on the liner toward the intake port of
the pump casing.
HXL8: Align the keyway in the top of the liner with the pin
in the top of the casing.
HXL10: Align rib at top of the liner between the liner
retainer screw holes.
Uniformly tap the outer edge of the liner with a rubber
mallet to fully insert into the casing.
HXL10: Install four liner retainer screws and seals (127,
127A)
3.
Start assembly on the
OUTBOARD
non-driven side of
the pump:
For a CLOCKWISE rotation pump, the INTAKE port is to
the
left
.
For a COUNTERCLOCKWISE rotation pump, the
INTAKE port is to the
right
.
Loosely assemble the outboard disc (71) and head (20)
to the casing (12). The bearing, seal, O-rings, etc. will be
installed later.
4. Set the pump on its side with the outboard head DOWN.
5. Remove the vanes (14) and push rods (77) from the rotor
and shaft assembly. Inspect for wear and damage, and
replace as follows:
a. Insert the three push rods (77) into the rotor.
b. Using a hoist, lower the non-driven end of the rotor
and shaft into the open side of the pump casing,
being careful not to hit the disc with the shaft.
c. Insert the vanes into the rotor slots with the relief
grooves facing in the direction of pump rotation, and
with the rounded edges outward. See Figure 5.
6. HXL8: Using a hoist, install the disc in the casing with the
smooth side of the disc towards the casing (seal cavity
outward) and the pressure relief hole towards the bottom
of the casing (6 o’clock position).
HXL10: Using a hoist, place the disc (71) on the head
with the counterbored screw holes facing out. The word
“INTAKE” on the disc should be positioned so that it
faces the intake side of the pump when the head is
attached to the casing with the head drain hole towards
the bottom of the pump. Install the six (6) disc retaining
screws (71A) and lockwashers (71B).
7. Install a new head O-ring (72).
8. Using a hoist, carefully attach the head (20) to the casing
with the head drain hole towards the bottom of the pump.
Install and tighten the head capscrews (21).
9. The mechanical seal components and the bearing must
be installed before attaching hub to head.
a. Apply a small amount of motor oil on the shaft
between the shaft threads and the rotor. Wrap tape
over the shaft threads to prevent damage to
mechanical seal O-rings.
b. Slide the seal jacket assembly over the shaft and
into the seal cavity with the drive tangs of the jacket
towards the rotor. Rotate the jacket assembly to
engage the drive tangs in the rotor slots.
c. Install a new rotating O-ring (153L) in the rotating
seal face (153F). Align and insert the rotating
assembly into the the seal jacket with the polished
face outward. Clean the polished face with a clean
tissue and alcohol. Bronze seal faces should be
oiled during installation, but other seal faces must be
kept clean and dry. Note: Carbon/PTFE rotating
seal face (153M) is installed as a one-piece
assembly.
d. Apply a small amount of motor oil in the hub seal
recess.
e. Install a new stationary O-ring (153D) in the
stationary seat (153B). Clean the polished face with
a clean tissue and alcohol. Push the seat fully into
the seal recess with the polished face outward.
f.
Install seal retaining screws and washers (153Q,
153R, 153S).
g. Hand pack the ball bearing (24) with grease. Refer
to the "Lubrication" section for the recommended
grease.
h. Install the bearing into the recess of the hub (20C).
i.
Temporarily attach the bearing cover (27) and
gasket (26) to hub and hand tighten capscrews (28).
j.
Install new hub O-ring (72B) and carefully install the
hub assembly (20C) on head. Install and tighten
hub capscrews (21A) torquing as indicated in the
“Torque Table” on
10. Remove the bearing cover and loosely install the bearing
locknut and lockwasher (24A, 24B). Snug the locknut on
the outboard head to help square the rotor with the head.
DO NOT overtighten the nut.
11. Set the pump upright.
12. Remove the outboard head and disc temporarily
attached earlier.
13. Complete assembly on the
OUTBOARD
side of the
pump as instructed for the inboard side in steps 6 -10,
leaving the head capscrews loosely tightened.
14. Loosen the bearing locknut on the outboard head and
the rotate the shaft to test for binding or tight spots. If the
rotor does not turn freely, lightly tap the rims of the heads
with a soft faced mallet until the correct position is found.
Retighten all head capscrews, torquing to the
specifications indicated in the “Torque Table”.


